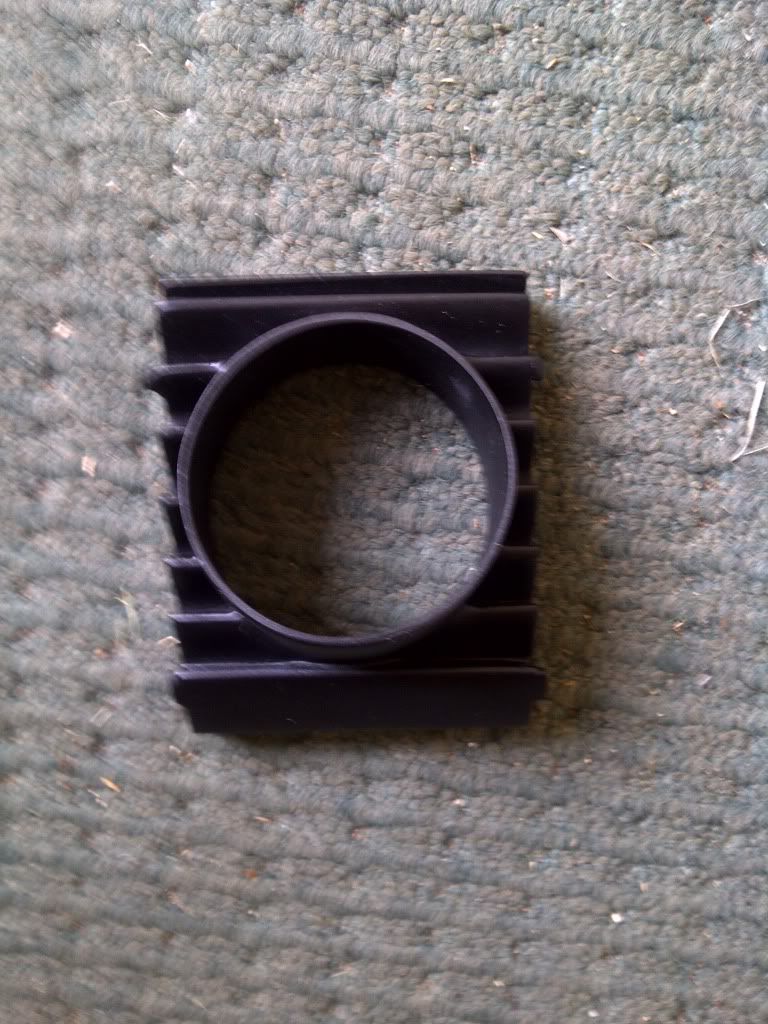
The pod seems to be a fibre glass mould, it is an insert only
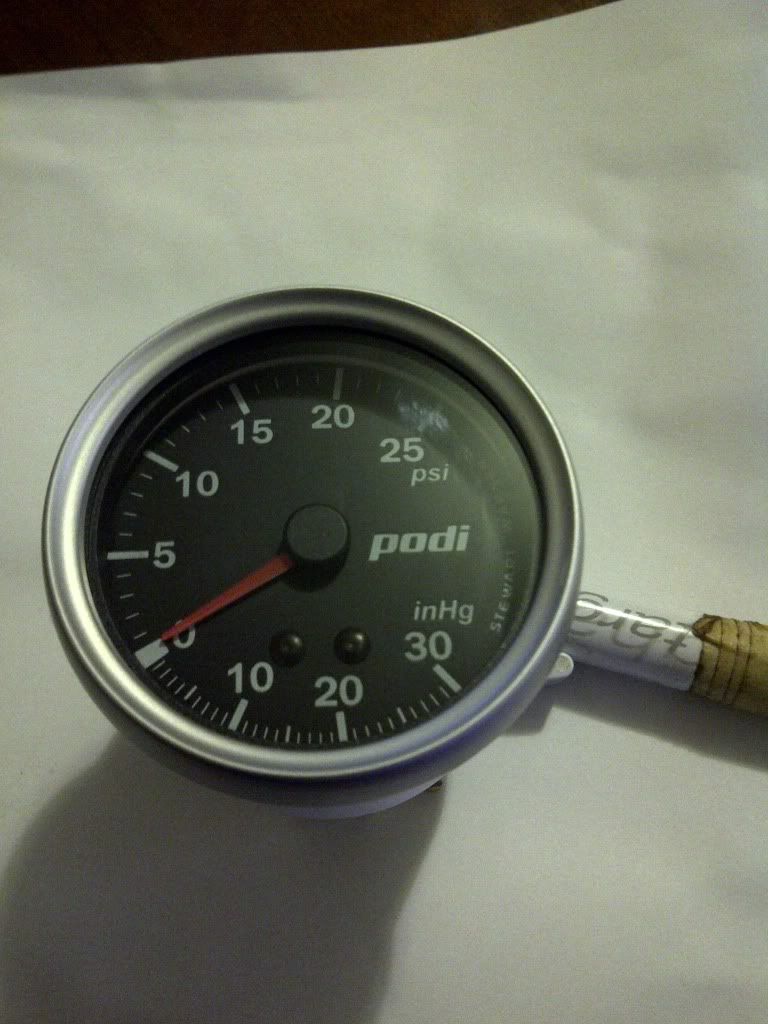
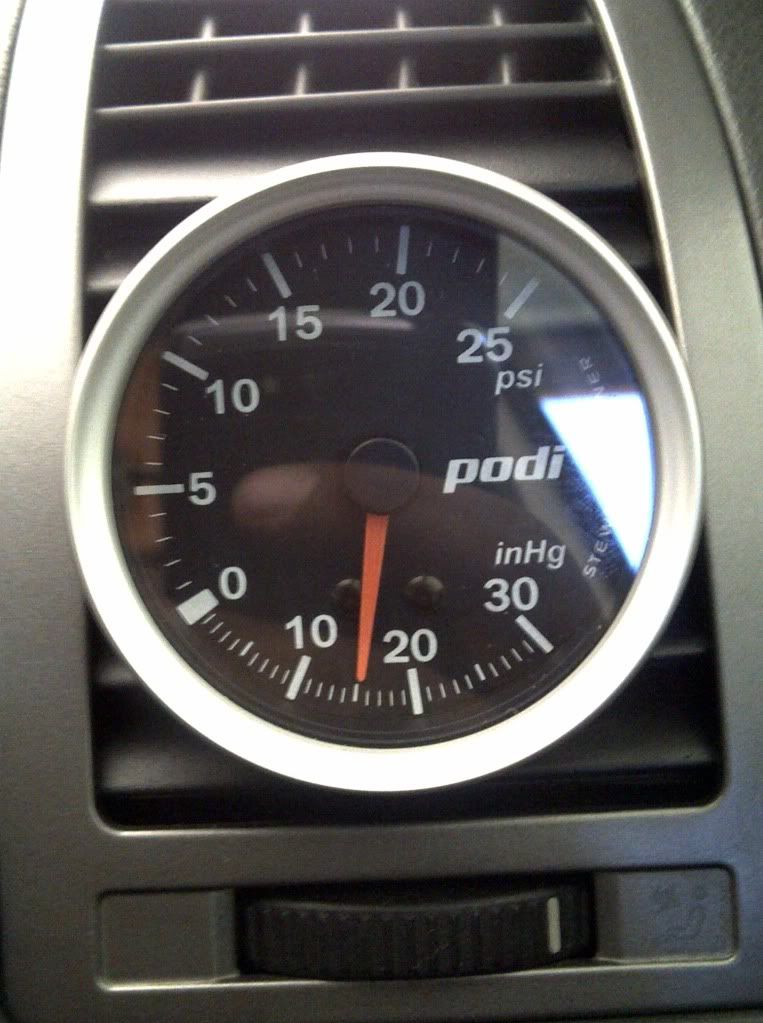
Gauge chosen is the Podi mechanical gauge

Actual
The kit that comes with it comes with these accessories

The rear of the guage has this copper tap for the boost pressure feed

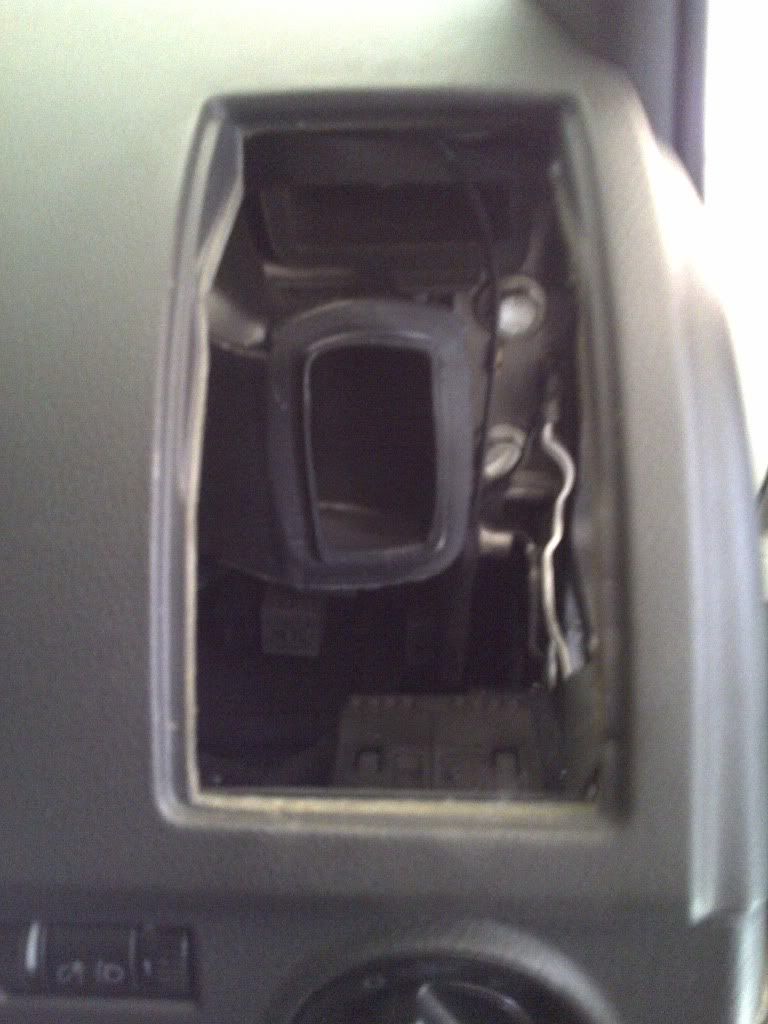
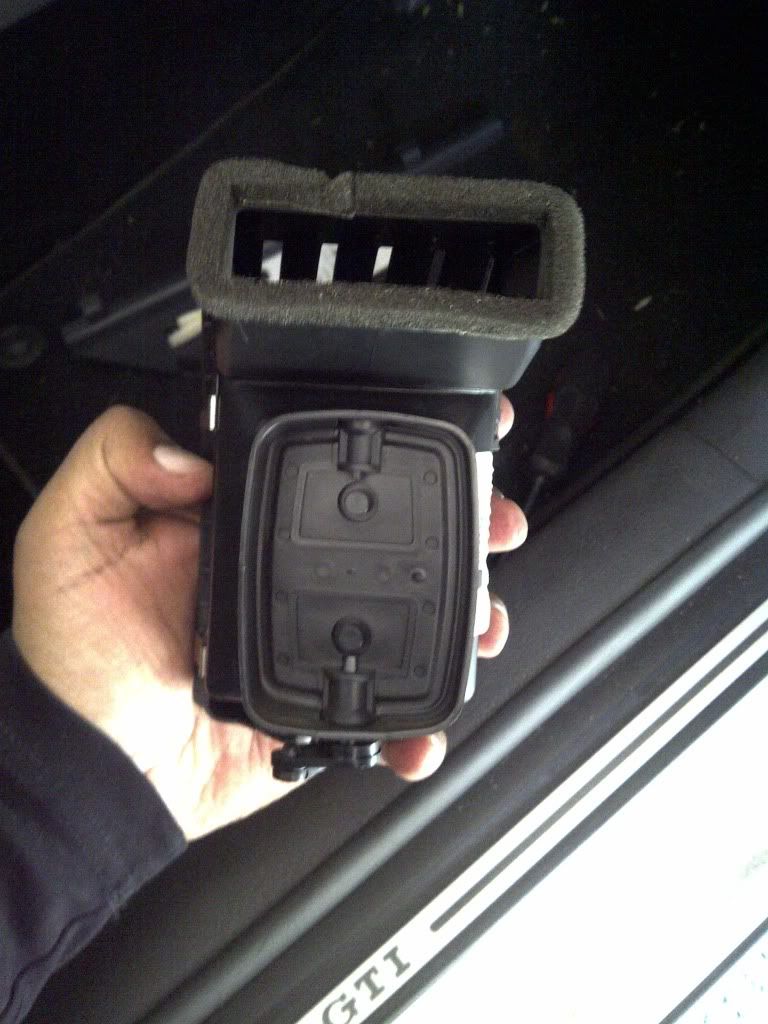
You need to start by removing the driver side vent.
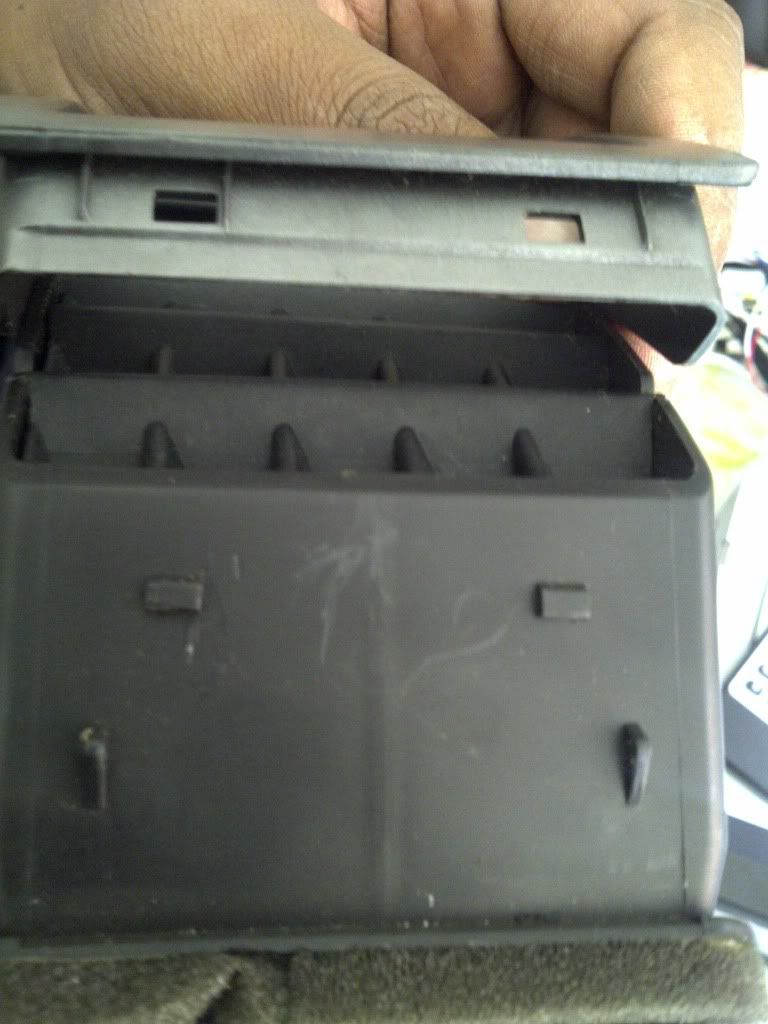
Remove the cover to the fuse box, then with a slight bit of force, push the bottom of the vent outwards, you may need to insert a screwdriver to help you lift it out. There are 4 silver clips holding the vent into the dash as seen in the pics below
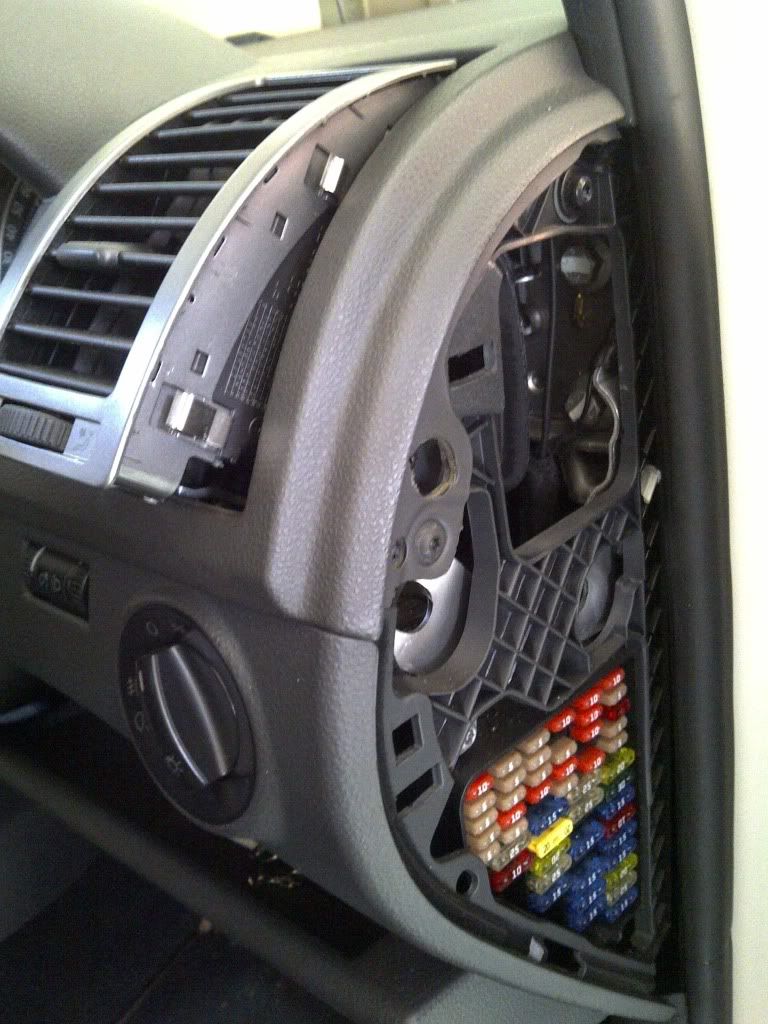
As you slowly pull the vent out, careful as the air guide behind it is loose and just hooks into place
The vent is fragile so be careful
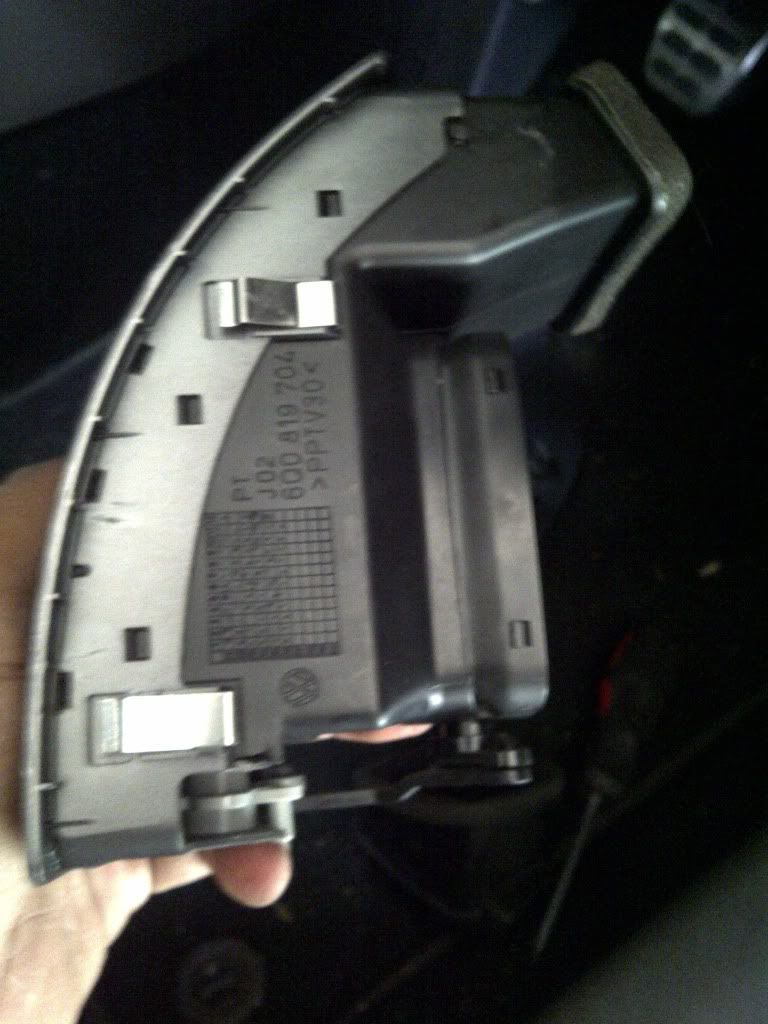
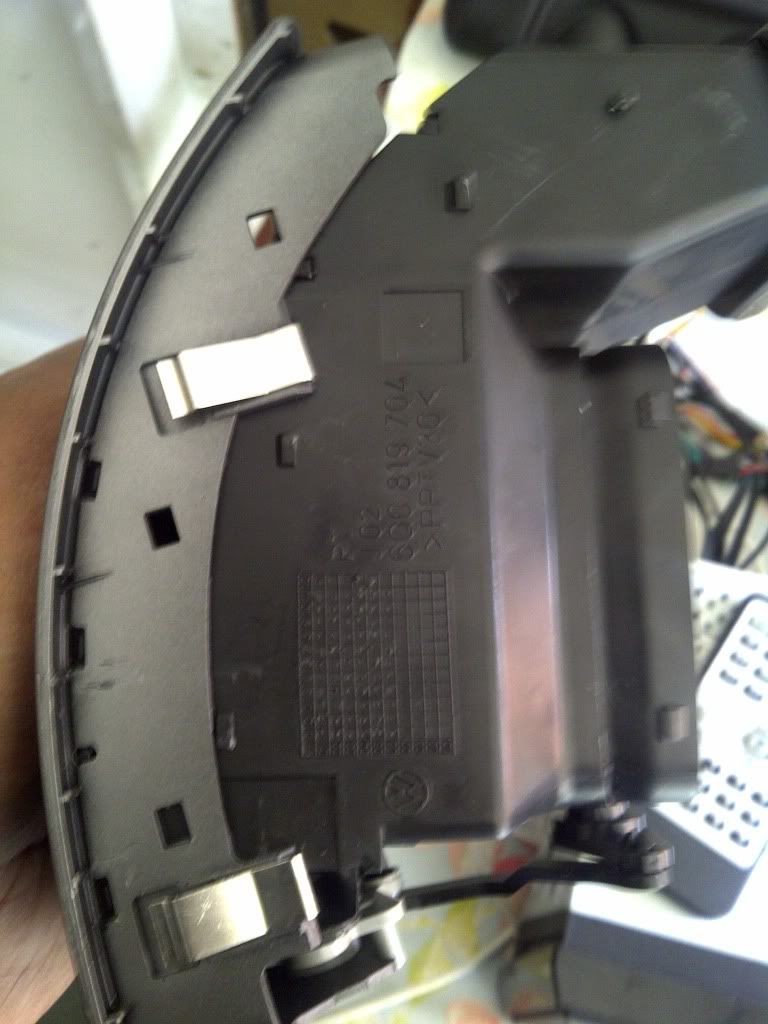
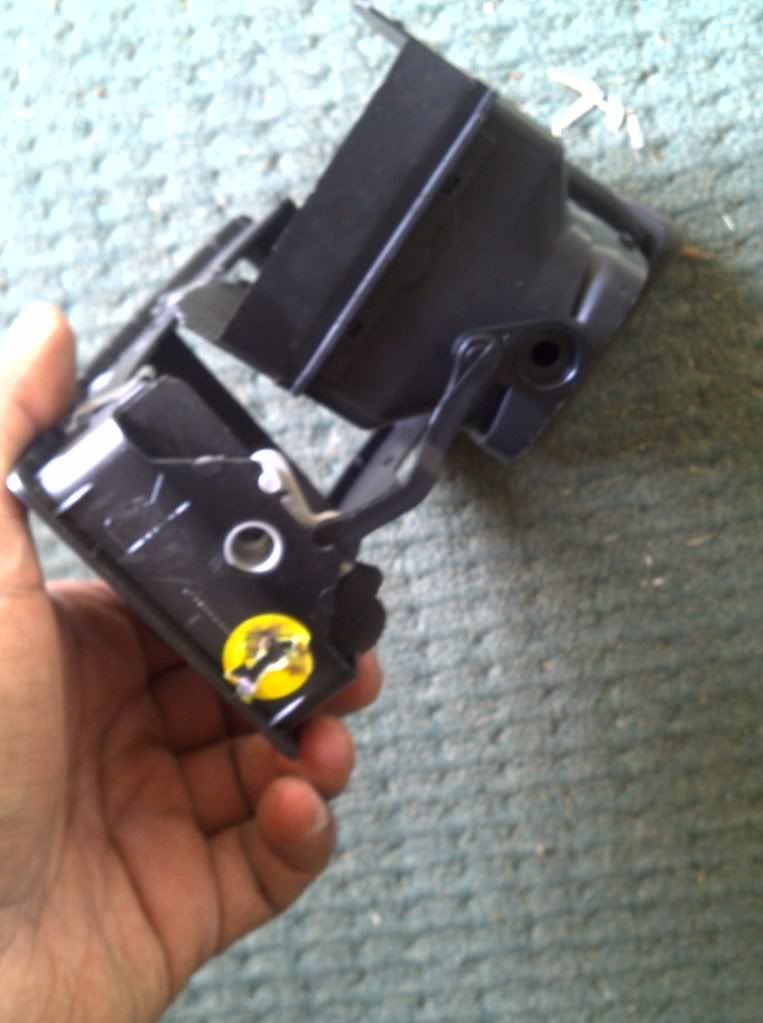
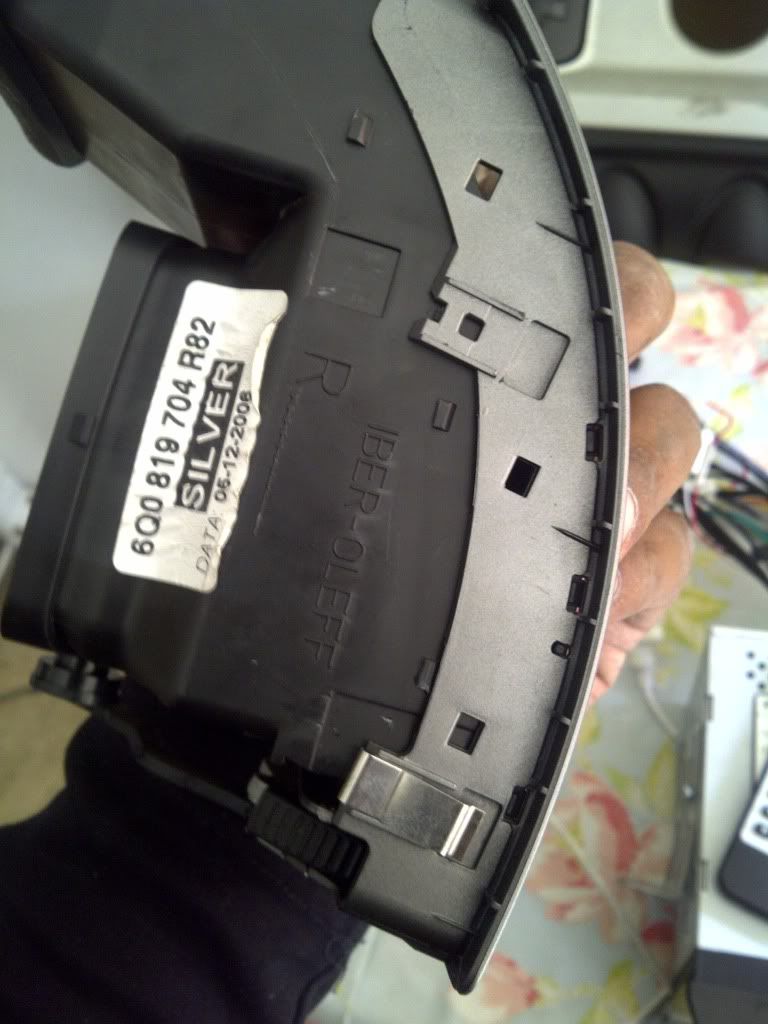
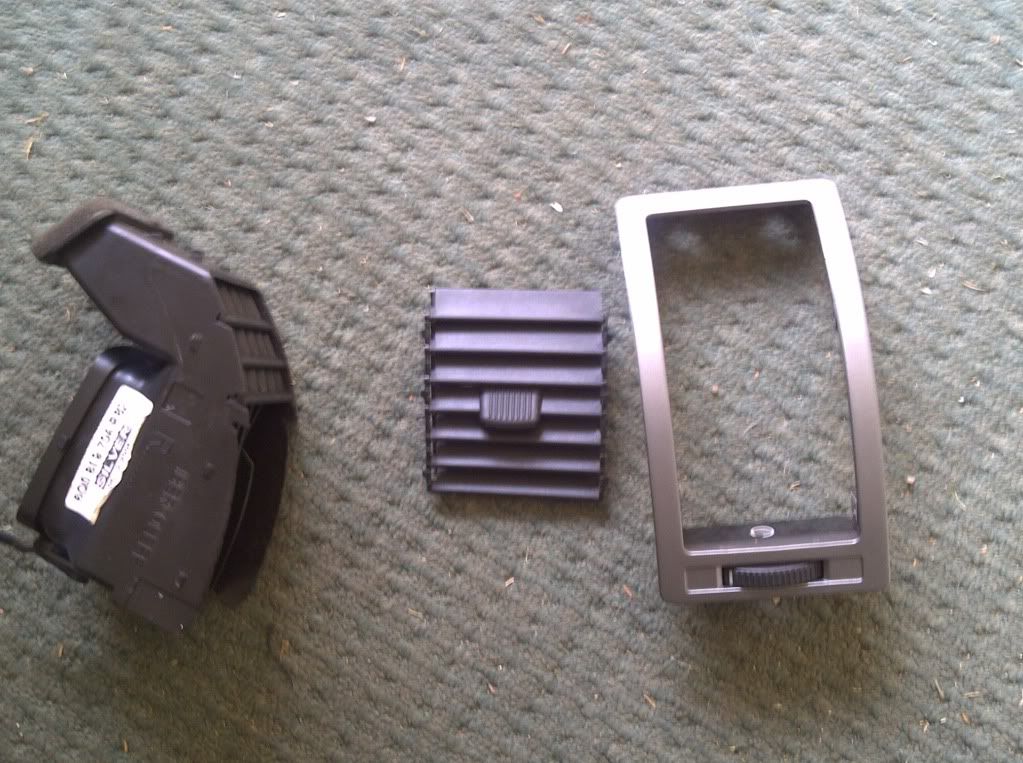
Once the vent is out, you need to strip it into separate pieces
This is the bottom view
You need to get the silver trim off first, 3 clips per side and 2 at the top
Once open, you may remove the front fins
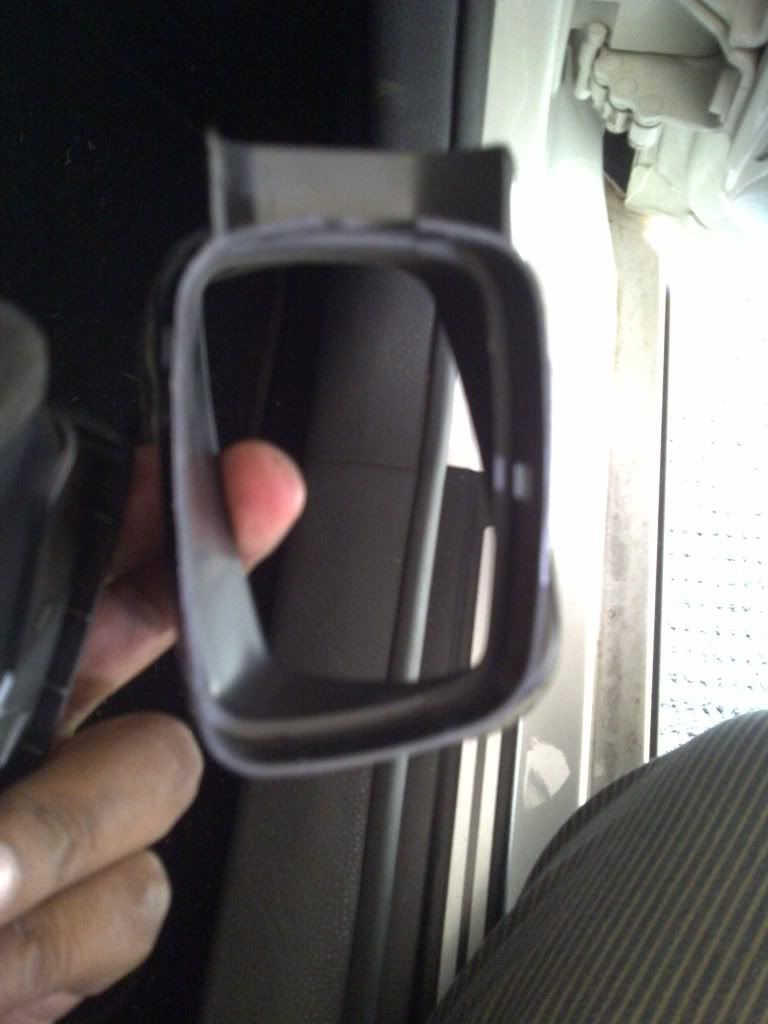
Test fitting the insert
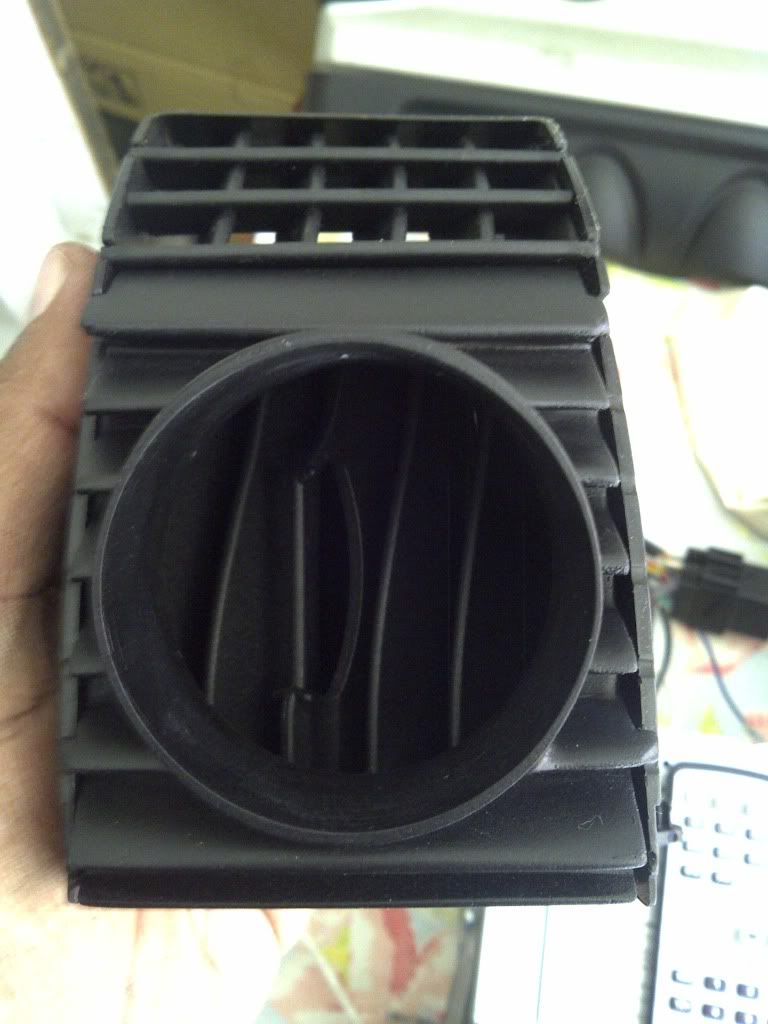
I then removed the vertical slats too
You now need to drill a hole into the bottom of the vent to allow wiring and piping to come through
I started with an awesome litle hole, it was so neat, thenm i looked and the wiring harness and realised only 1 wire would fit through, so i needed to butcher it and make a larger hole, it eventually grew into 1 large hole with an additional section beside it for perfect snug fitment
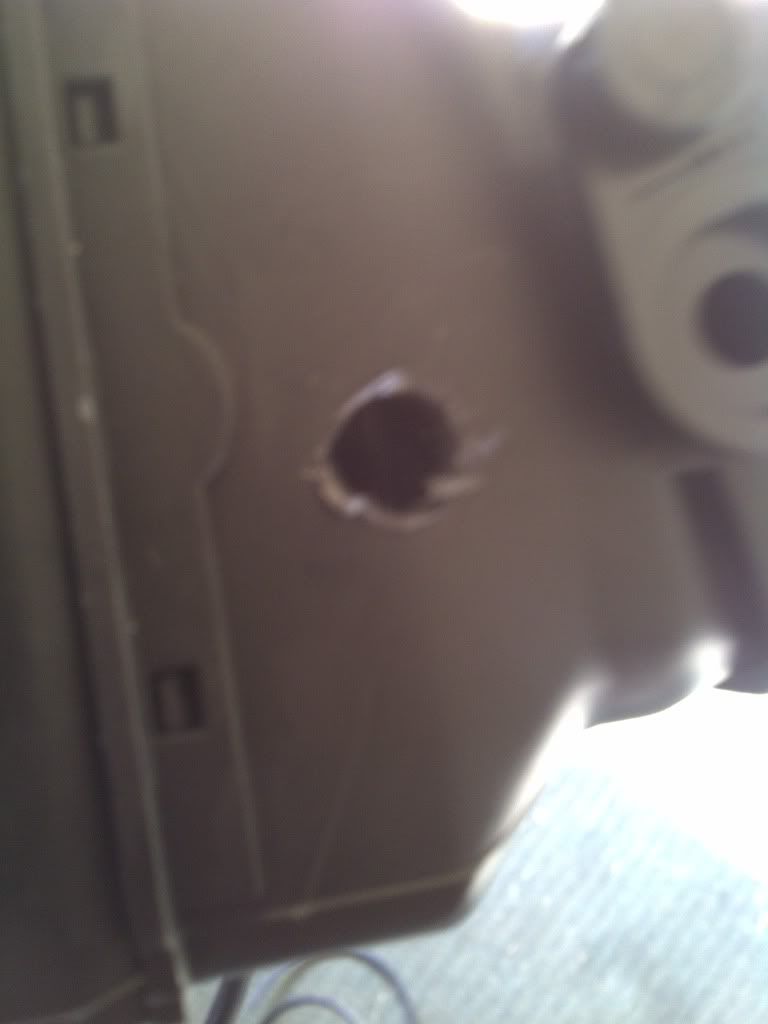
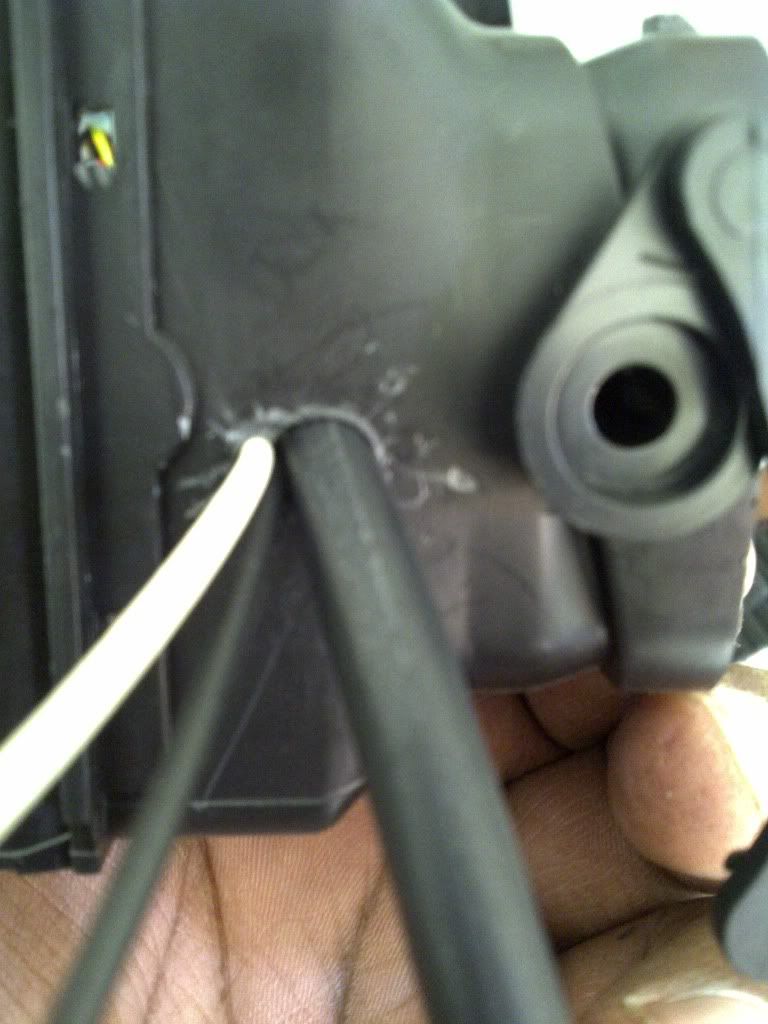
You will notice that the hole is almost in the centre, you can move it to where you please, however the instructions advise to ensure vent remains closed at all times
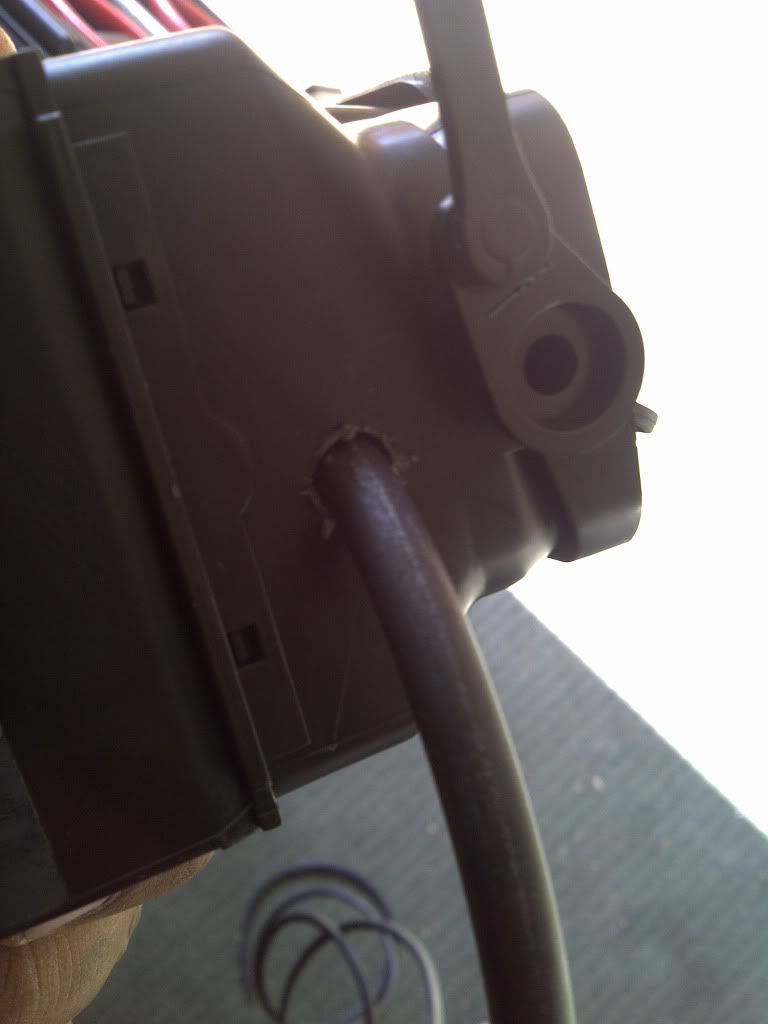
My solution to this was to disconnect the opening arm completely
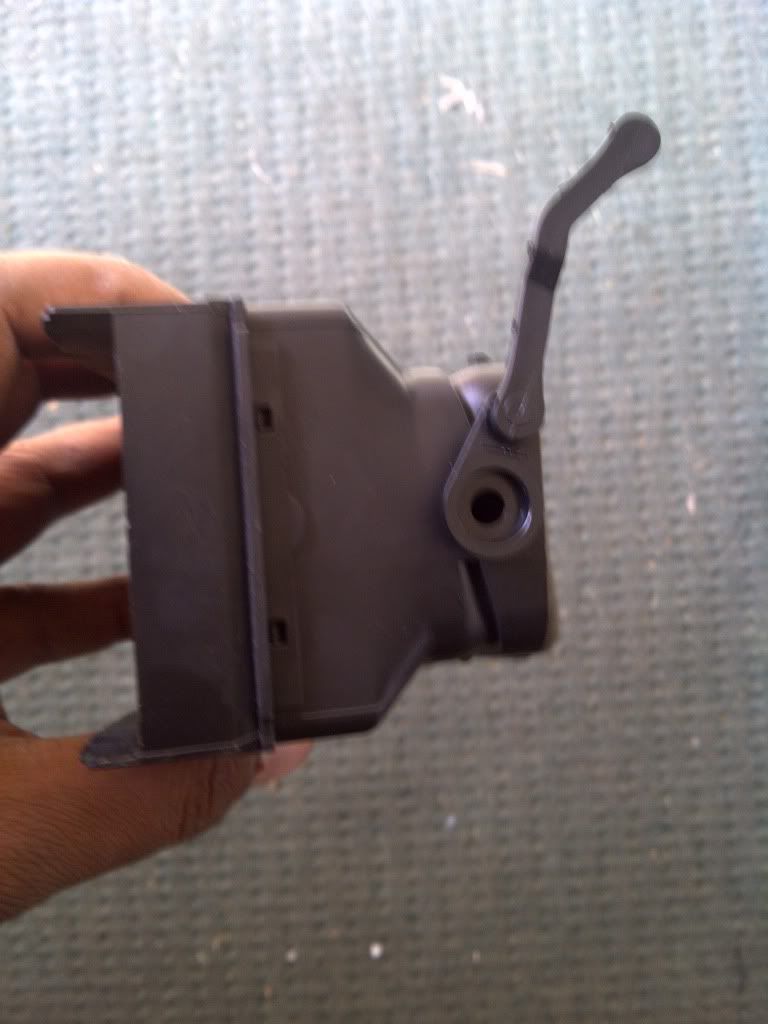
The boost pipe needs to be tapped, i chose the pipe beside the FPR
Boost tap - I forgot to take that pic so im using the one off the diy thread below
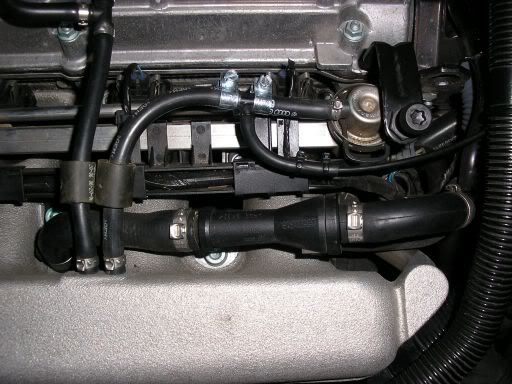
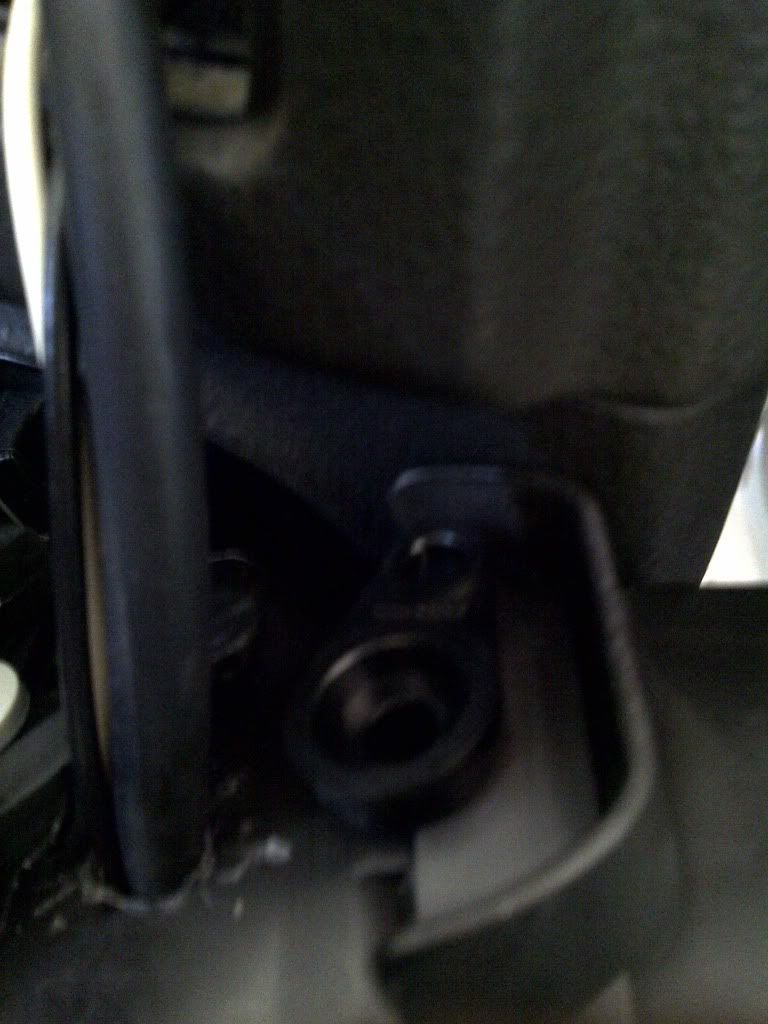
The pipe was then run to the rear of the engine bay, below the ecu is a grommet(the only actual place you can use from my findings) which comes out at the passenger footwell. I ran the pipe through a gap behind the centre console and this feeds into the vent from under the dash, pipe is a bit long so can be trimmed for perfect fitment or tucked
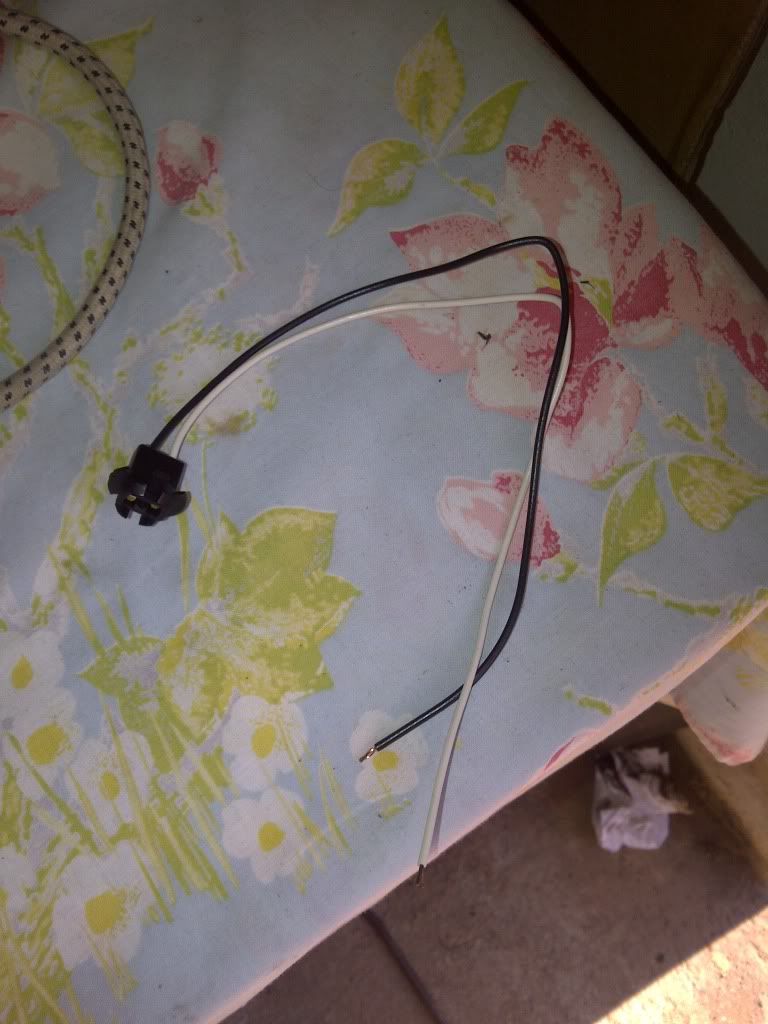
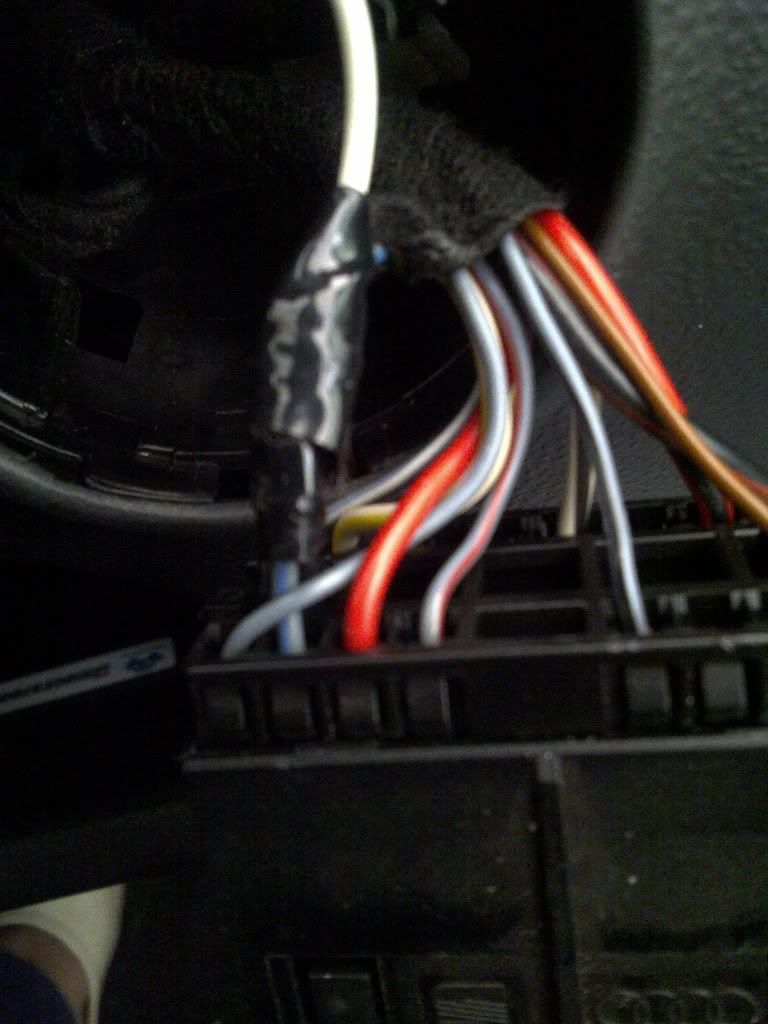
Now for the wiring, as you saw, there are just 2 wires, white and black
White is for illumination, which i tapped from my ignition wire
You firstly need to remove the entire switch, to do this, you push the switch in and twist clockwise and the entire switch comes out
You need to tap into the grey/white and blue wire, 2nd from top
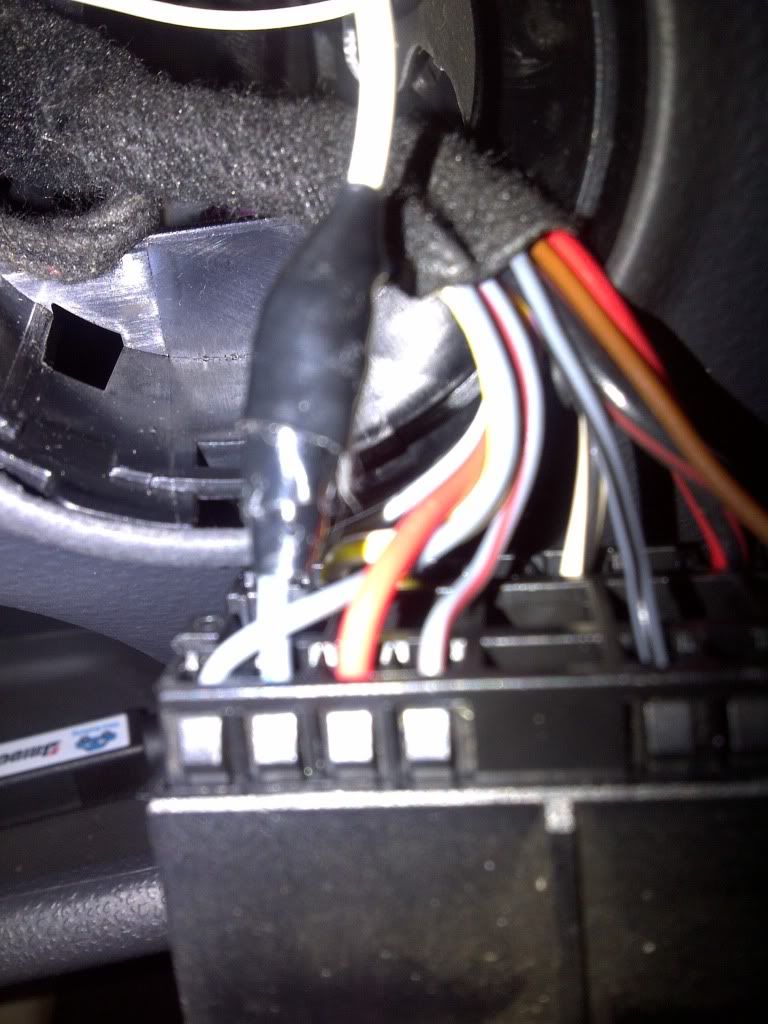
The black wire is ground, so I just stuck it under the screw holding the fuse box in place
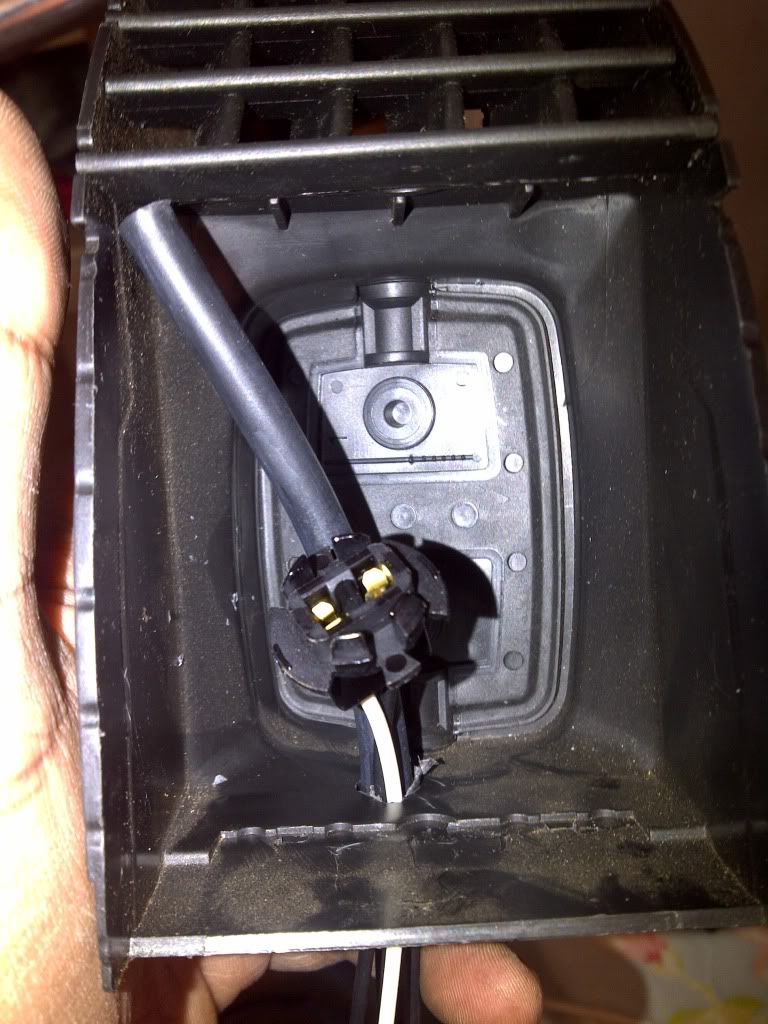
The globe is just a push in, I only got white and red, will try get hold of the vw match blue
Testing the light
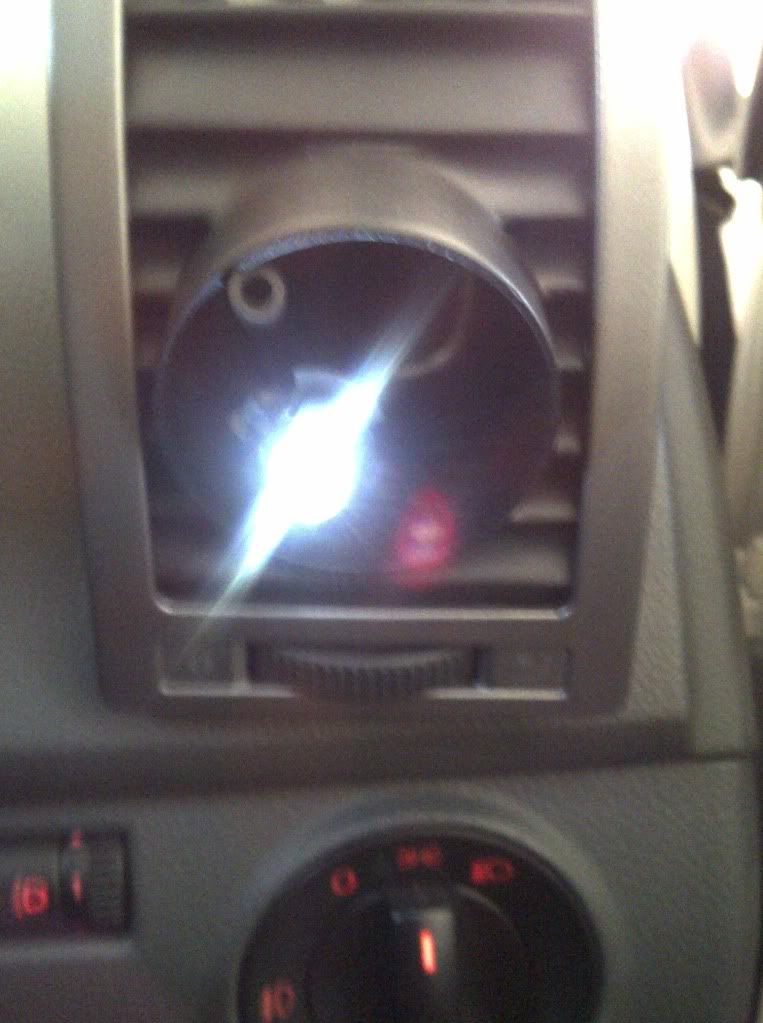
Vent fitted back in
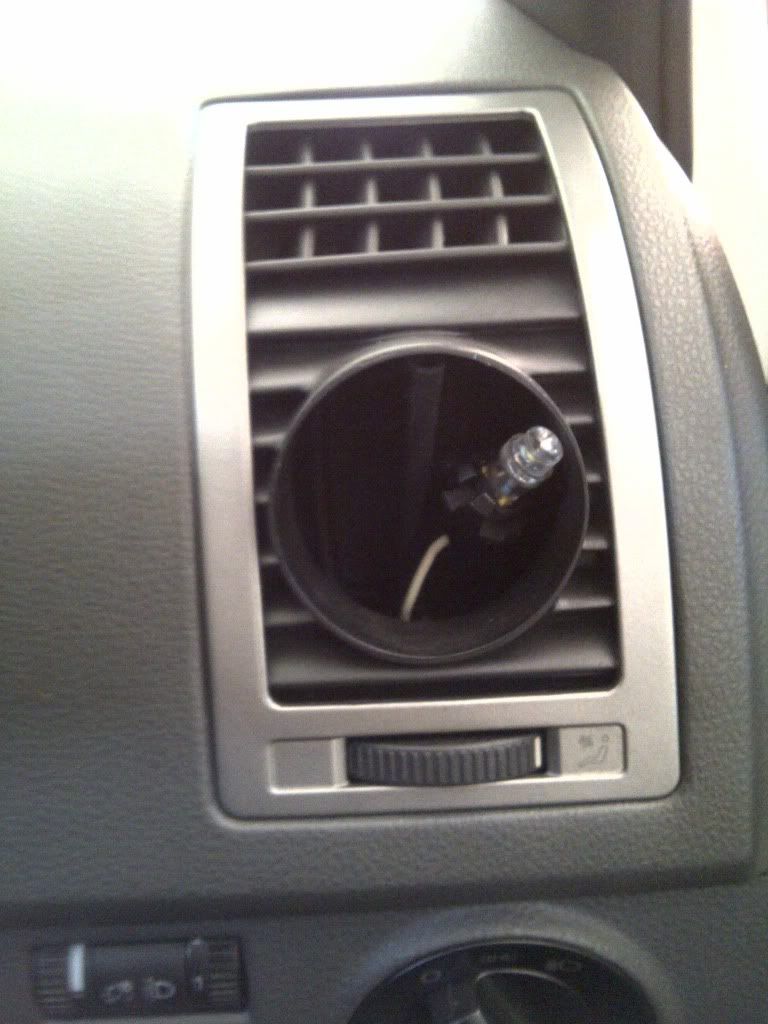
Now you just plug the light into the back of the guage, connect boost tap to copper connector and done
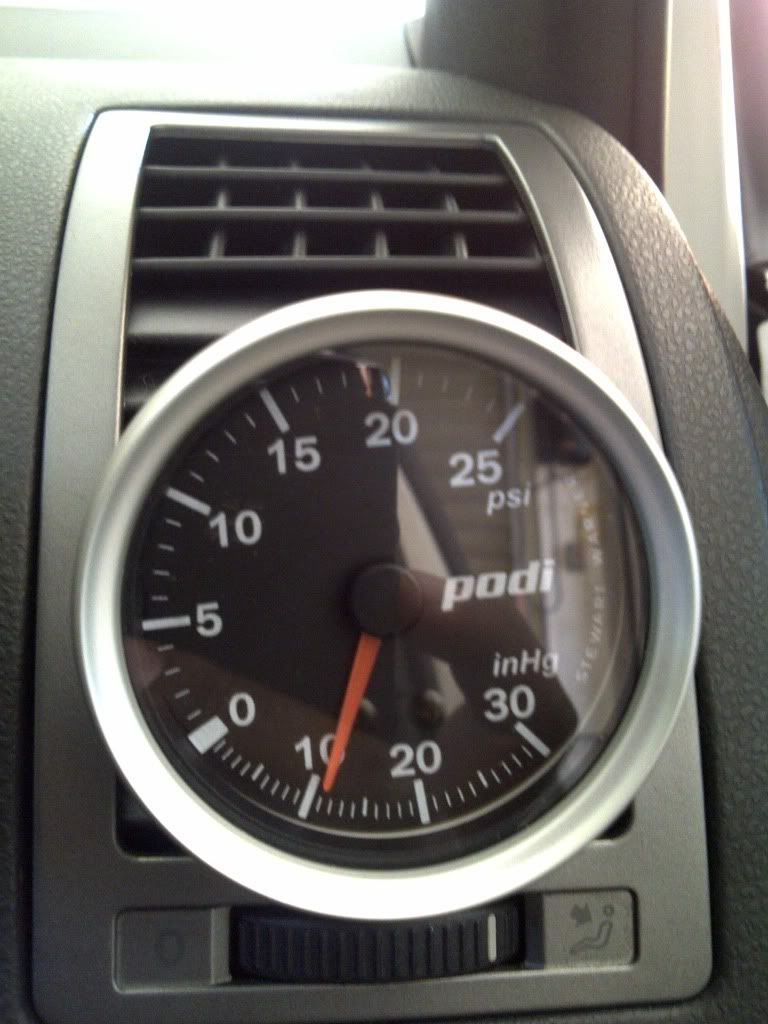

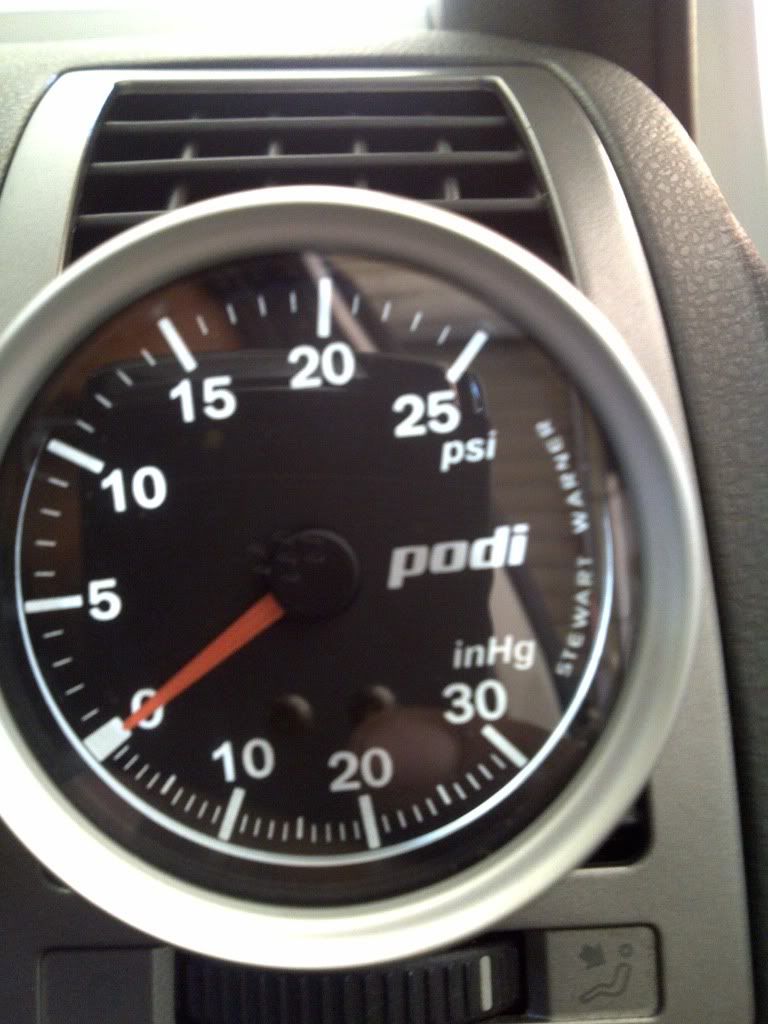
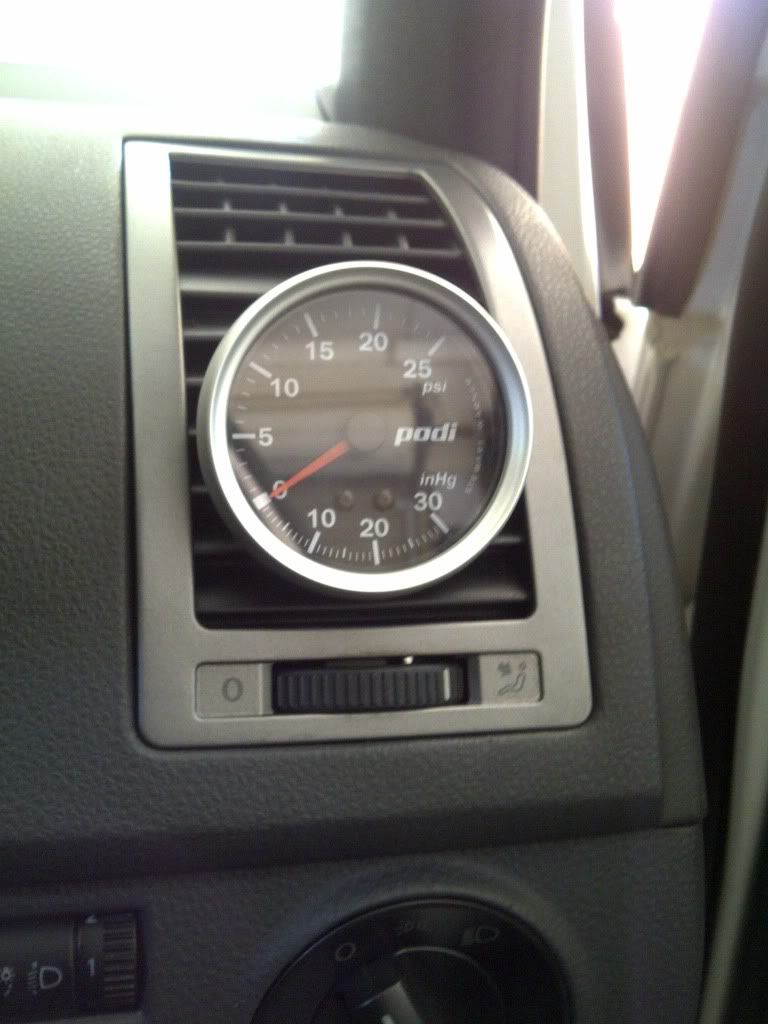
Final product

Tips and advice was taken from these links HERE and HERE
Short video
Note the guage is in psi, not bar
10 psi = 0.69bar so when it hits 20 psi, its 1.38bar
Photobucket
Youtube
https://www.youtube*.com/watch?v=Bx6M2YmIMQE
Vimeo
http://vimeo.com/24073256