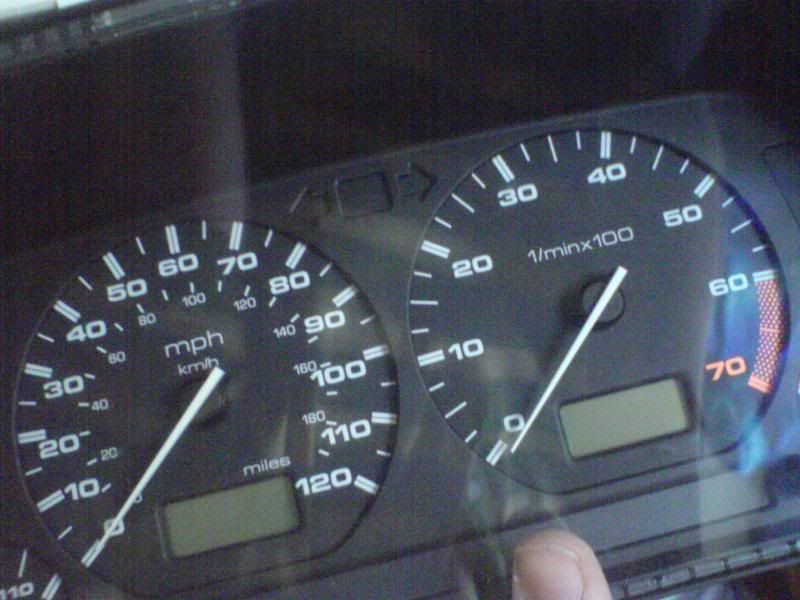
1. Ok. To begin with you need to remove the clocks from the dash. To do this remove the two screws at the top of the black surround, then the two screws either side of the clocks. This is easily done and just requires a cross head screwdriver, then unplug the clocks from the back. Et voila!
2. This is the positive and negative contacts, the negative is the longer one on the outside. We need to solder the LED's onto this, unfortunately, it isnt as simple... but we'll come to that in a moment.
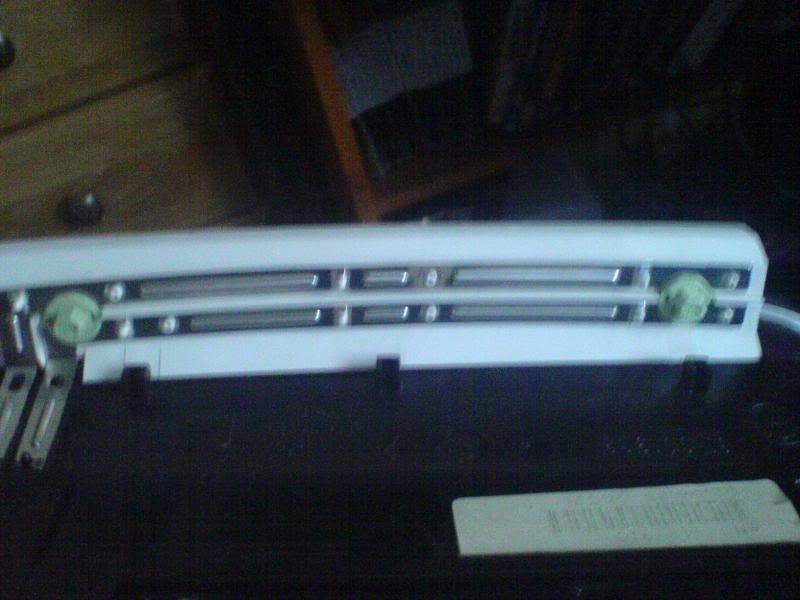
3. Unclip the white housing from the top of the clocks, say goodbye to this, as we're about to add some speed holes

4. Ok so we're not really making speed holes, but we do need to house the LED's in the white plastic, so that they can shine down onto the clocks. Remove the bulbs and bring out our good friend mr black and decker drill.
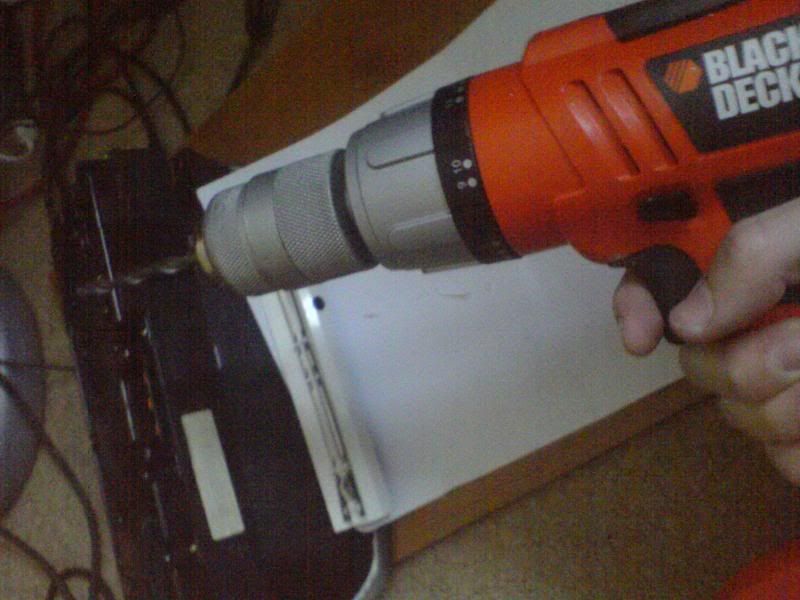
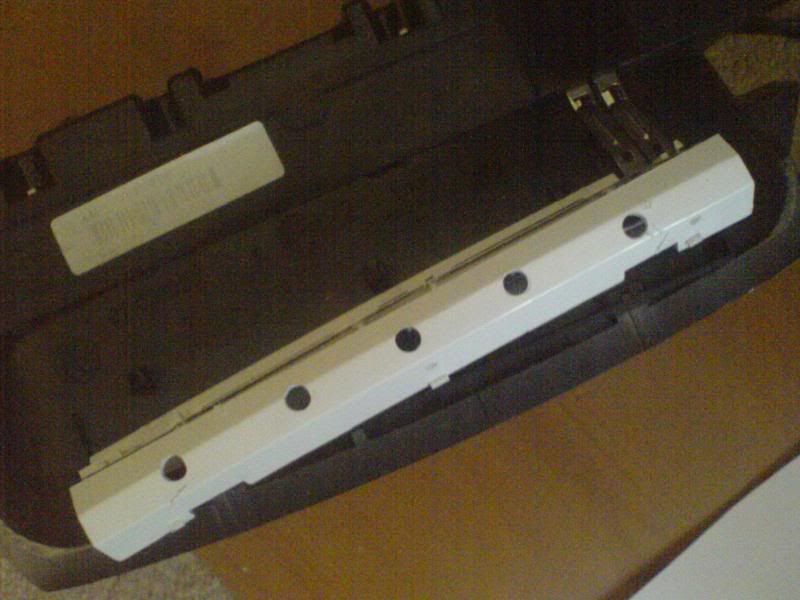
5. The LED's come with small black holders that need to be clipped into the white plastic. I used trial and error and ended up with a 7mm/7.5mm hole. Be VERY careful with this stage, as you don't want to drill too far and the plastic is very brittle, so you can end up screwing your clocks up completely. the instructions blauertacho for you give say drill six holes, but i stuck with five:
6. We now need to trim the long (positive) leg of the LED's and solder on a resistor. Then the remaining leg from the resistor is attached to the negative track on the clocks, i did this by pushing the wire underneath the contact, then soldering, as the solder doesn't hold well enough on its own. Take the negative leg from the LED and, you guessed it, attach it to the positive contact on the clocks like this:
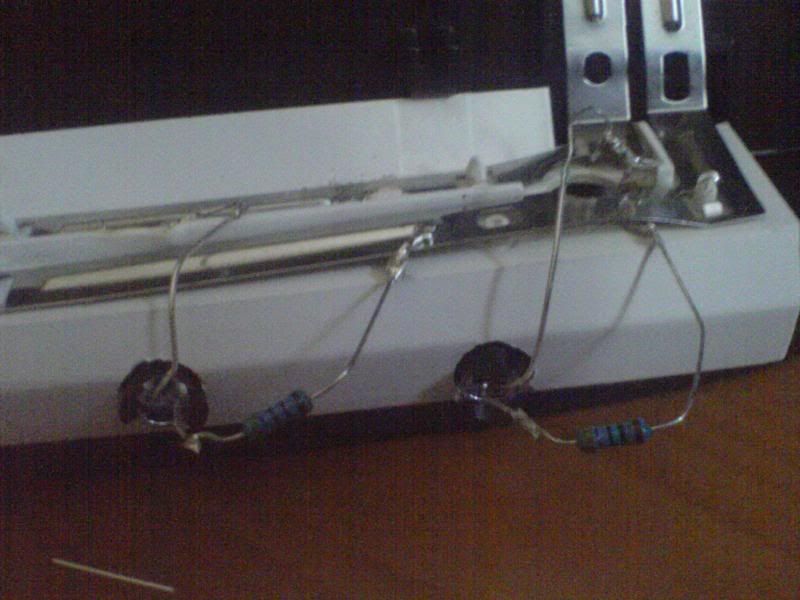
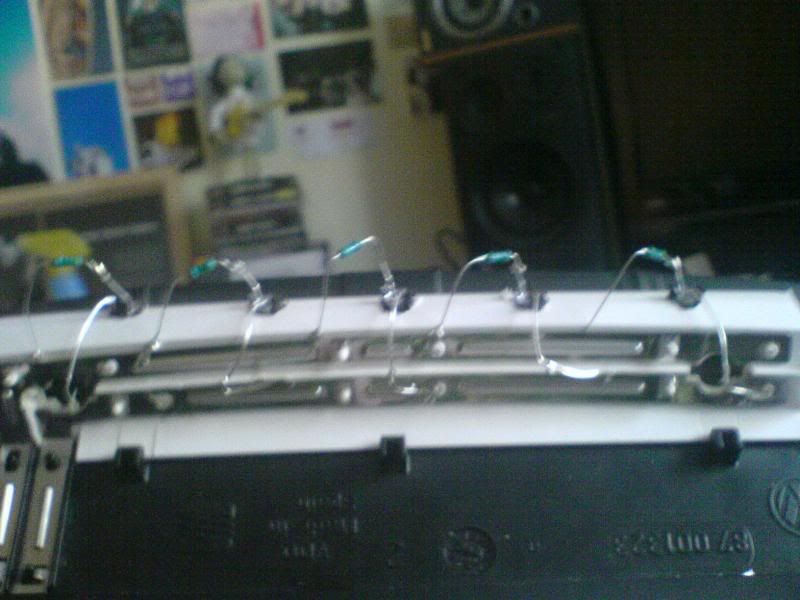
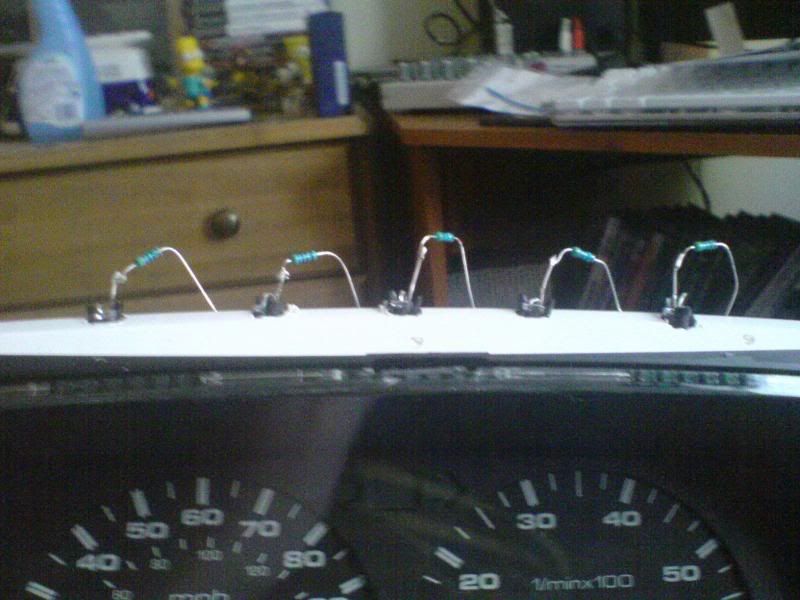
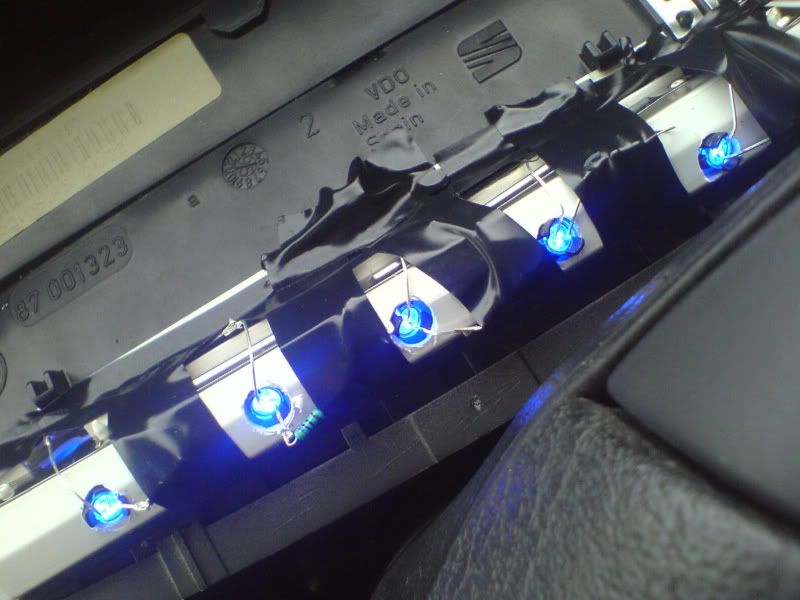
7. Once you have done this with all five LED's, it should look something like this:
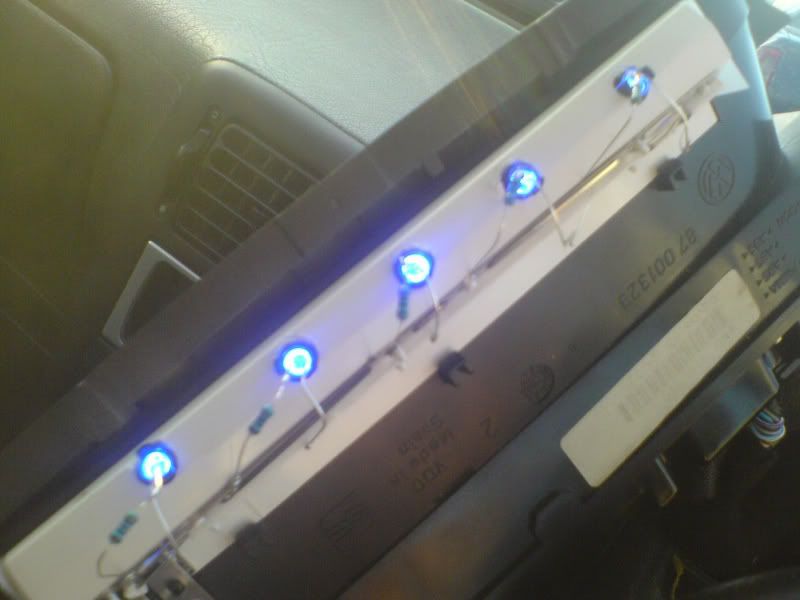
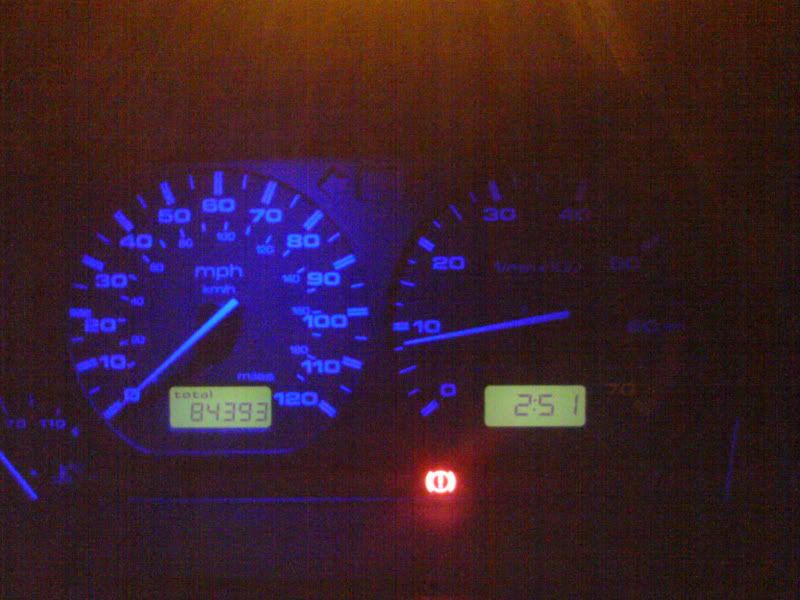
8. Now test the clocks in your car by plugging in the rear multiplug and switching your lights on! Sparkle sparkle!
9. Now unfortunately, i chose not to use the supplied heat shielding because i'm too lazy, which meant this happening
That's what happens if your not careful and you short out 4 of 5 LED's when putting the clocks back in! Sooo...
10. Attack them with insulation tape! This is a bit of a bodge, but keeps the contacts tight with the LED's and stops anything shorting out!
11. And the final thing
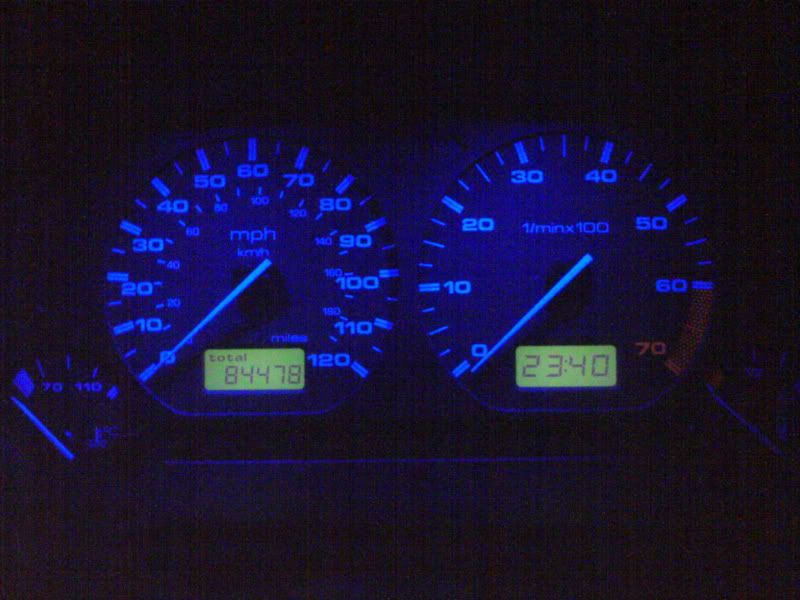
I apologise for the poor picture quality (camera phone), the actual light the LED's give is VERY bright and gives a really nice glow. I'd seriously recommend this mod to anyone who wants to go that little bit further with the interior lighting in their car (heater panel and light switches next)
Any questions feel free to ask or pm me, this is my first diy guide btw so be gentle