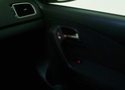
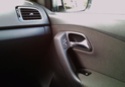
Click the play button in the images:
http://www.wikihow.com/Adjust-Car-Headlights
I recommend going to a workshop that has
headlight tester. Cheap and simple operation.
For
halogen headlamps 
, this would be the setting according ELSAWIN:
Headlight adjustment: checking halogen headlights and fog lights and adjusting them, if necessary
Checking and adjusting prerequisites:
t Tyre pressure OK.
t Headlight lenses must not be damaged or dirty.
t Reflectors and bulbs OK
t Vehicle must be loaded.
t The vehicle must be rolled forward or backward several metres or front and rear springs must be bounced fully several times so that springs settle.
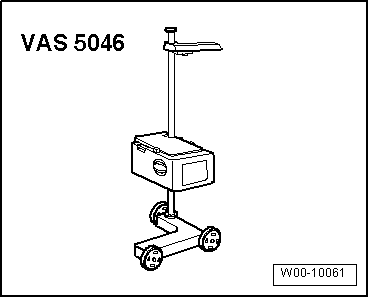
t The vehicle and the headlight adjuster must be on a level surface → Operating instructions for headlight adjusters VAS 5046, VAS 5047, VAS 5208A, VAS 5209A, VAS 5209B.
t Vehicle and headlight adjuster must be aligned.
t Inclination must be set.
Note
For vehicles for North America the side adjustment of headlight is not permitted and has therefore an adjustment screw secured against turning.
Inclination information in “%” is stamped into trim above headlight. Headlights must be adjusted according to this information. Percentage given is based on a projection distance of 10 metres. For example: inclination of 1.0 % converts to approx. 10 cm.
The inclination of headlights of vehicles in the North American market is to be set to 0.7 %.
The inclination for fog lights is 2.0 %.
Note
For certain export markets, halogen headlights with manually regulated headlight range control are not offered.
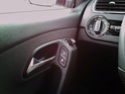
– Check headlight height adjustment by setting the maximum level and monitoring the headlights' light.
– If fitted, then set the headlight range control thumb wheel to position “0”.
Loading: With one person or 75 kg on the driver seat and the vehicle otherwise unloaded (unladen weight).
The unladen weight is the weight of vehicle ready for operation with a full fuel tank (at least 90 %) including weight of all equipment normally carried (e.g. spare wheel, tools, jack, fire extinguisher etc.).
If the fuel tank is not at least 90 % full, then load as follows:
– Read fuel level in fuel tank on fuel gauge. Determine additional weight from following table and place weight in luggage compartment.
Fuel gauge table:
Fuel level of fuel gauge Additional weight in kg
To 1/4 .................................30
To 1/2 .................................20
To 3/4 .................................10
Full ......................................0
Example:
When the fuel tank is half full, an additional weight of 20 kg must be placed in the luggage compartment.
Note
t Use a container filled with e.g. water or gravel to provide additional weight (a 5-litre fuel canister filled with water weighs approx. 5 kg).
t Write the weight in kg on the container and secure it against being opened again in order to prevent misuse.
t In order to avoid dirt, place a mat/board of some kind in the luggage compartment.
Checking headlight adjustment (using test screen without 15° setting line)
Special tools
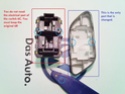
 Test figure for dipped beam
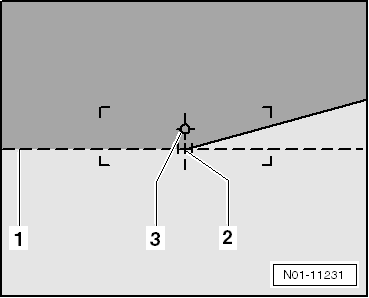
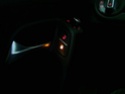
Check the following:
– Whether, with the dipped beam switched on, the horizontal bright/dark boundary contacts the dividing line -1- of the test area and
– Check whether the breaking point -2- between the horizontal part of the light/dark border on the left and the rising part on the right lies on the vertical line of the central point -3-. The bright core of the light beam must be to the right of the vertical line.
Note
t To simplify the determination of the breaking point -2-, cover and uncover left (from driver perspective) half of the headlight a few times. Then check dipped beam again.
t After correct adjustment of dipped beams, the centre point of the main beam must lie on the centre mark -3-.
Adjusting halogen headlights
Note
Check that both headlights move evenly when manually operated headlight range control is operated.
Adjusting right headlight:
The adjustment bolts for the left headlight are a mirror image.
– Set corresponding inclination on headlight adjustment unit.
l The inclination for headlights with halogen bulbs is “-1.0 %”
l For vehicles for the North American market, an inclination of 0.7 % always applies.
Note
Percentage given is based on a projection distance of 10 metres.
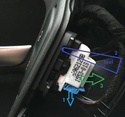
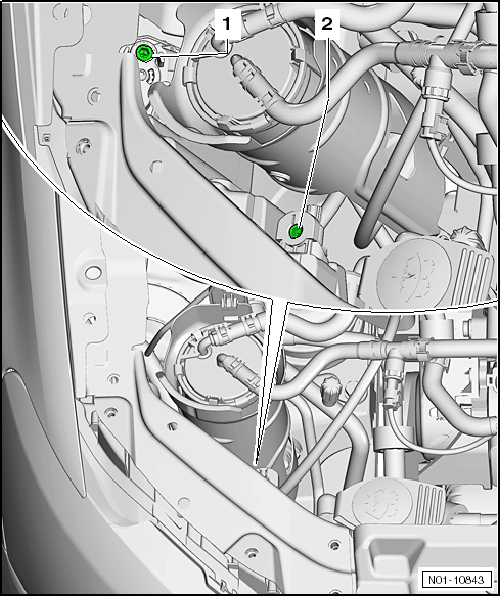
t Height adjustment bolt (hexagon socket insert) of bright/dark boundary for dipped beam -1-
t Lateral adjustment bolt (hexagon socket insert) of bright/dark boundary for dipped beam -2- (lead-sealed for the NAR market)
– First turn height adjustment bolt of bright/dark boundary -1-.
– Then check lateral adjustment, if necessary correct with adjustment bolt -2-.
Main beam, if adjustable: Adjust

The adjustment bolt for the left main beam is a mirror image.
– Set corresponding inclination on headlight adjustment unit.
l The inclination for main beam is “0 %”.
Note
Percentage given is based on a projection distance of 10 metres.
t Height adjustment bolt (hexagon socket insert) of main beam -3-.
– Adjust main beam -3-.