Saying that however, this is probably one of the most simple things i've ever done towards my Polo, and one of the most satisfying. All it takes is time & patience, the later is a must have.
I recently brought my second Polo, a 1983 Mark 2 Polo CL 1litre, it came with a set of 185/60 tyres on what are believed to be after market alloys intended for use on MK1 & MK2 Golfs. However they had been kurbed to the end of the earth and back and are some of the worst condition alloys i've seen.
Anyway a picture tells a thousand words so i'll stop typing and add the odd detail here and there.
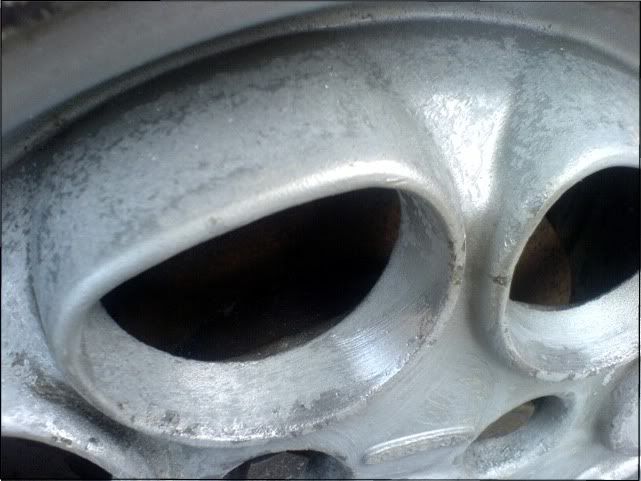
Here is what the alloys looked like before:

It's not a great photo and i don't have any better but as you can see if you look carefully they've been chipped and scrapped and mistreated alot and looked horrible.
The first thing you've got to do is decide what colour or colour combination you think will suit your car, at this stage it is a sensible idea to take a photo of your alloys from the side of your car so its almost 2D and get someone to Photoshop them the colours you want.
My car is Oxide Red:

So i decided that Black & Red would be a good look.
The next stage is to make sure you have the right tools, for the paint to settle properly on the alloy and give an even finish you are going to need to take all the layers of paint, lacquer and any other rubbish you may have on there off.
The tools you will need are:
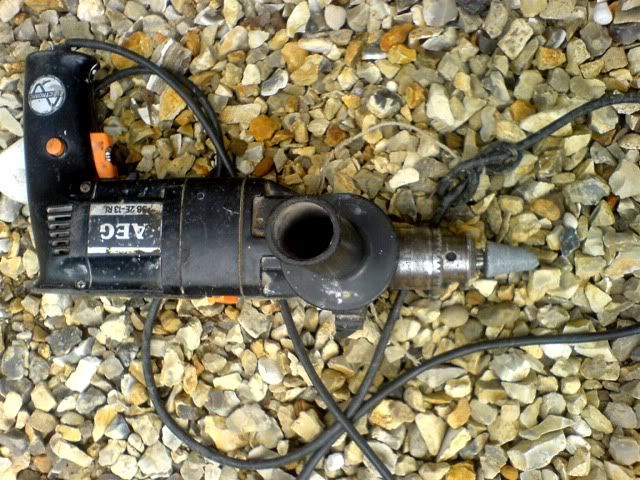
One high torgue mains drill with a selection of drill mountable grinding stones (very cheap and you can get them from any DIY store for about £2-3 each). Depending on the design of your alloy you will need to think about the shape of the grinding stones that you buy. My alloys have quite a few narrow areas that are difficult to get into, so i used a cone shaped grinder and a very very high power industrial AEG drill (about 18 years old and still going good). - You can hire these for £10-£20 a day from the likes of jewsons and travis perkins - it will save u alot of time. Wire brushes are also recommended but please what ever you do go with a medium strength wire, not hard as they will leave deep scratches that are an arse to get out! You can see mine here:
You will obviously need paint, hammerite is the best stuff as far as i am aware, i recommend that you get a 500ml can of Hammerite in your main colour or the colour that will be used most, this will leave you enough for 5 alloys with 3 decent coats each and alittle left over. Next if you are going to use two or more colours, buy the smallest Hammerite tin you can buy, it will be plenty believe me.
When i was doing mine i only used tins of hammerite and after my last touch up coat (the 3rd one) i decided to buy one can of 400ml hammerite spray to see if it would give a better finish on top. - It did.. and its a MUCH better finish so get some in your main colour. its another £7.
Here's mine:
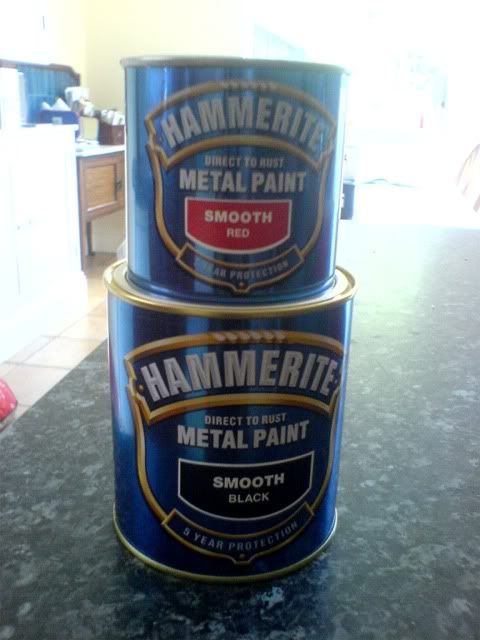
Hammerite typically do two different types of paint: Smooth & Satin, get Smooth, it will leave you with a very nice finish. Satin looks crap. Make sure your spray is Smooth as well.
One small bottle of White Spirit! - This stuff comes in real handy when it comes to cleaning dirty you didnt think was there away.. key as when painting on alloys you it needs to be as clean as an operating table for a good finish!
Brushes, a set of 4 is more than enough you'll want a brush with hairs about 2 inches wide by 3 to 4 inches long.
Sand Paper! - For the little bastard narrow bits that your drill can't reach, most people will go for Wet & Dry, i was lazy and used large grit sand paper - one piece about 10"x10" large will be more than enough.
And finally if your a girl like me, wear gloves as getting hammerite off from under your finger nails is a b***h.
Anyway here are some photos of how i did it and the outcome which i am very please with:
First off we started by removing all the layers of paint and lacquer - not alot was left anyway as most of it had been cracked off due to the previous owner kurbing everything : /
Here we used two high torque drills, a Bosche 18V rechargeable & a mains AEG thats never met its match so far. On the Bosche we used a wire brush on the highest torque level and on the AEG we used a cone shaped grinding stone - good for the design of the alloy, and very quick at removing paint & lacquer.
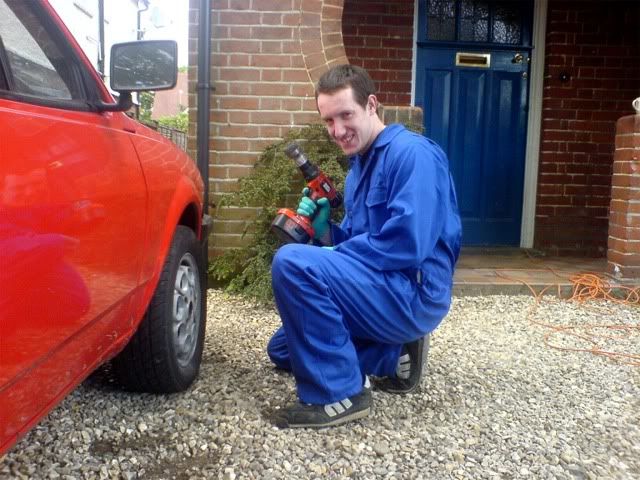
My slave monkey before he gets stuck in destroying my alloys:
Take as much lacquer & paint off as you physically can - this took us about a good 4-5 hours work with two people, lots of tea breaks, fannying around stripping a bumper intermitently and recieving tea from my loving but aggrevated girlfriend.
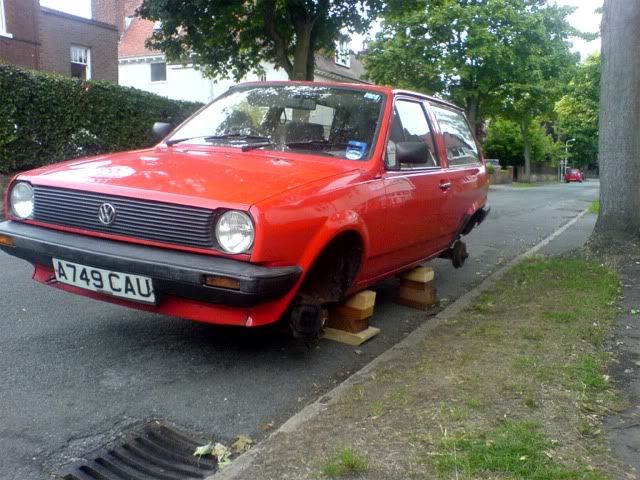
Once you've done that, get two jacks and jack up the car, if your posh use axle stands, if your a gypo like me use fire wood:
Take the alloys (i did mine with tyres on and never scuffed the tyres at all) and put them ontop of a stable flat surface and rip a piece of sandpaper off thats about the length of your little finger and about twice the width, fold it over and get sanding in those tiny little bits you've missed or in the awkward areas.
Once you've finished sanding, the rest of it is abit more fun and its all worth the time and effort. - But remember the more of a perfectionist you become sanding these alloys down the better its gonna look.
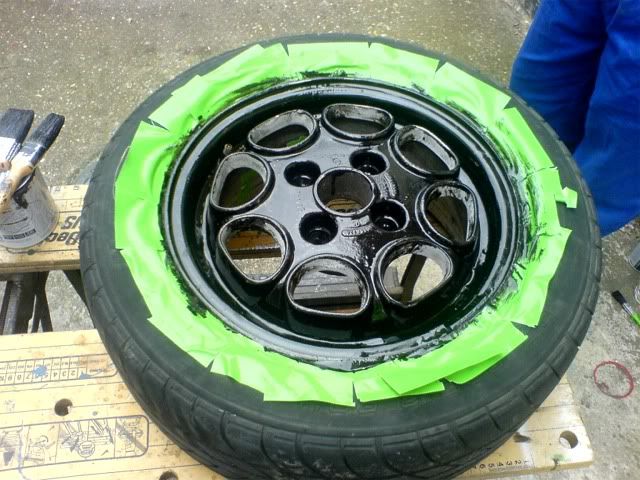
Get your main colour out, for us it was Smooth Black Hammerite and get a reasonably clean stick and stir your paint round for a minute or two. Your almost ready to paint, all you've got to do now is cover your tyres (or not if you don't care - i do and so should you), you must apply hammerite thinly, it is naturally very thick, watch out for drips, brush them away and always spend a few minutes spinning the alloy around checking for them.. once they are there unless u rub em down again.. they will stay there!
Here's mine after its been sanded down properly:
The first coat doesnt matter that much really, so don't be too much of a perfectionist on this one as you want a good first coat thats thin without drips. Hammerite recommends that you leave it to dry between 4-8 hours, ours took about 5-6 hours, DONT touch it to test it, you'll leave finger prints, and it all effects the finish.
Here's mine:
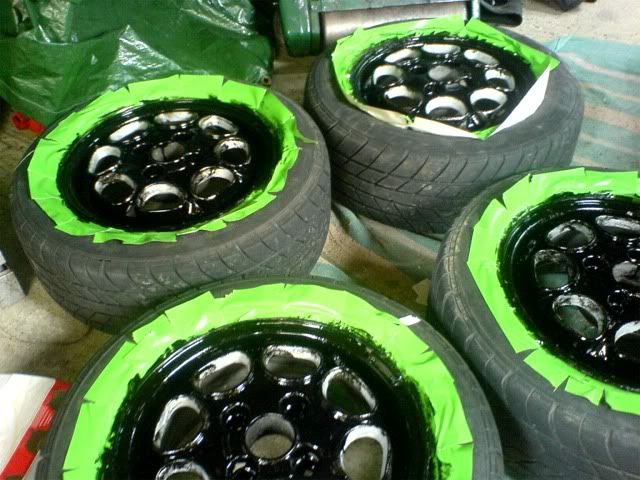
The second coat is really about adding layers and making the paint coat abit thicker, so be abit more generous and try to cover up any signs of the rubbed down alloy.
Here's mine after the second coat:
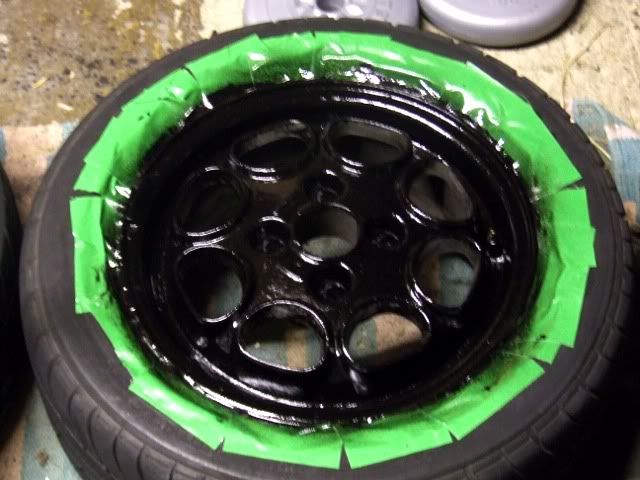
The third paint doesnt look any different really as its all about adding layers where it looks thin and covering up bits you've missed.
On this coat i would recommend that you leave it over night for atleast 8 hours, always leave the alloys to dry laying down so the paint doesnt run. And leave it to dry in natural light - again the finish will be better so leave the girlfriends hair drier alone
Once the third coat is dried poperly don't worry if your alloy isnt looking amazing, tape up any are of tyre that can be seen on the side walls and grab your can of Hammerite Spray
Make sure you shake it well for a few minutes, then hold the cans nozzle directly over the alloy about 1.5-2ft above and spray in a horizontal motion as if you were spraying your car. You DO NOT want any of the are of the alloy to start looking WET with paint, all you are doing is letting the paint lay on the alloy in a light mist, give this three coats (whilst inbetween allowing them to dry properly).
This will give you a MUCH better more professional finish, and you will not be able to notice the brush marks if you do it properly.
I am currently as i write this awaiting my third spray coat to finish drying and it already looks fantastic and much better than i expected.
The circular parts of the alloy i will be painting red on the inside to match the cars colour, this will be done tomorrow morning once i have completed the main colour (black).
I will post pictures tomorrow, on and off the car
£36.41 for: 1x500ml can of hammerite smooth Black, 1x200 or 250ml (cant remember) hammerite smooth Red, 1x400ml Black Smooth Hammerite Spray, sand paper, 1 set of brushes, white spirit, 1x grinding stone and 1 circular wire brush, 1x tape.
Hot Water, Tea Bags, Milk, Sugar & the level of irritance i received from my girlfriend were not included in this cost, although it did cost a meal out and i don't think i've been totally let off..
The results worth it, but please please take time and patience over it. And by any means don't be nice to those alloys with the grinder and the wire brush othewise you'll be there for days on 1 alloy taking that lacquer & paint off.
Any questions let me know, will update in morning.
*Edit Picture after last spray coat (not very good photo sorry - dark)
WildChild
