OK Here is my guide. This might not be finished by the time I post, i'm doing this from scratch, having uploaded my pics from my phone to my laptop, and then Photobucket...
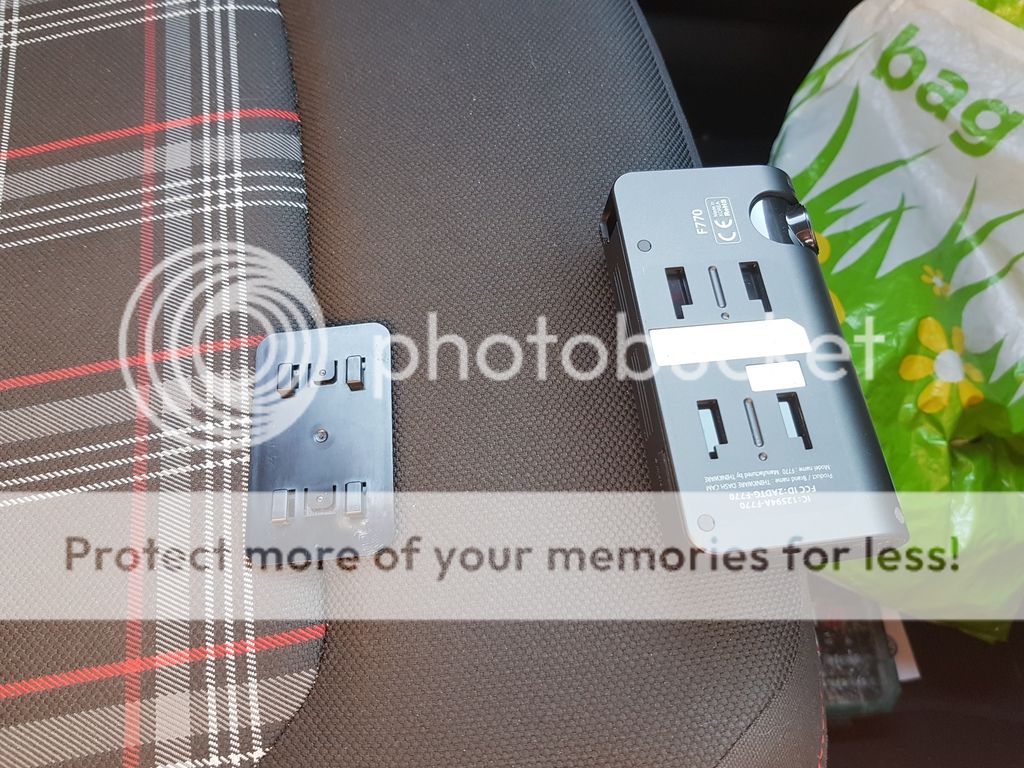
Here's the main body of the dashcam, the mounting bracket sticks to the windscreen and it slots about 7 mm to the right for the main body to unlatch, so you have to mount it at least 7mm to the left of the rear view camera casing if you want to dismount it! Your design of chosen dashcam may differ, but you have to take these things into consideration.
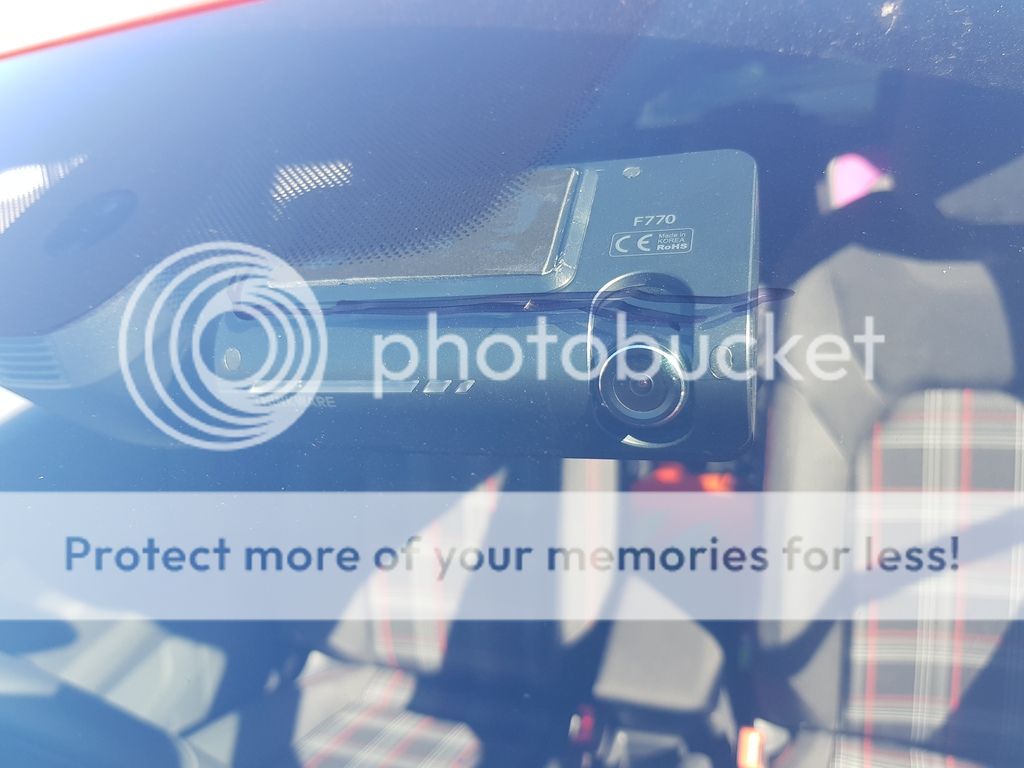
First thing I do is get a thin permanent marker and offer up the main body of the dashcam(complete with bracket) to the windscreen, from your favoured driving position. Try to get the dashcam as close to centre of the windscreen as you can, in line and left of the rear view mirror, in a position where you see least of it from behind the wheel, and the rear view mirror hiding it. Then draw a line. Check from the outside that it looks straight, then stick it on.
Uncouple the main unit from the stuck on mounting bracket, and you'll have plenty of room to wipe the permanent marker away with a solvent (I used ethanol). plug in the unit to its power lead and (if you have rear cam too, the front to back connecting cable.
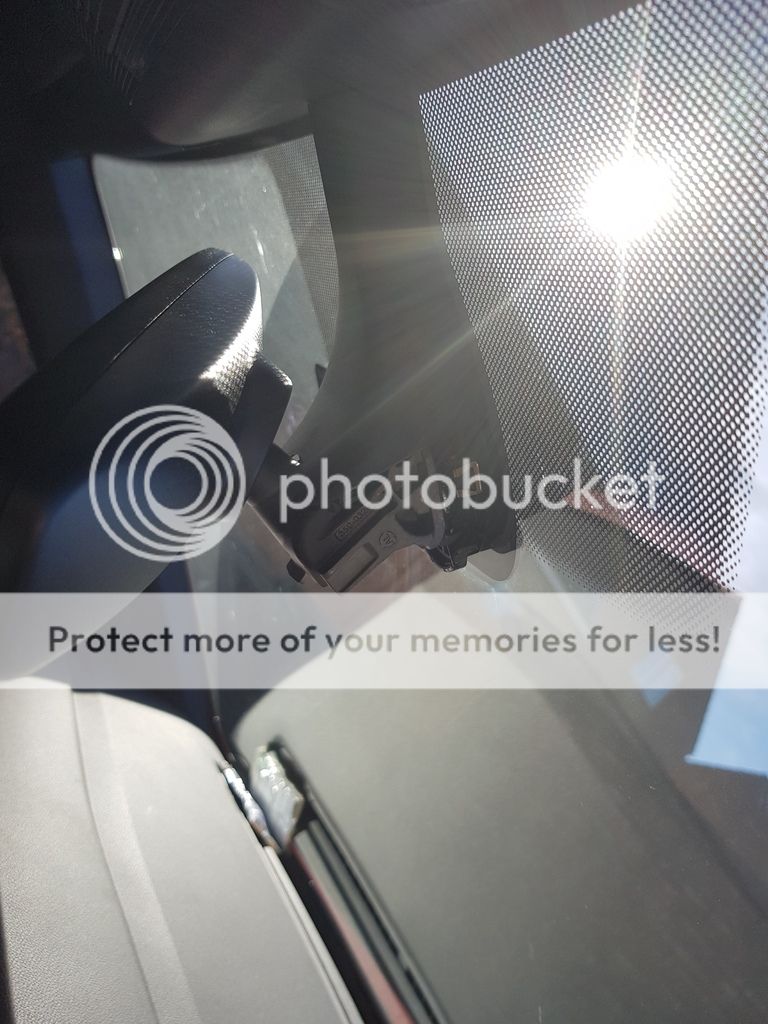
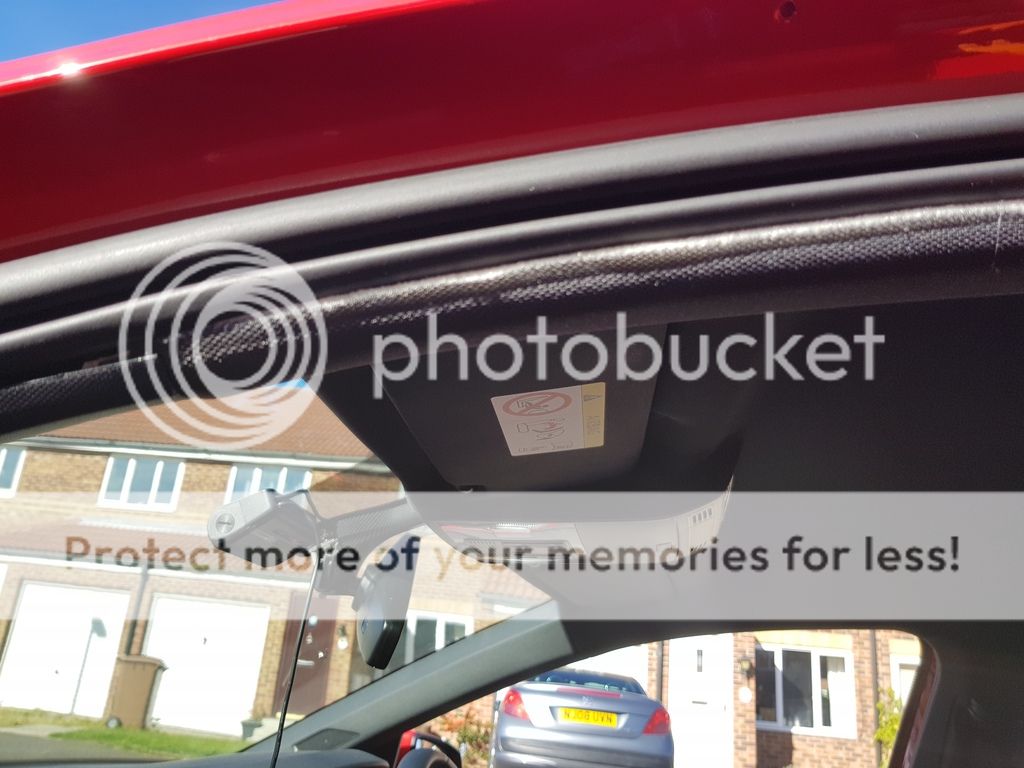
Next, for a neat and hidden finish, I recommend notching the rear view mirror casing cap to accommodate the dashcam wiring, and have the wiring going into it), up inside the tube-like shroud that the cap fits into - spread that tube with a trim tool and poke the wiring in all the way up to the window (and to the front edge of the headlining). For the cap, you'll need 1 notch if you just have a front cam (for the hard-wiring power lead), and 2 if you have a rear too (for the front to back connection lead.
To get the cap off, you need to get a trim tool along the vertical seam between cap (at the bottom of the mounting of mirror to screen and jam it into spread the rim of the cap, do this both sides and then pull the cap down to remove - it slides up and down a channel with slots on the cap, you can see the channels that these slots fit into on the alloy mounting body:-
Notching - it looks a little scruffy, but I smoothed it up as soon as I realised I had taken enough for the cabling diameter (and then didn't take another picture!):-
Cap goes back on by sliding it upwards in the channels of the alloy mounting body and clicking into place so it meets with the tube-like cover adjacent to the mirror itself. See notched cap back in place:-

Take the power wiring lead up and into the headlining, then follow the front edge of the headlining to the driver's side A-Pillar (because the fusebox is on the drivers side, accessed by a pop-out panel near the exterior lights switch). As you're working along, poke the wire beyond the lip of the headlining, or the weight of the cable will simply pull it back out.
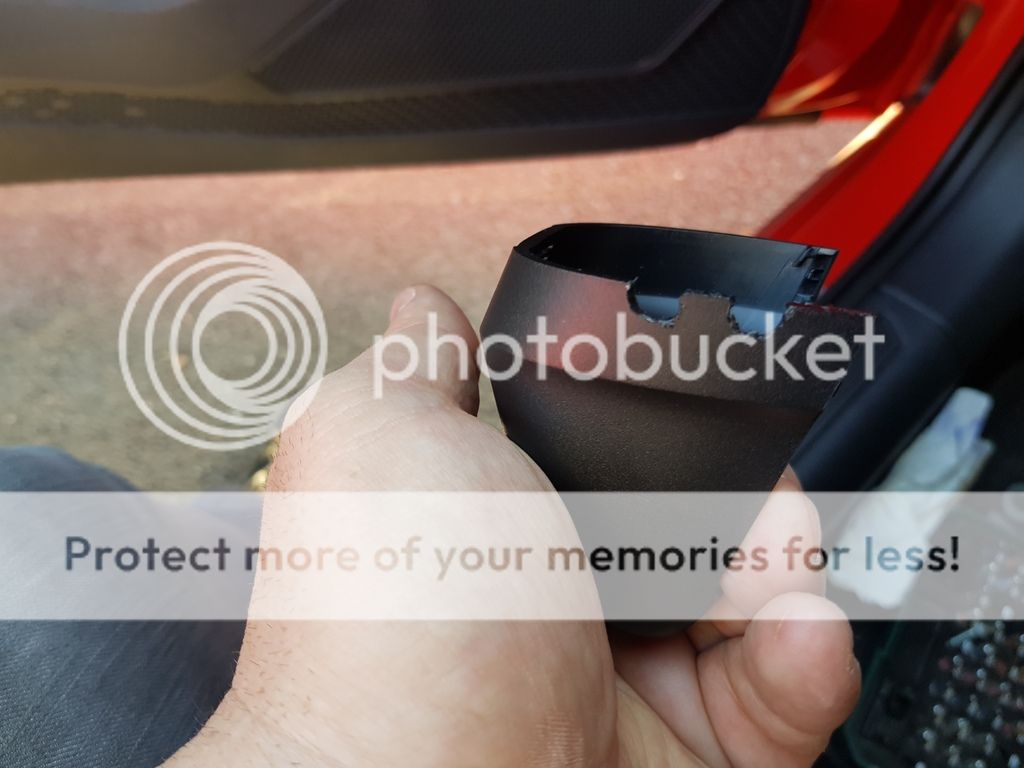
When you get to the drivers side A-Pillar, where it meets the headlining, tuck the cabling in (it's awkward on the corner of the windscreen to tuck in the bend of the cabling), following the top edge of the A-Pillar lining to the door frame edge, and then peel back the lip of the seal on the door frame and you can tuck the wiring down the inside of the A-Pillar trim vertical edge, following it down until you et to the removable panel on the end of the dashboard. Lever that trim off and there's a thin edge piece that you can tuck the wiring into (you can see it is sitting proud of the rubber door seal lip in the picture below, everything tucks back in to the lip afterwards). The power wiring is now tucked into the cavity that houses the fusebox:-
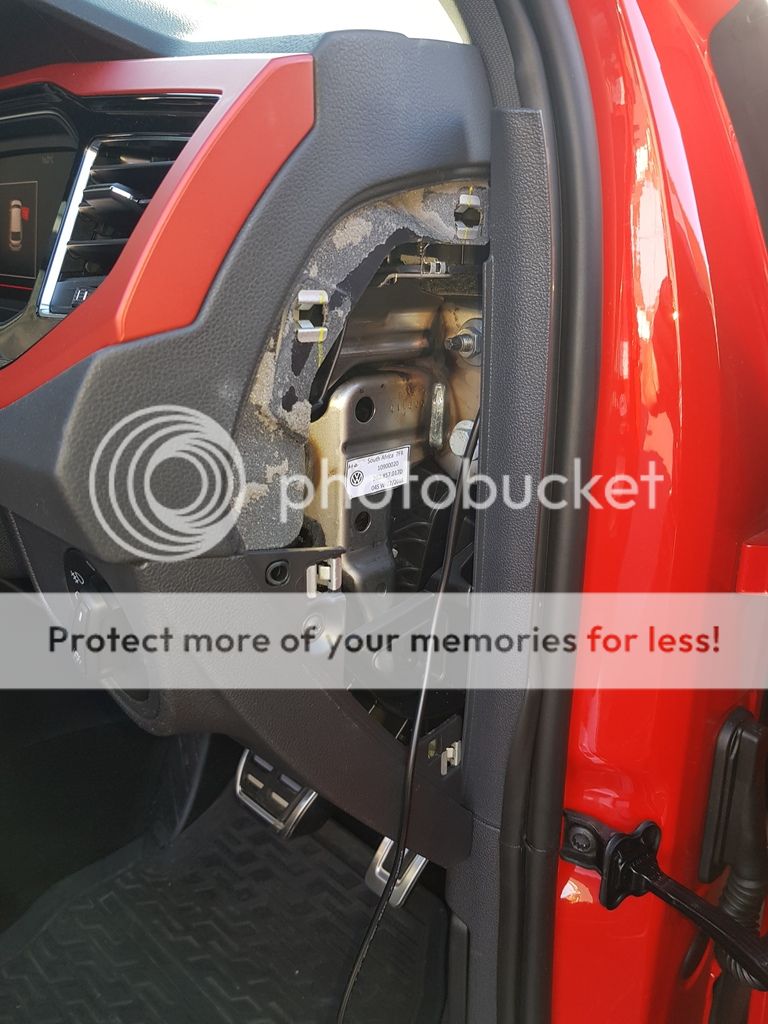
You should be able to see that the wire in the picture above meets the upper nut on the metal bracket - that's the earthing wire from the hardwiring cable. Slacken that nut off enough to get the "crab-claw" spade of the earthing wire around the thread that the nut tightens up around, then tighten the nut back up to give a secure earthing point.
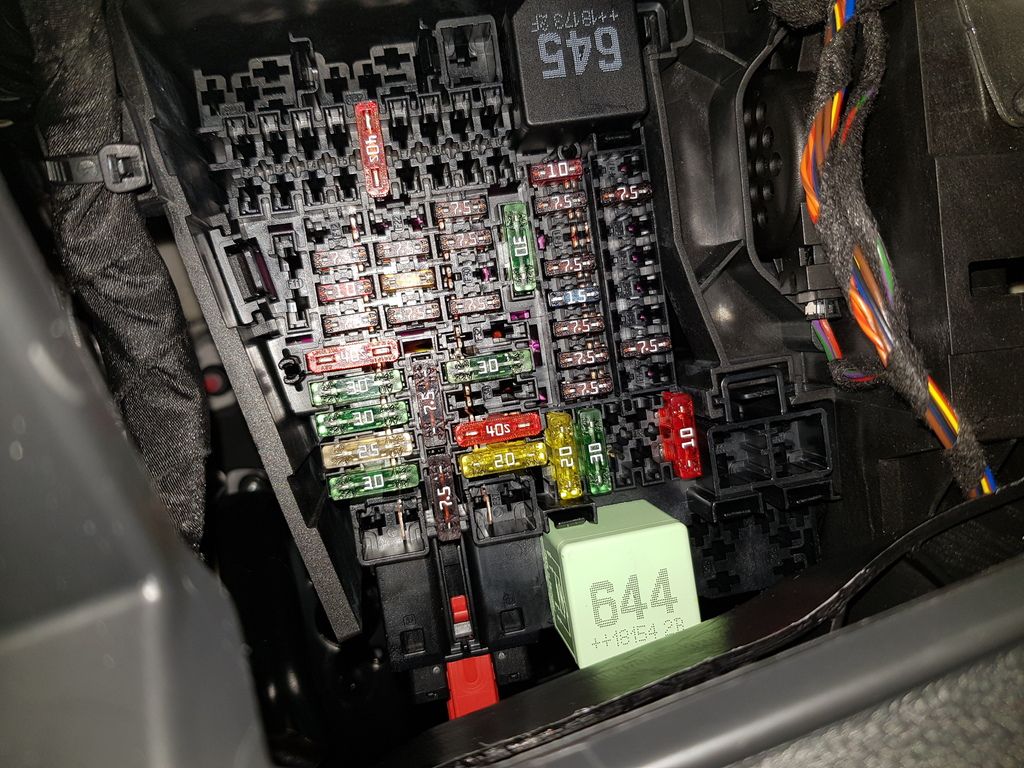
You could pop that dash end cover back on, at this point, but it is handy to leave it off to let a bit of light in for when we pop the cover off that allows direct access to the fuse box. So we now pop the fuse box cover off with a trim tool and look in:-
It's the welly shaped trip piece by the steering column.

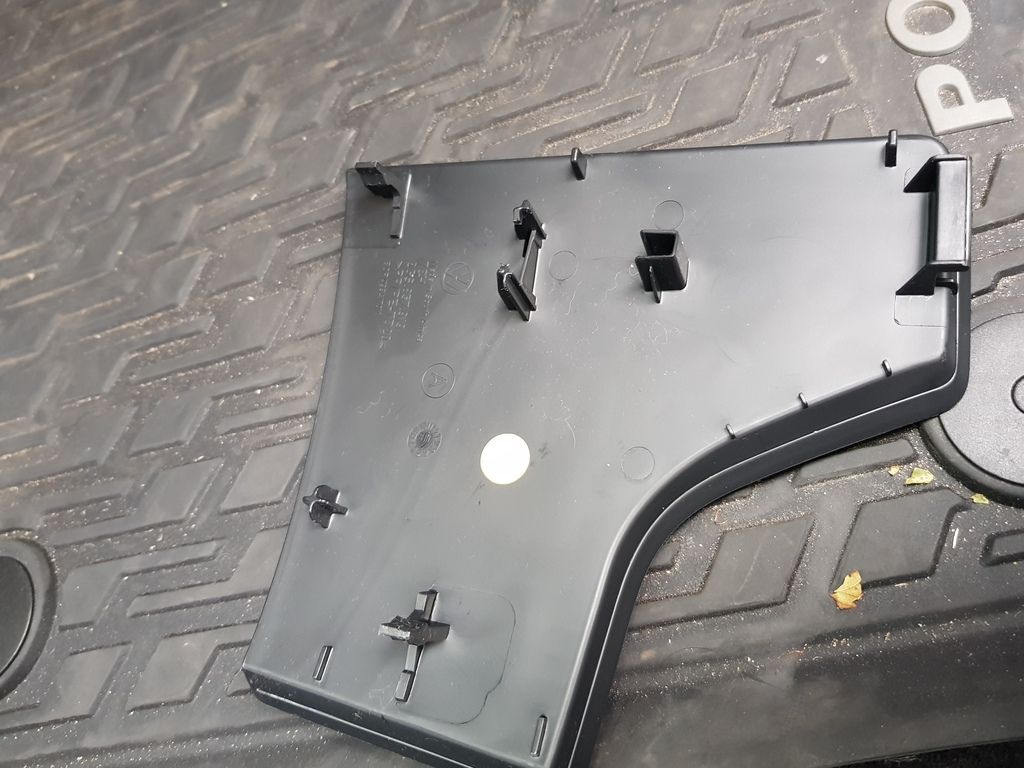
Trim off, to show the mounting pegs.
The exposed fuse box
Depending on whether you have the ability to have parking monitoring or not, you have 1 or 2 positive leads to go with the earth that you already fitted. If you don't have parking monitoring, the unit will only be on if the ignition is on so you'll need a switched live - I picked fuse F55 (cigarette lighter and sockets).
If you have parking monitoring, in addition to the switched earth lead, you'll have a permanent live to provide power while doing parking monitoring, with the ignition off - I picked fuse F6 (central locking). For both leads, I used fuse piggy backs and plugged in. On my dashcam, permanent live is a yellow lead (top left wire in picture below), and the switched live is a read lead (bottom right wire and tap in picture below) - note that the taps are both red wiring, but see the leads they are attached to with a terminal block wrapped in electrical tape:-
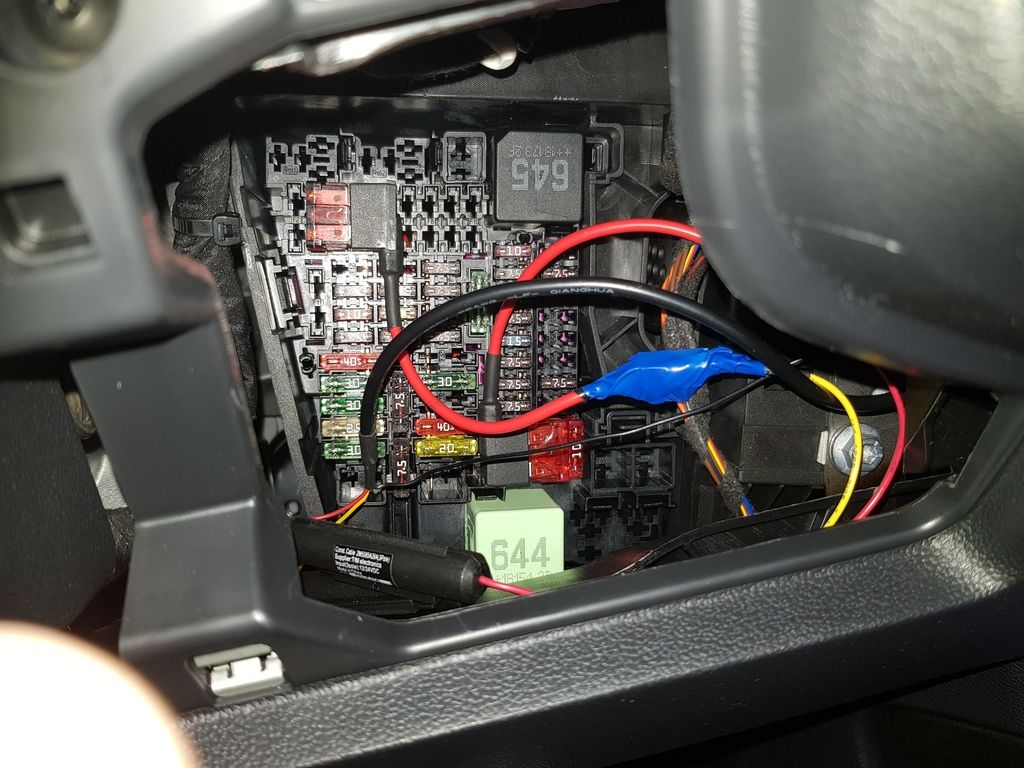
You can also see the skinny black earth lead leading away from the cabling in the bottom left of the pic above to where you connected it earlier.
Here's the fusebox layout so you can correctly identify F6 and F55:-
Pop the cover back on, and if you only had a front camera, you're done.
If you have a rear camera, then you have another lead to feed from the top of the rear view mirror casing where it meets the headlining - this lead is going to feed along the passenger side though. Again, tuck cabling beyond the lip of the headlining running across the top of the windscreen, to the passenger side A-Pillar, where it meets the headlining, tuck the cabling in (it's awkward on the corner of the windscreen to tuck in the bend of the cabling), following the top edge of the A-Pillar lining to the top of the door frame edge.
This time though, we're going to follow the headlining to the back of the car.
Again, we peel back the rubber door frame seal and tuck the cabling behind the lip of the headlining edge then sort the lip out to overlap the headlining edge again, until we get to the B-Pillar between the 2 door frames. The cable can simply tuck into the gap where the 2 edges are with a trim tool, following along the length of the B pillar until you hit the rear door frame and you are once again peeling back the rubber lip of the door frame and tucking cabling behind the headlining lip before reinstating the rubber lip to overlap that headlining edge. You work your way back to the C-Pillar (the last corner that meets the boot lid), then tuck into the gap between headlining and C-Pillar. At that point you're left with about 1.8 metres of slack cable poking out the rear of the headlining that'll plug in to the rear camera.
B-Pillar tucking:-

C-Pillar tucking:-

Putting this together, I realise I could have taken more pics, specifically to demonstrate poking in the cabling around corners of the windscreen and under the door frame rubber seals.
The top edge of this pic shows the exposed edges of the headlining and door frame seals, so you can imagine how things tuck back in:-
Beyond the point of where the cabling is at the back of the car is where it gets awkward/fiddly, feeding the rest of that cabling through the bodywork cavities and into the tailgate...I've ran out of time, I will have to continue the guide another day - but I do have plenty of pics for this bit as there's an easy(ish) way of doing this, and probably multiple nigh-on impossible ways to thread the wiring through some barely accessible holes that are difficult to line up with the cable.
Always use trim tools and not the blunt end of a piece of cutlery - to avoid scratching trims and piercing or crushing the cables. trim tools cost coppers per set on ebay.


