This was my first detail on my own car I did back in March.
The car:
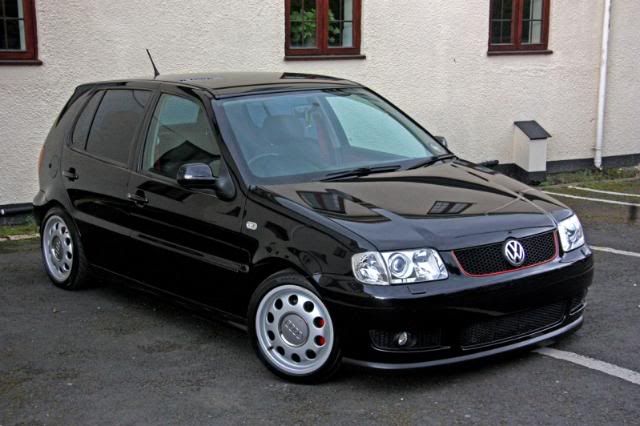
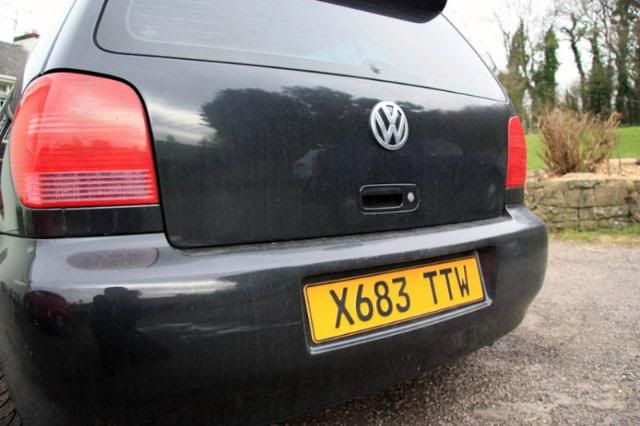
Polo GTi
The kit:
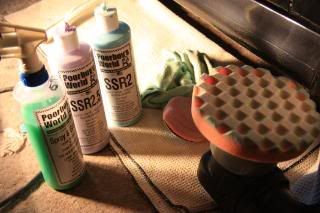
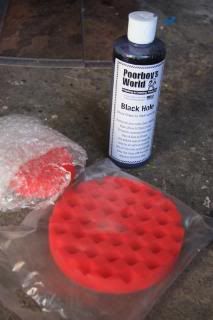
Kestrel DA with Poorboy's polishes (SSR1,2, 2.5 and Black Hole)

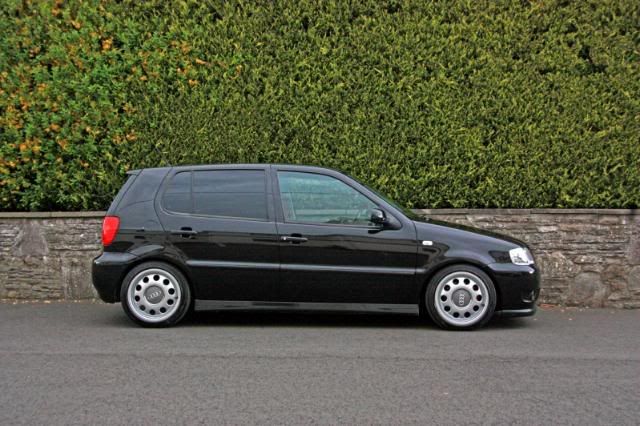
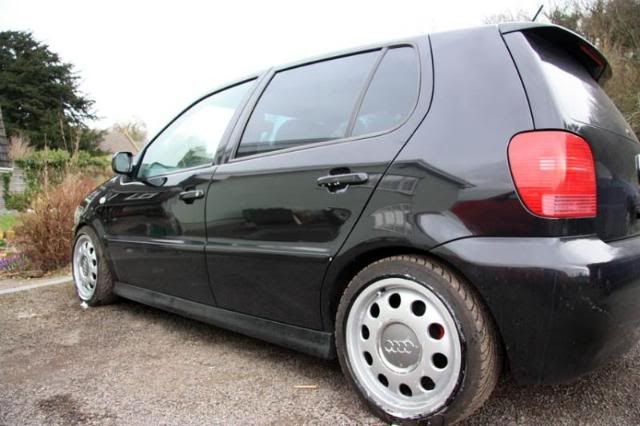
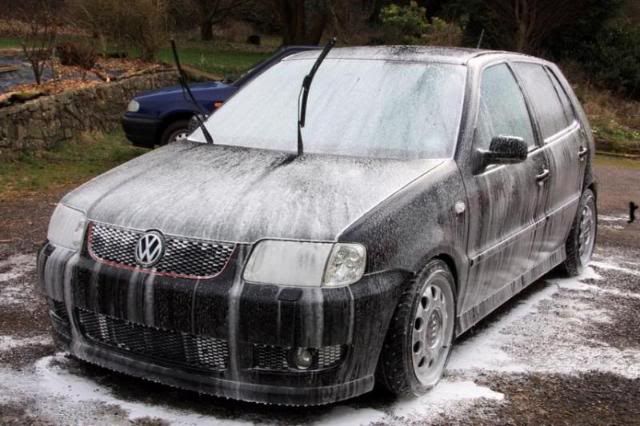
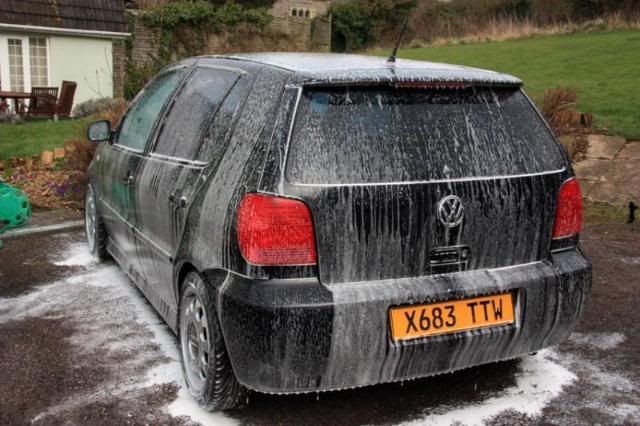
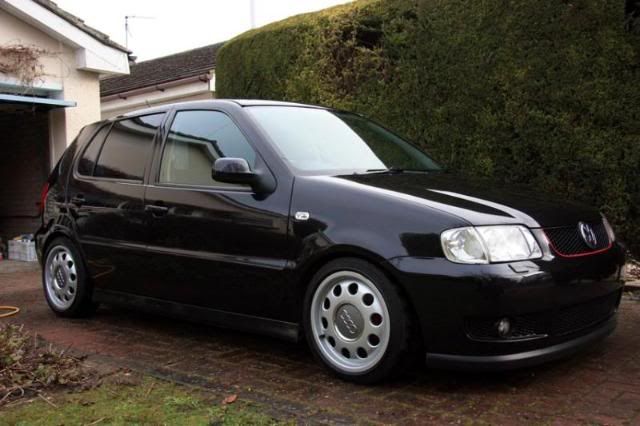
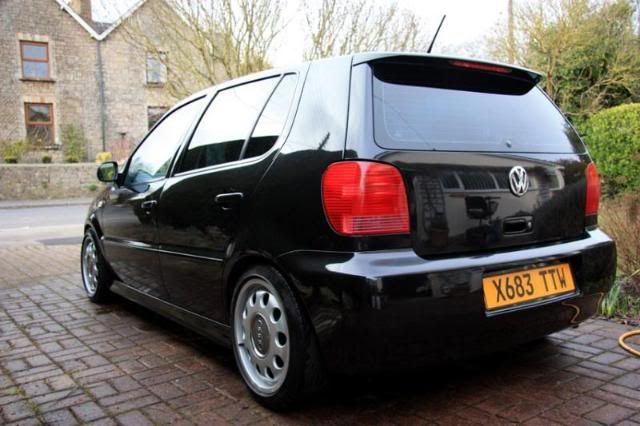
Anyway, the Car looked pretty minging to start. And yes the stance looks gash but that'll be done in due course.
Pics befores (actually had also started on the wheels):
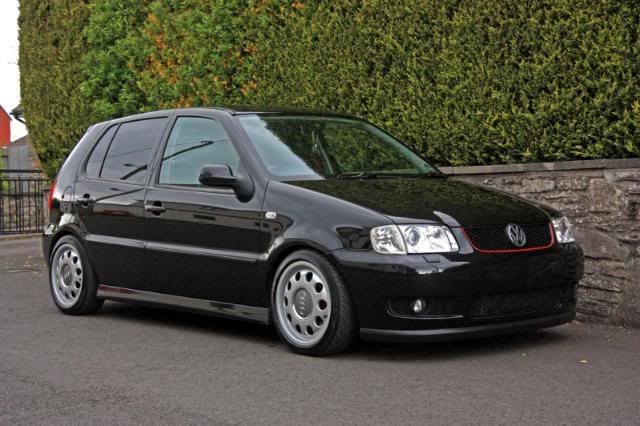
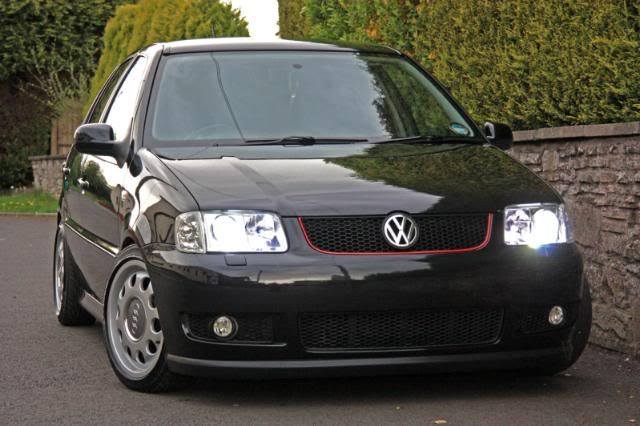
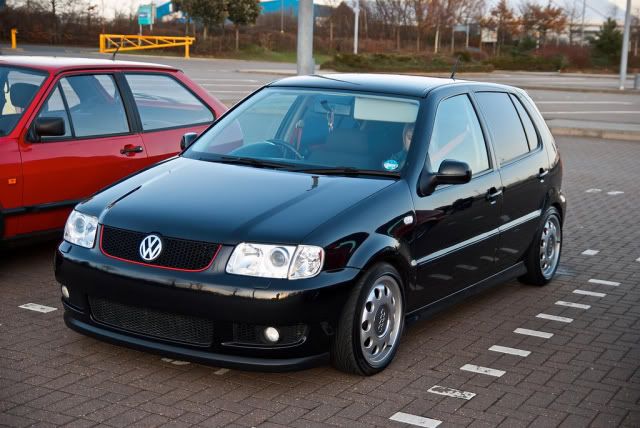
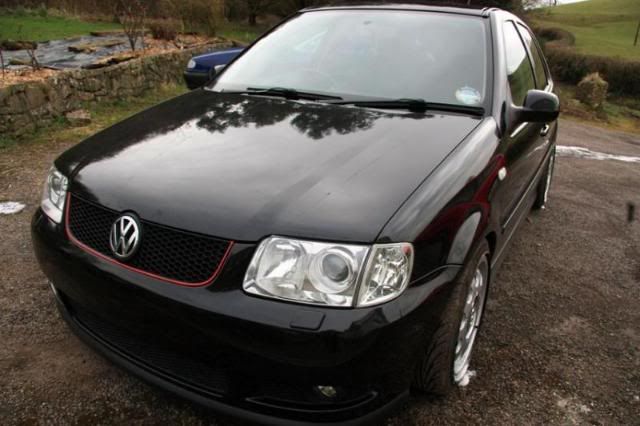
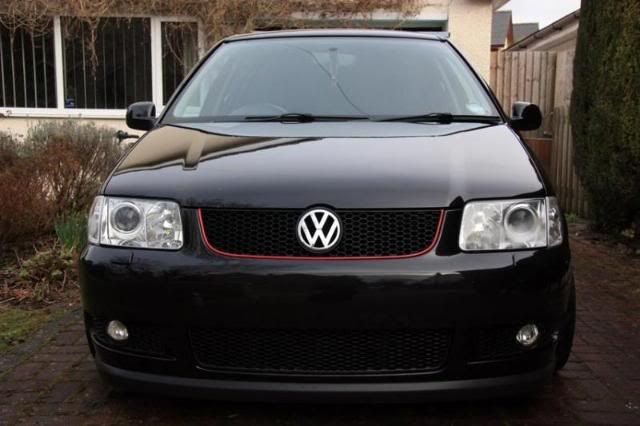
The front didn't look too bad considering the rest of the car
The car was then foamed using the Elite Car Care solution as i still have a tad left knocking about. Wheels sprayed with Billberry wheel cleaner.
left for 5 mins
Then Jetted down
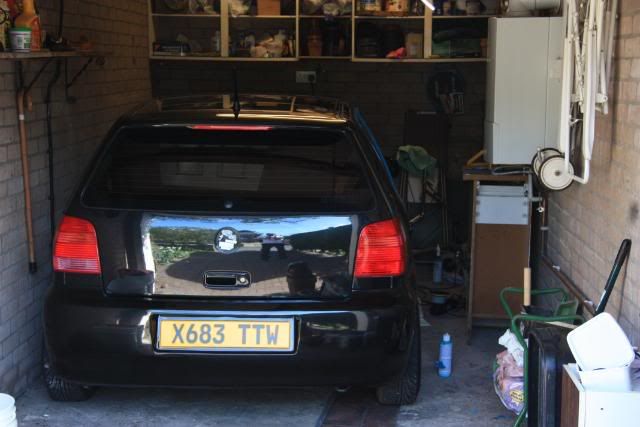
Then taken to my Nan's house where it lived in the garage for rest of the detail. It was then washed and clayed.
Washed using Megs Shampoo Plus, two buckets and grit guards, and a woolen mitt.
Clayed using megs clay, with a diluated solution of free sampled Quick Detailer I got from a company.
Dried using two large extra long haired microfibre towels.
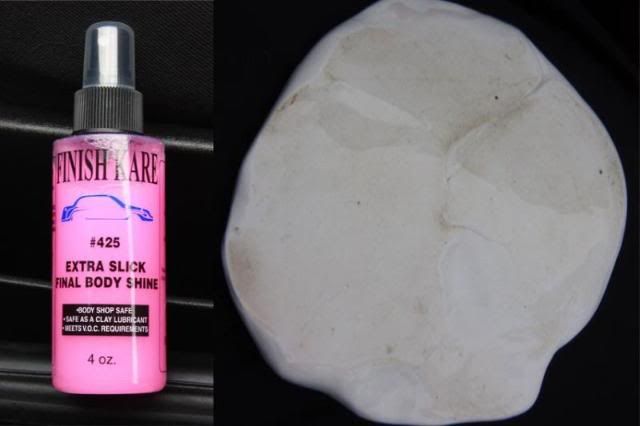
Here's the Quick Detailer which I diluted 3:1 with water for the clay lub, and the clay after a session on the bonnet
The car overall wasn't the worst I'd seen previously in terms of contaminants.
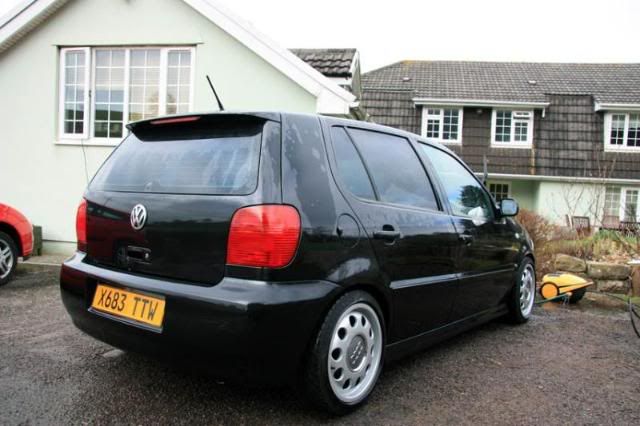
Clean car:
I should've washed it again here, but it was starting to drizzle so didnt fancy my chances.
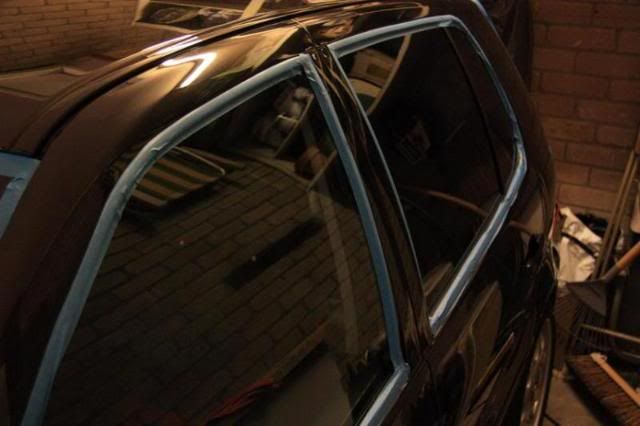
Then got the car in the garage and starting inspecting the paint.
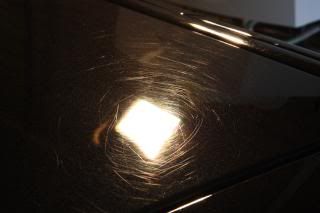
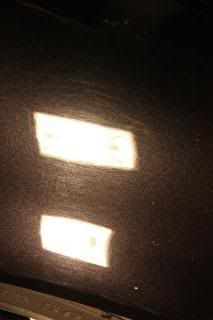
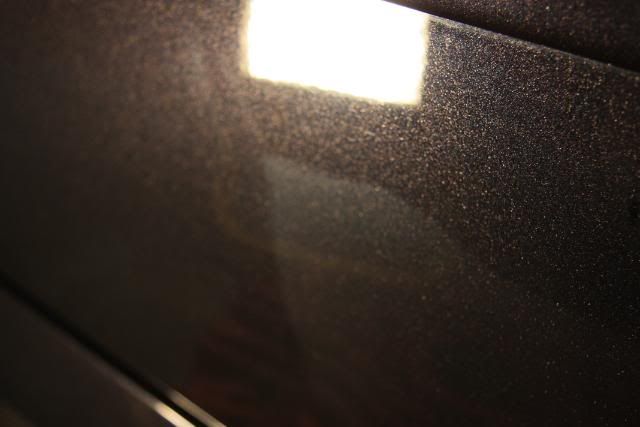
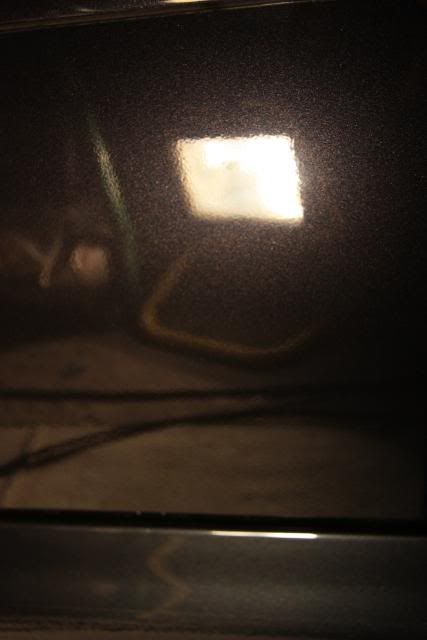
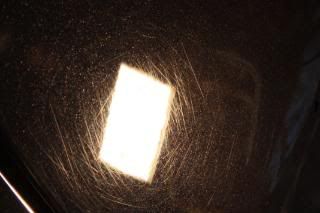
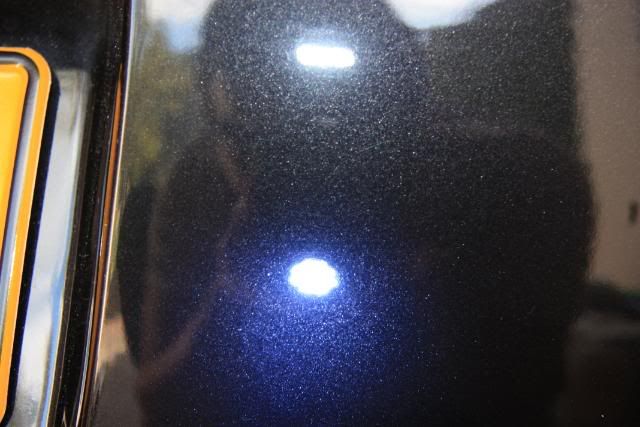
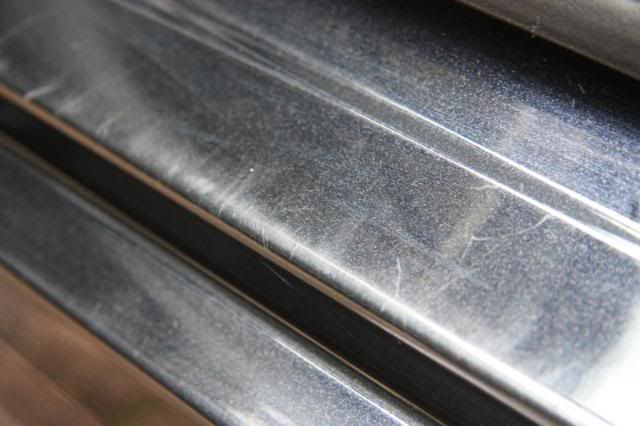
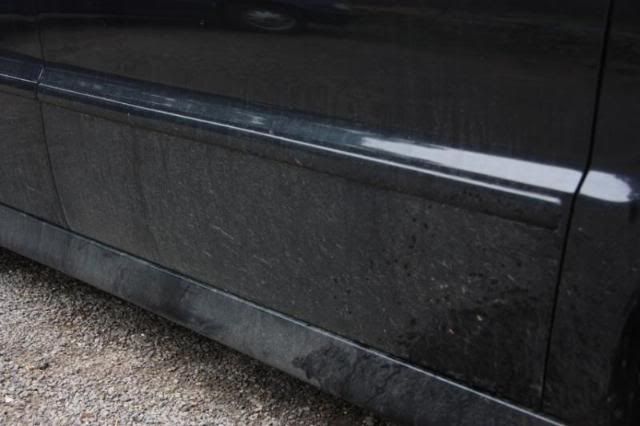
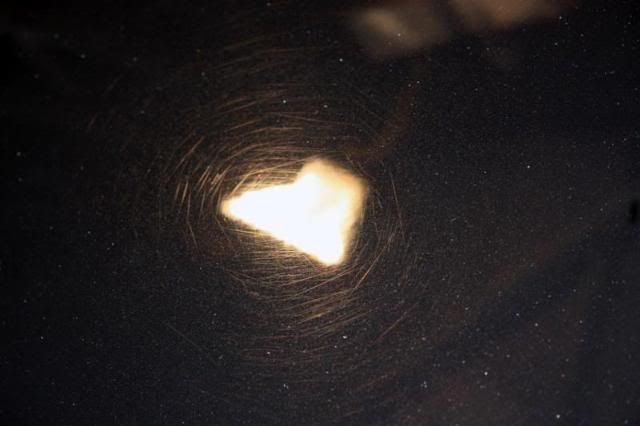
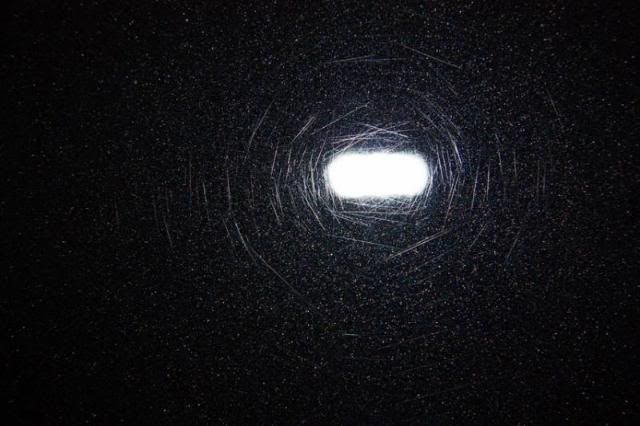
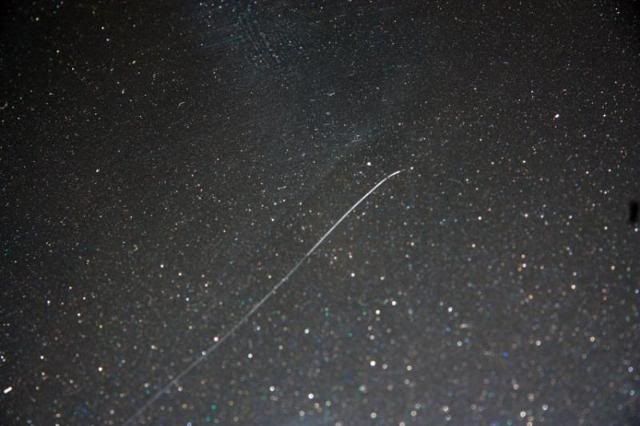
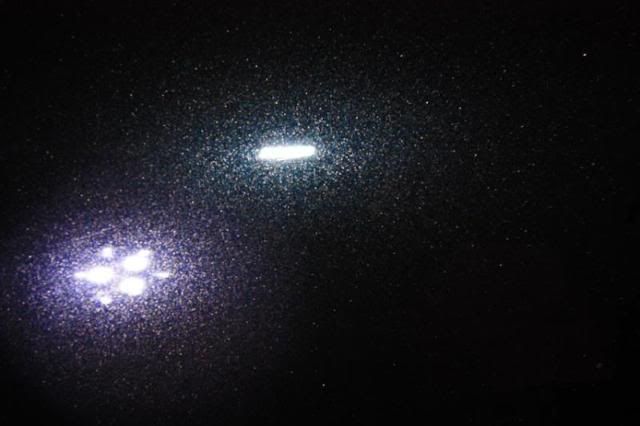
As you can see, the paint was heavily swirled on every panel
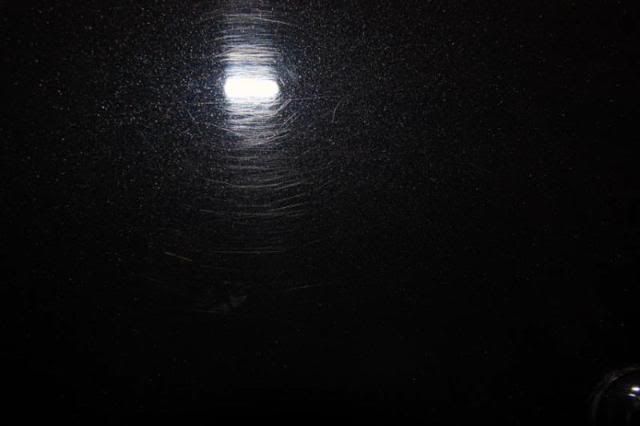
The bumpers and offside mirror weren't that bad though, as I'd learnt to wash properly before they were sprayed, however still looked disturbingly marred under the light. the front bumper also had a scratch
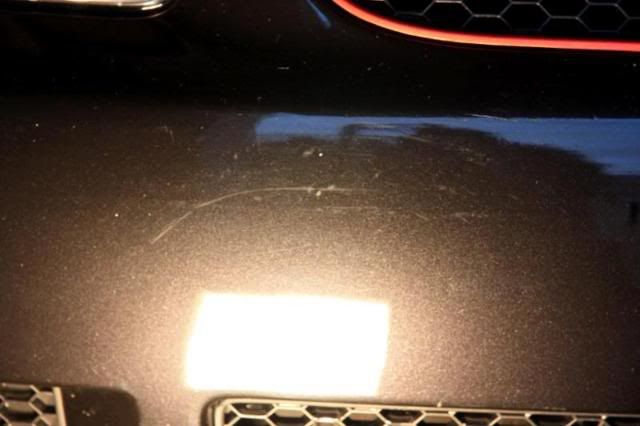
Bonnet
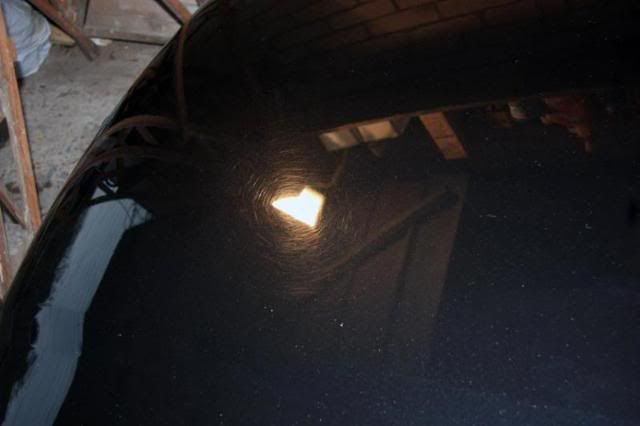
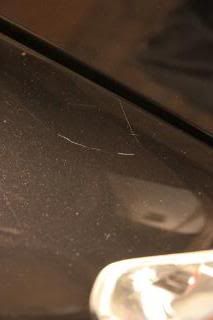
Scratch on bonnet
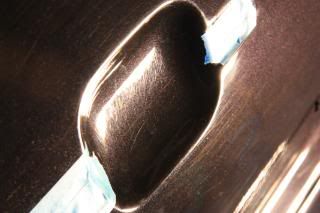
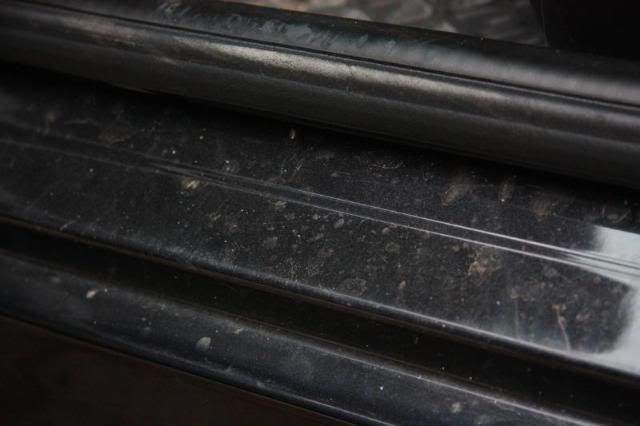
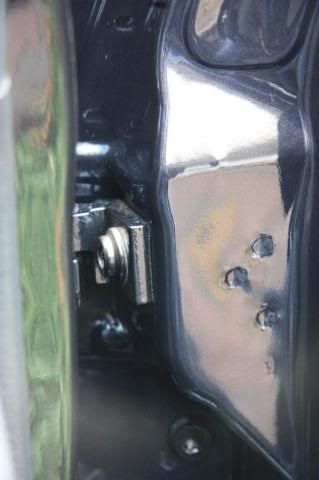
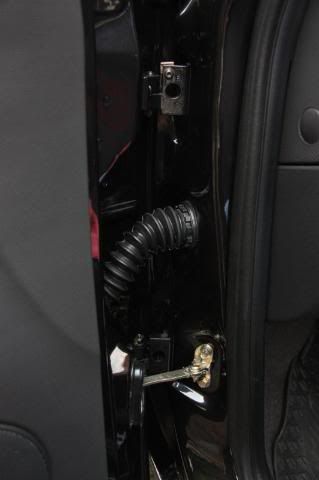
Chip on the nearside rear door
Closer shot
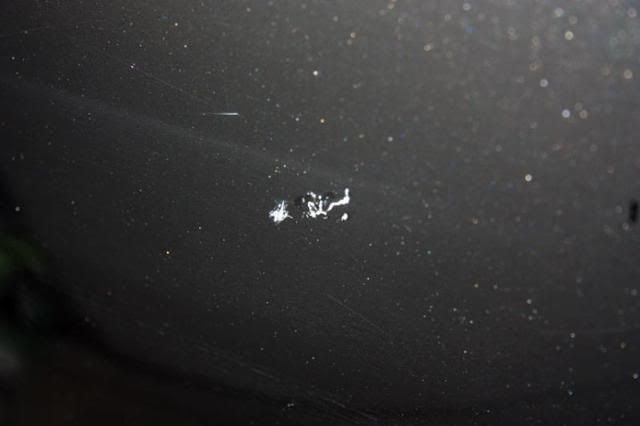
I knew this chip wouldn't come out with the machine correction. And will hopefully be the only inperfection left when finished!
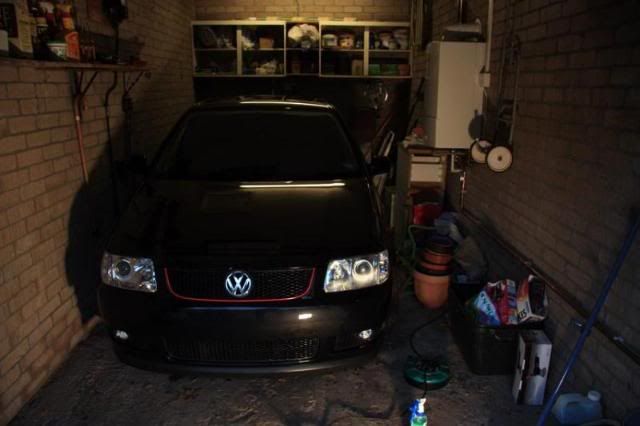
Car was then taped up
tight garage!
Was using a Kestrel DA S-6 polisher, with Serious Performance branded 6" and 4" pads. Poorboy's SSR1, SSR2, and SSR2.5 polish.
Test areas with the polishing pad and SSR1 showed that I'd need a heavier combination to get a decent correction.
I then tested the bumper with this combo as it's not original paint, and came to the same conclusion.
I then moved onto SSR2 with the same pad. It did the trick for the bumper, but not the rest of the car. So I stepped up to the cutting pad with SSR2.
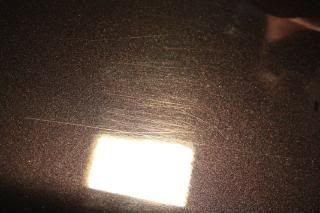
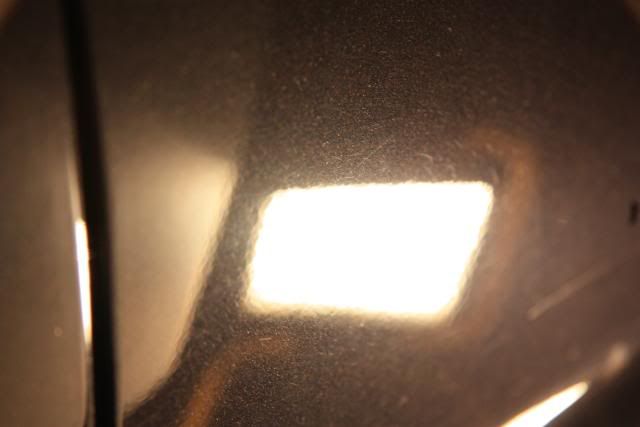
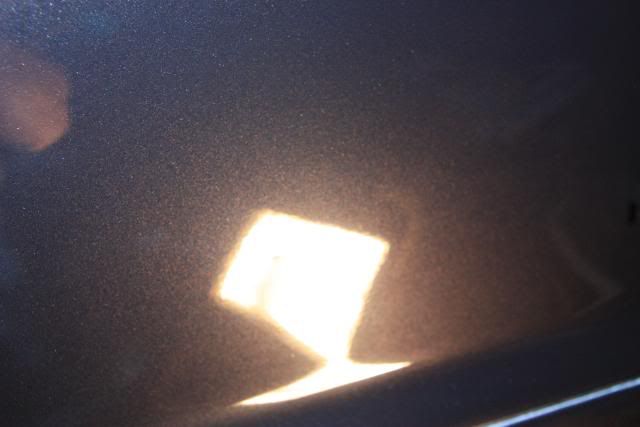
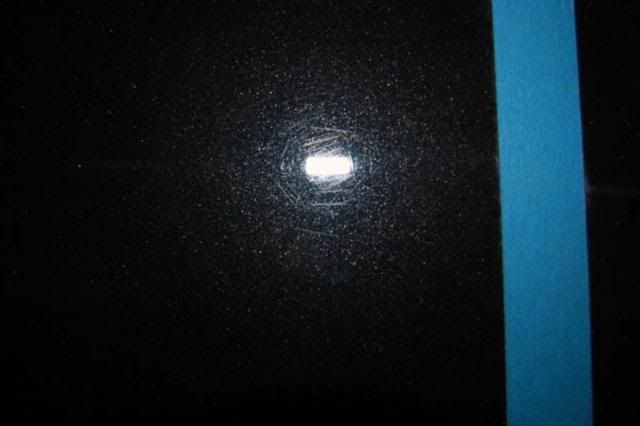
This combo was good, it got rid of alot of the inperfections, leaving only a few small scratches. Notice in the pic below
I continued using this combo for the bonnet and whole passenger side. Looking back now I may go back over it with SSR2.5 and a cutting pad to get down to the remainding small scratches on certain areas. I was too scared to use this level of cut for a first go.
And even though the remainding scratches are very insignificant and can only be seen under intense light, I do like perfection so may well do this
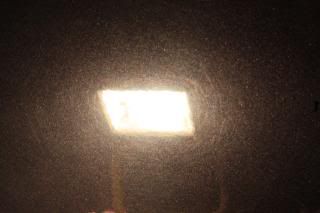
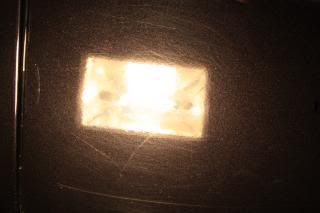
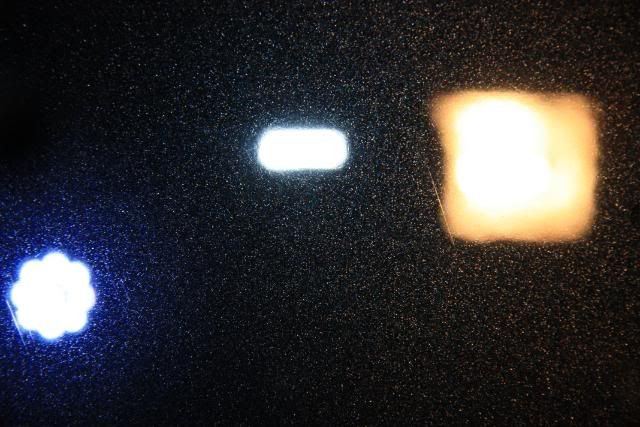
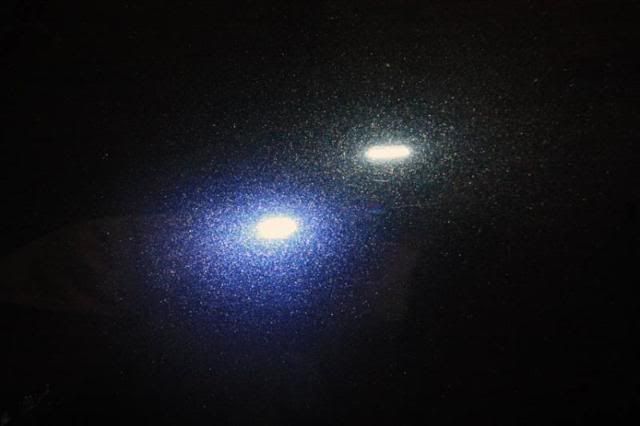
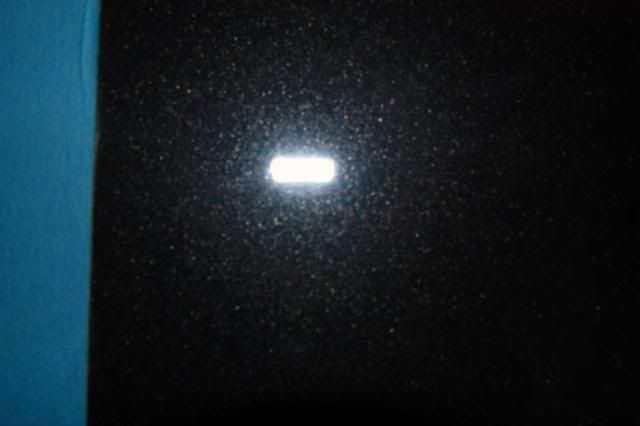
Anyway here are some results. Apologies for the claustaphobic flash pictures. My light konked out the minute I turned it on. Which also made things quite hard when polishing!
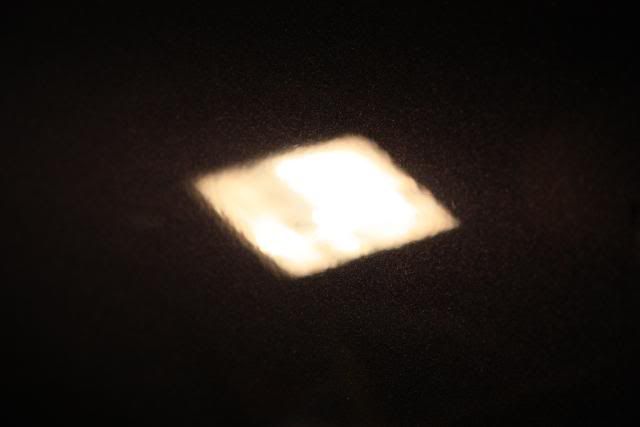
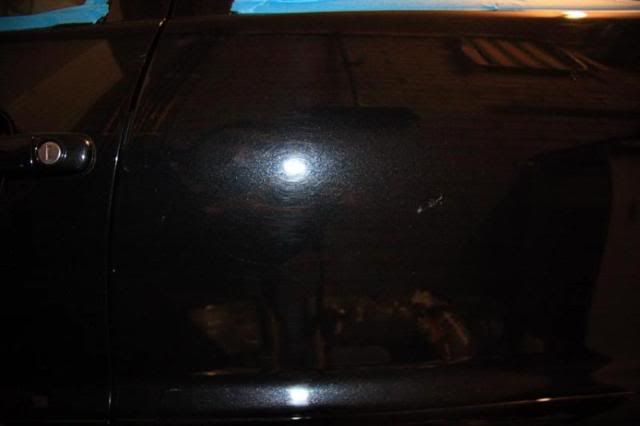
door before
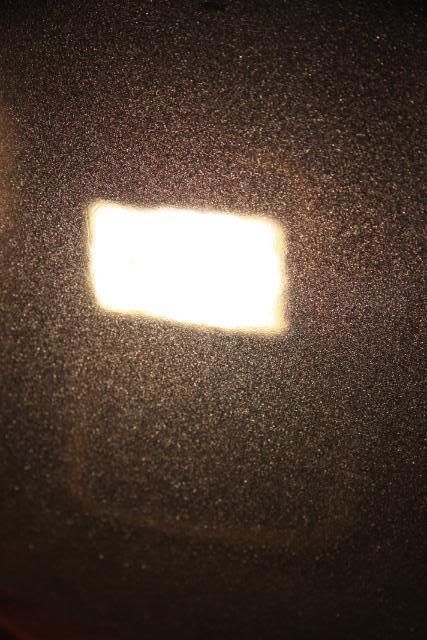
after
Left is before
Right is after
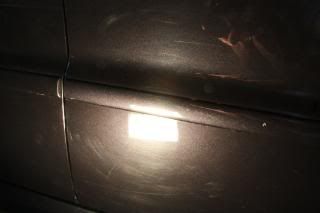
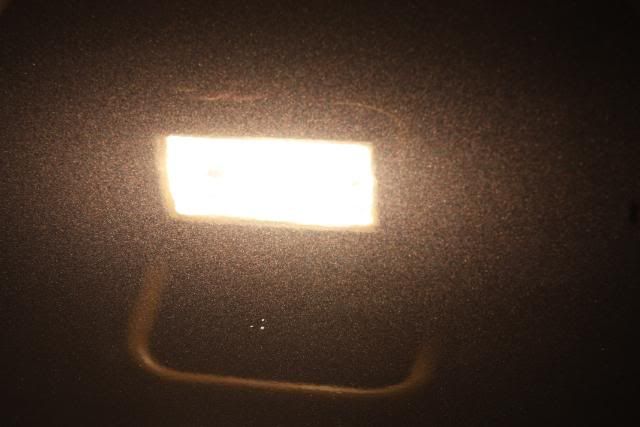
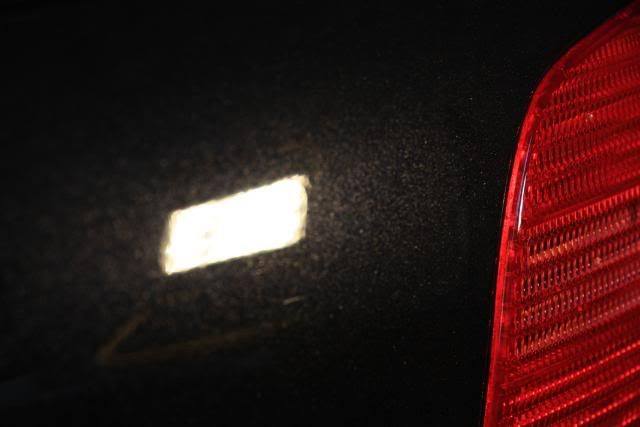
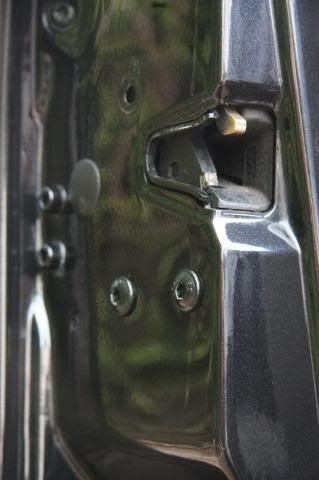
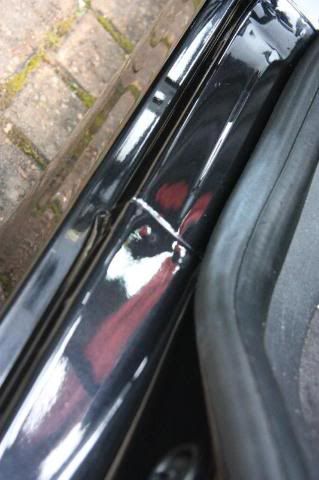
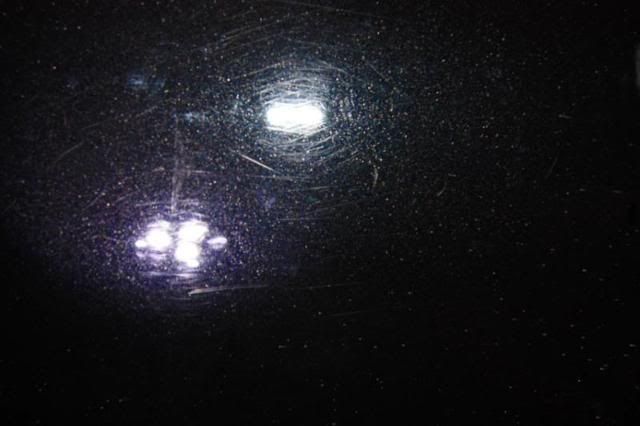
A ghastly scratch on the nearside rear door before
Completely gone after (you can see some light scratches I wish to abolish with the SSR2.5 at a later stage on the flash also)
I didn't get as many photos as I'd hoped. Mainly being down to my light malfunction! A friend also came round for help on a few mods to his 9N3 so i was a bit distracted.
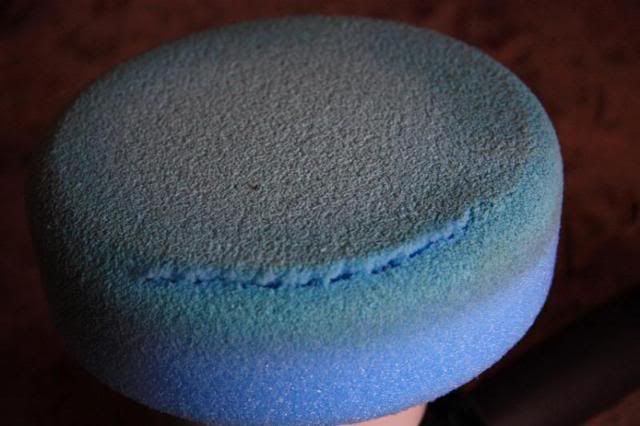
My cutting pad also ripped through
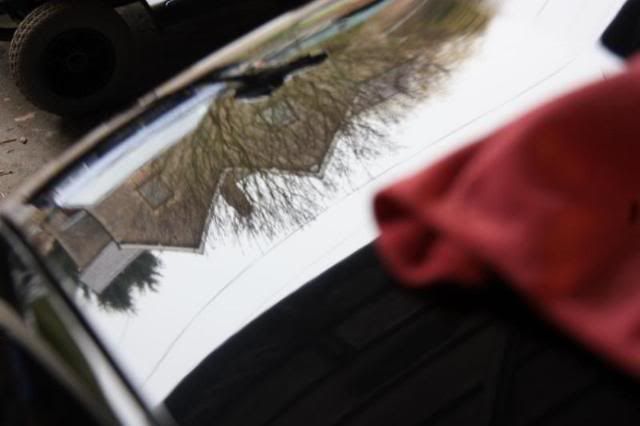
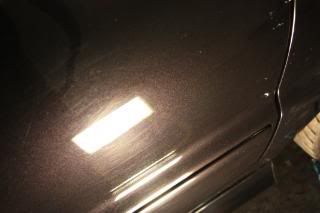
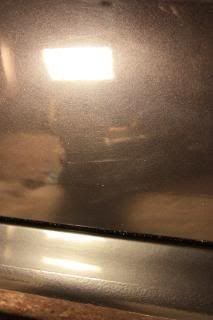
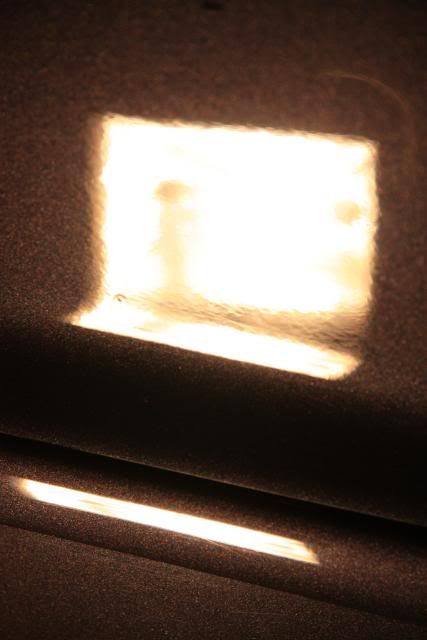
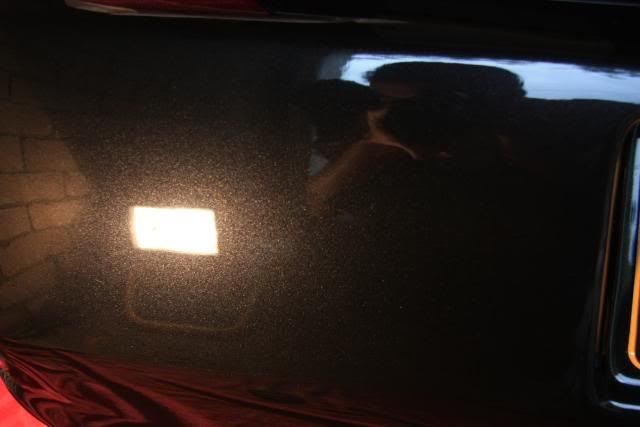
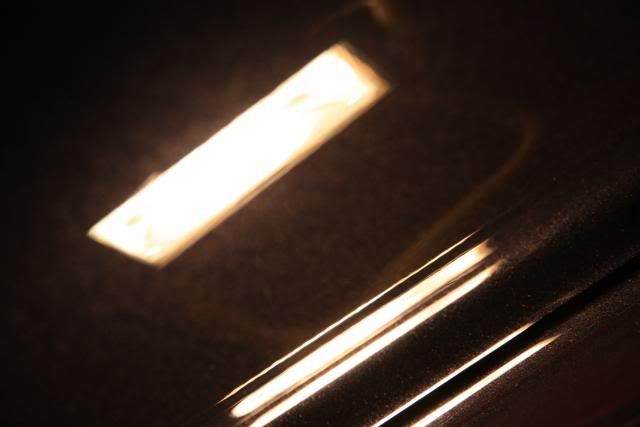
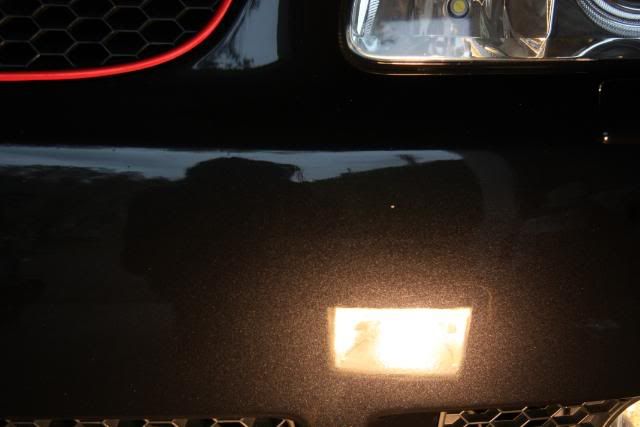
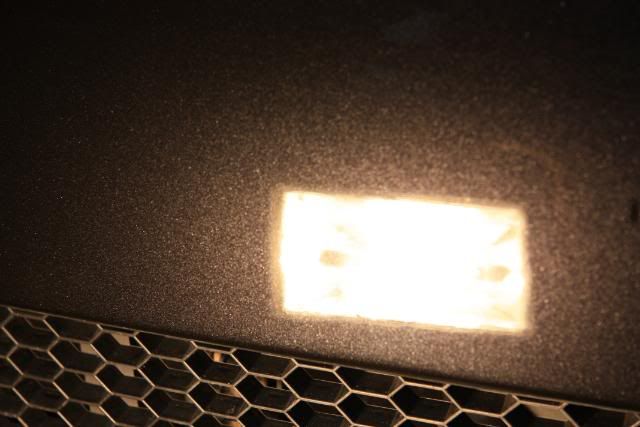
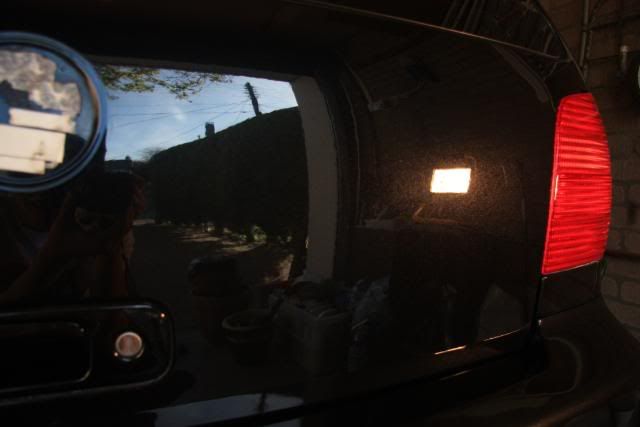
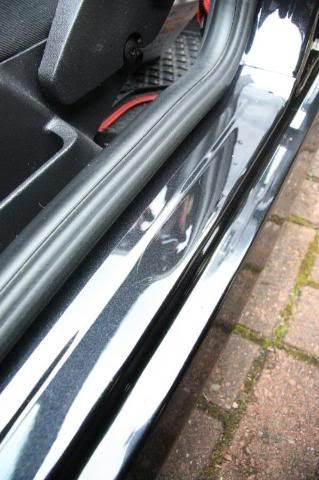
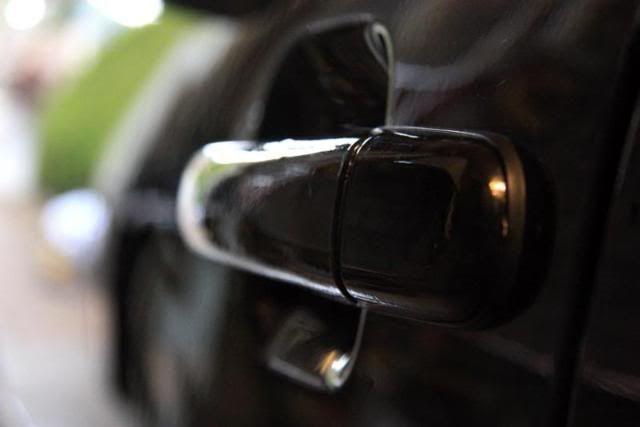
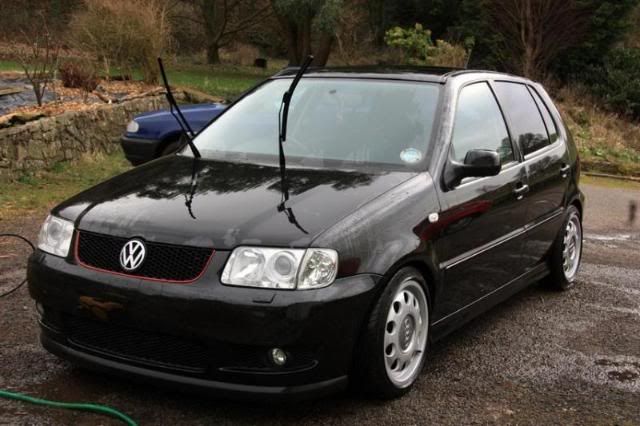
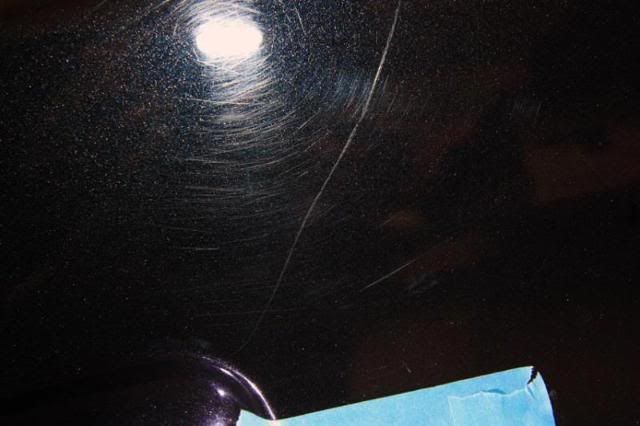
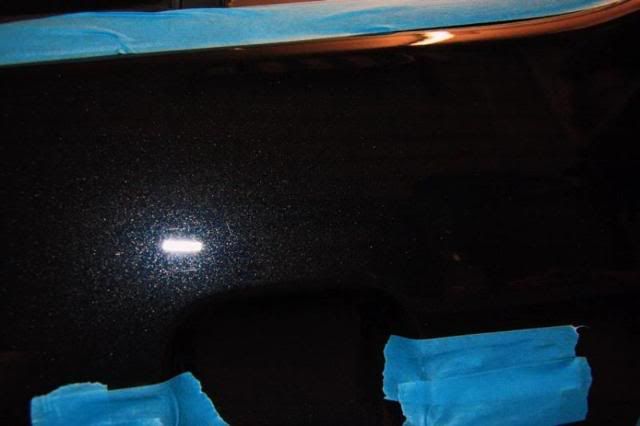
Here's one of the bonnet so far though. You can see the depth of the shine here, the reflection of that house is from the otherside of the street! A good 40 feet away. And the cloth is sat on the bonnet.