
There are loads of tools you need for this job and i never thought to write them down as we used them, so i cannot be helpful on this part, all i can say is that most of the tools are common enough and you should have lying about, however there is one that catches a few people out, so if you dont have it, find one before you start. I think its called a multi spline socket, looks like a torx bit but with more teeth.
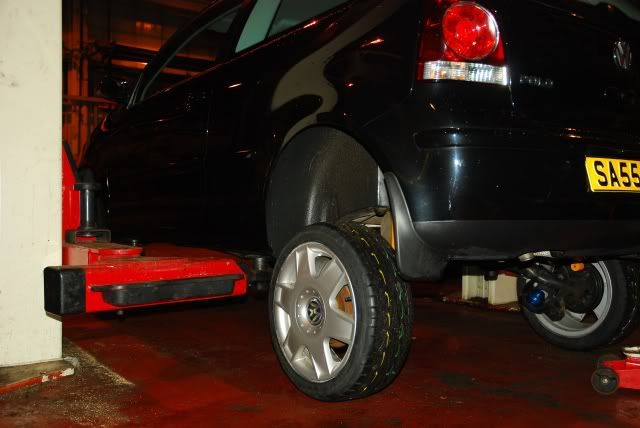
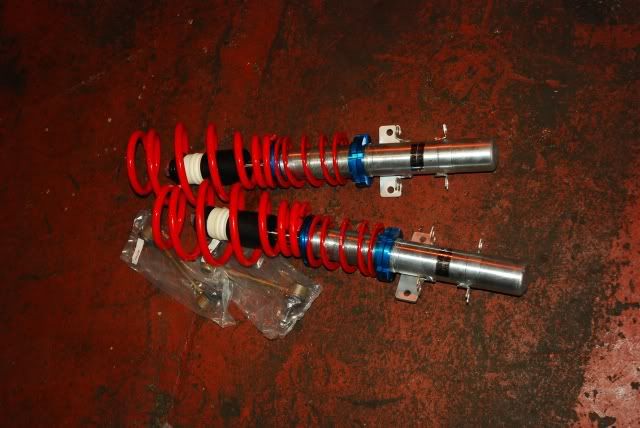
Before:

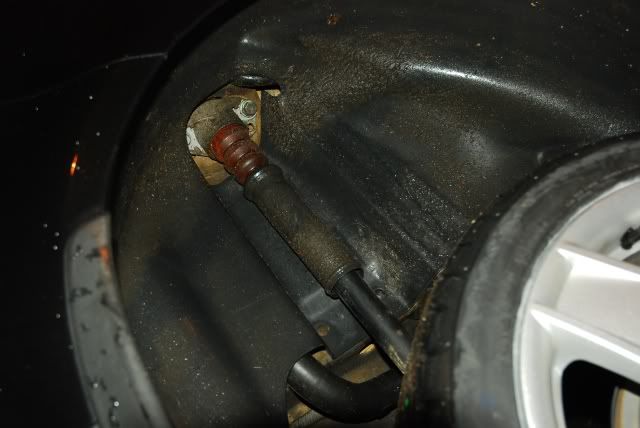
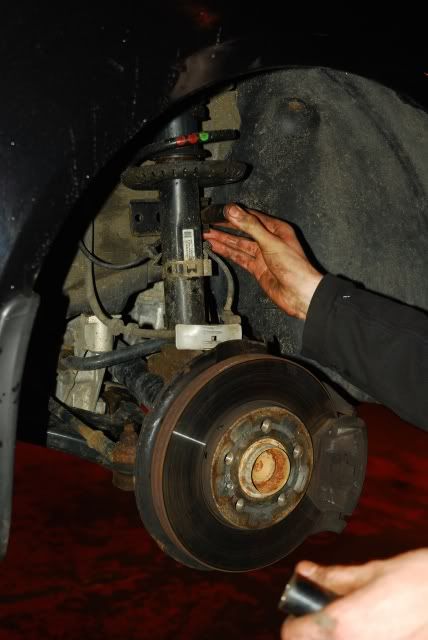
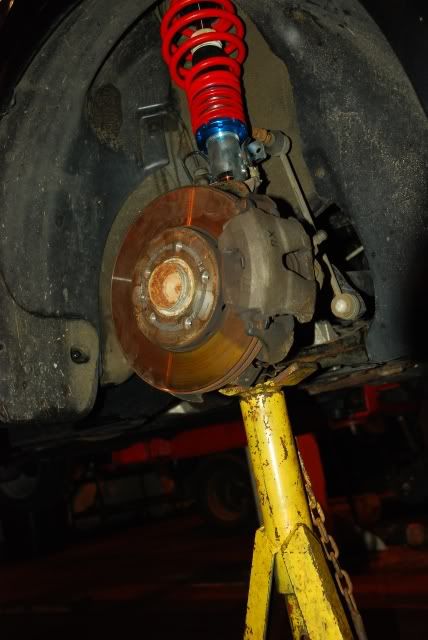
Firstly, jack the car up, use axel stands, or lift as we used, remove the bolt at the bottom of the shocks.
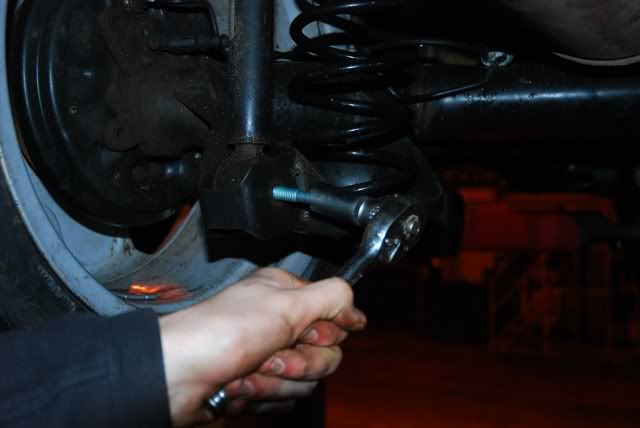
It should now look like this.
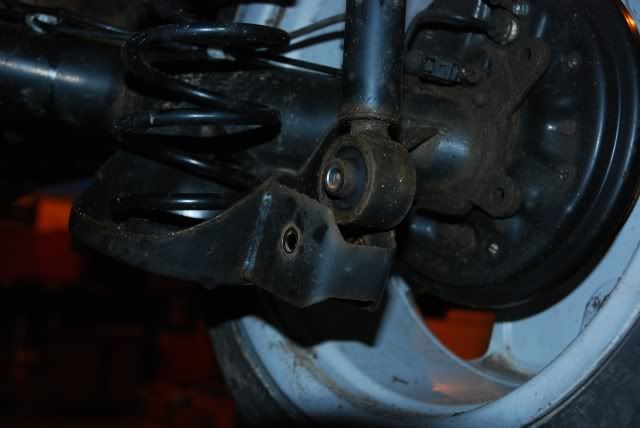
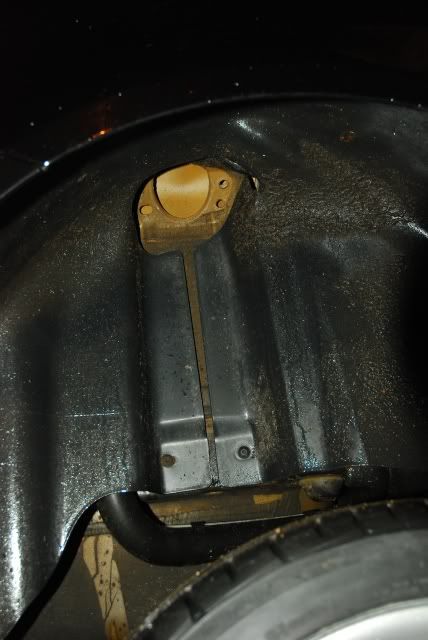
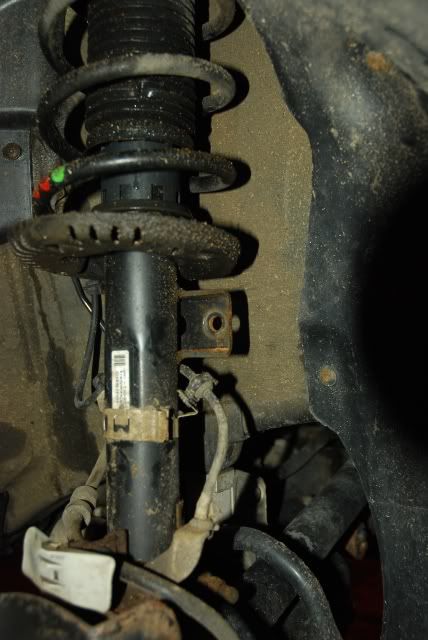
Now do this on the other side if you have both rear wheels of the car jacked up off the ground. take the weight of the axel though as once you remove the 2 bolts the axel will drop.
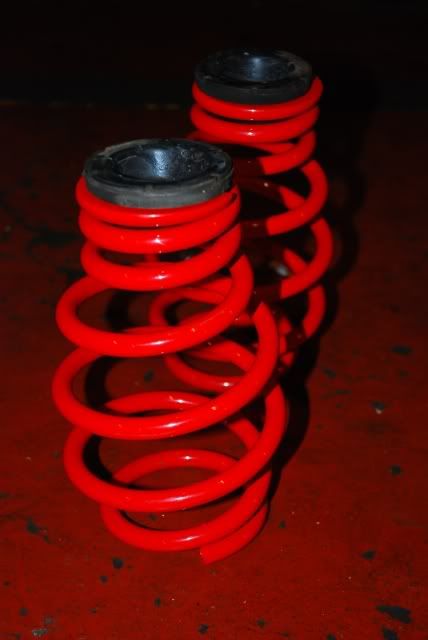
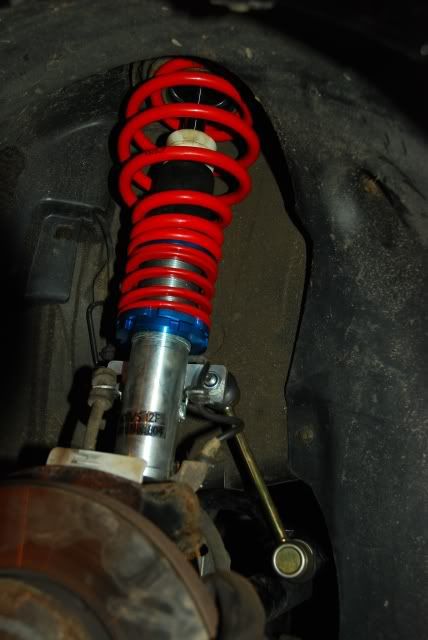
Remove the springs if they havent already bounced out, keep the rubber bits that are on the top of the springs for later, and should look like this.
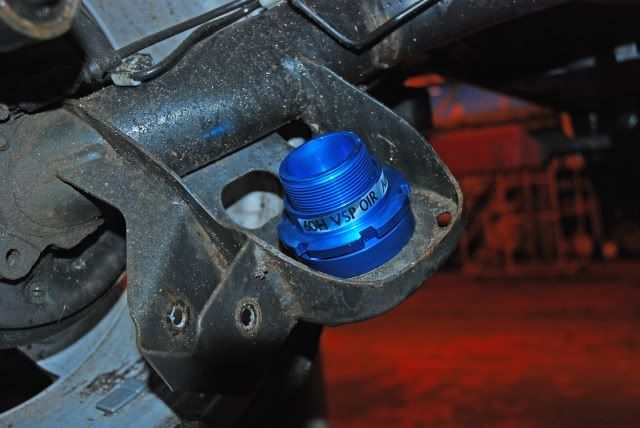
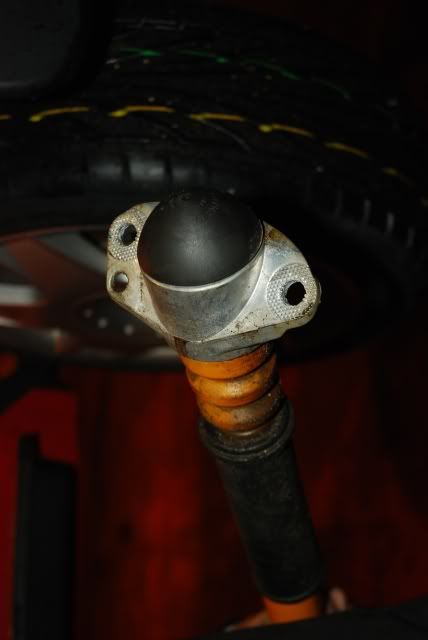
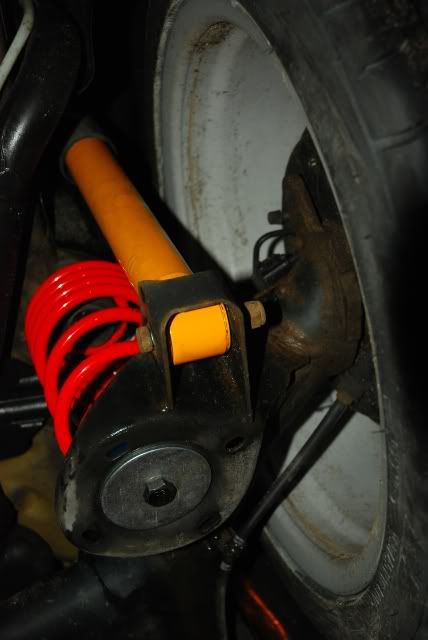
Now bolt the new spring adjusters into place like so.
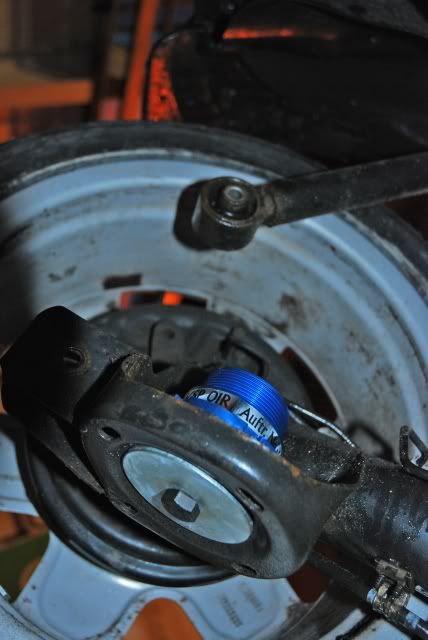
Adjust them by screwing the top piece around
Remove the 2 bolts holding the shocks on the car, do this on both sides and they should just fall out.
Like so.
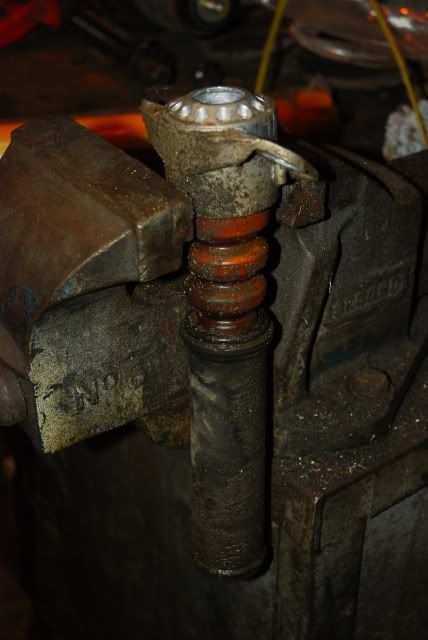
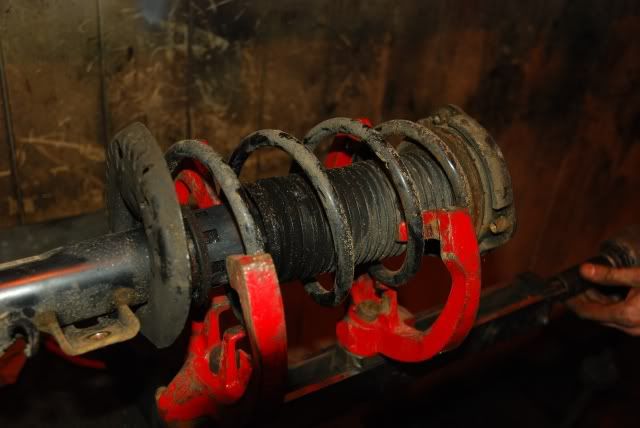
Now it starts to get a bit more comlicated. We put the shock into a vice, and attached some mole grips to the centre piece at the top to stop it spinning while we unscrewed the nut.
Once unscrewed the bottom of the shock should fall out, keep everything as it is as the bit in the vice needs to go back on the new shock.
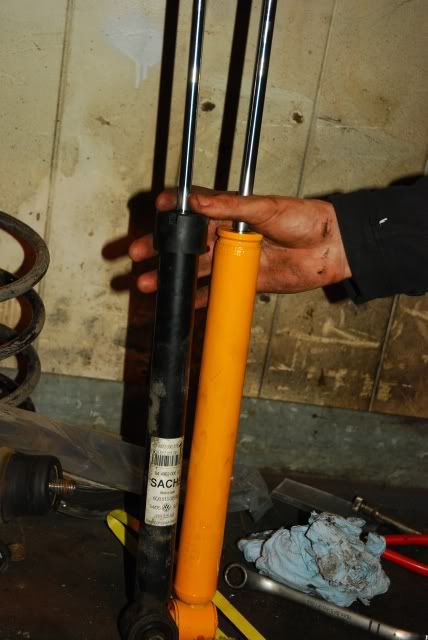
Old vs new.
Tighten the new one up in the same way with the new shock in.
woop.
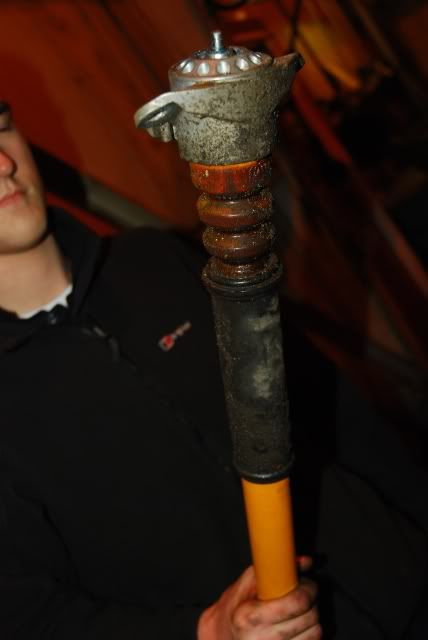
But remember to put the plastic cap on the top after.
Now put it back on the car the same way it came off, 2 bolts.
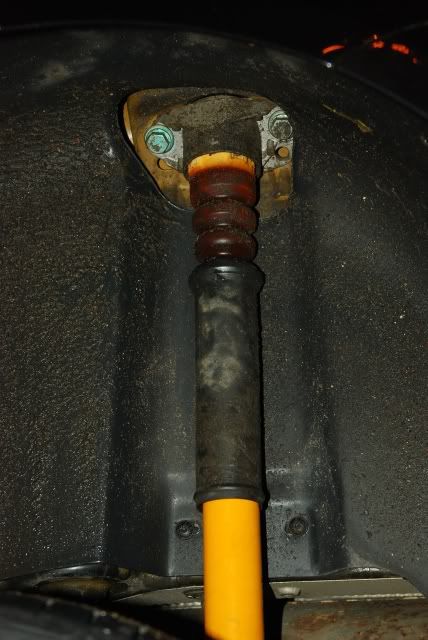
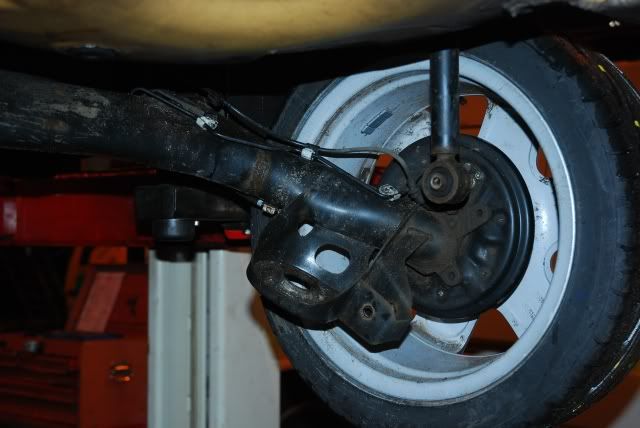
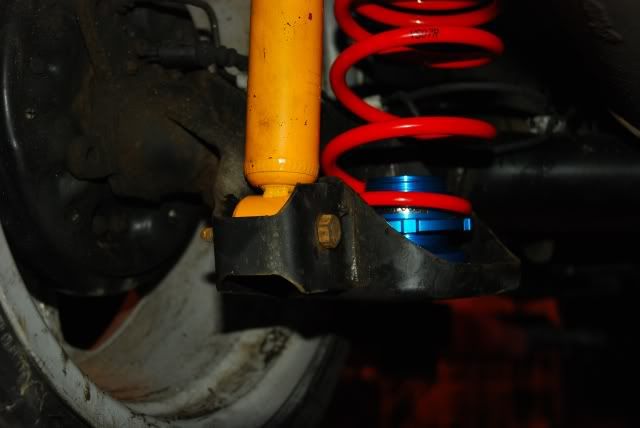
Should look like this from below.
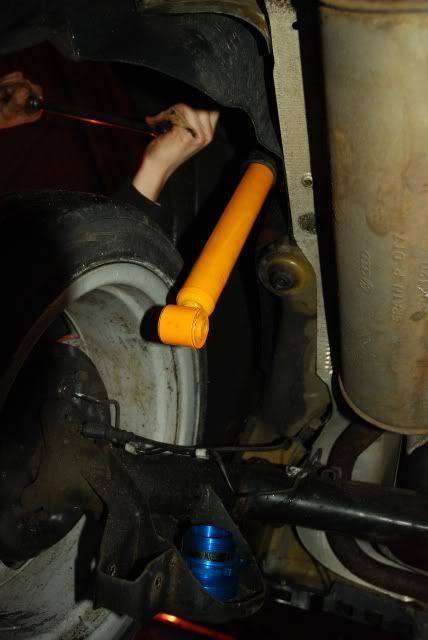
Do the same for the other side and you should have something like this?
Now get the rubber bits from earlier when you removed the old springs, and put them in the top of the new springs.
This bit is a little awkward with just 2 people, you need to put the springs in place (remember the rubber bits go at the top, they should fit nicely to the car) and lift the axel so you can put the 2 bolts through the new shocks
It should now look like this? tighten up them bolts and thats the backs done.
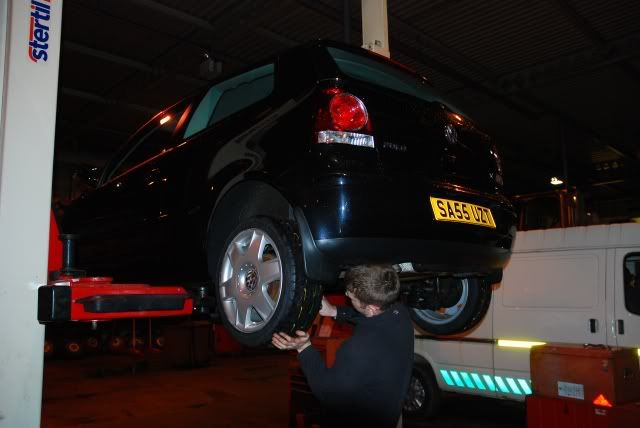
Now lets move on to the fronts, the hard bit.
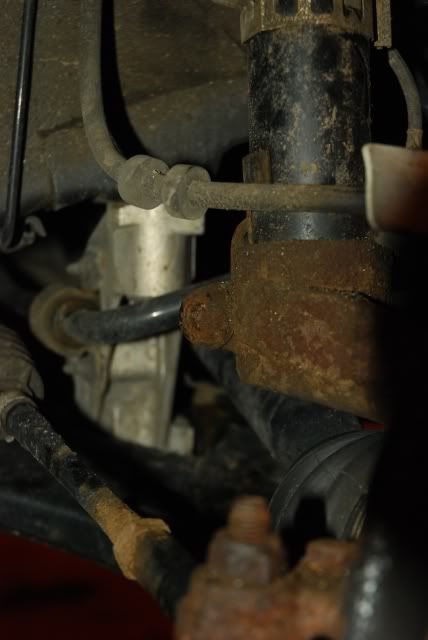
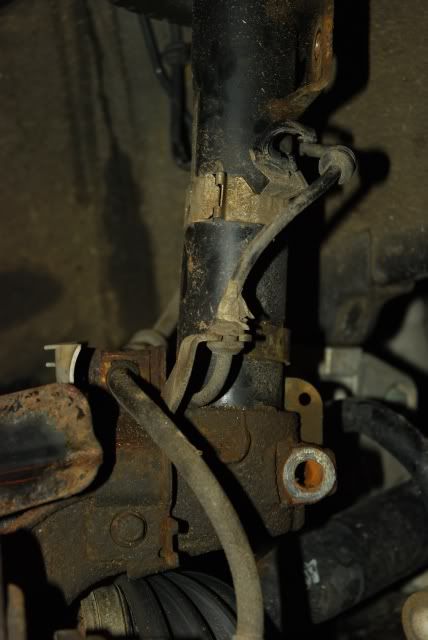
firstly, unclip the tubes/lines that are attached to the old strut, or ones that might get in the way, they should just pop out.
Next we need have removed the drop links which would be where his hard is in the previous pic. And a close up of where it was, we just removes the top part of the drop link, and done the bottom later, i'd reccomend taking the whole drop link off first. They are annoying little things, they have a torx bit inside of a socket, i hacksawed my drop links off because they were rounding the torx bit, but watch you dont saw through the bar the are connected to.
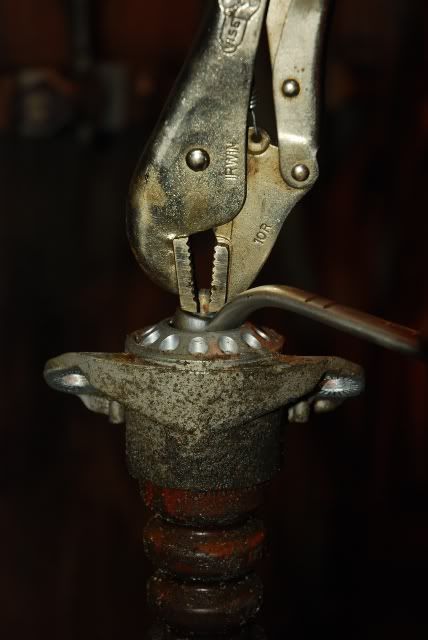
This is where that funky multi spline tool thing comes in handy, it looks totally rusted in the pic so you cant see the teeth, but there it is anyway, remove that.
A view from the other side once its been removed, now remove the bolts from the top of the strut in the engine bay, there should be 3 for each strut. we left one in just to keep it in place, but i think it would have been easier removing all 3. After this its a right pain to get the strut out, where the strut sits into that bit we have just taken the bolt out of, you need to prise it open a bit to get a bit of movement with the strut, we used a chisel underneath. Take the steering lock of so you can move the disk etc. Then its a case of pulling and fiddling around to get it out, it seems impossible but you will get it in the end.
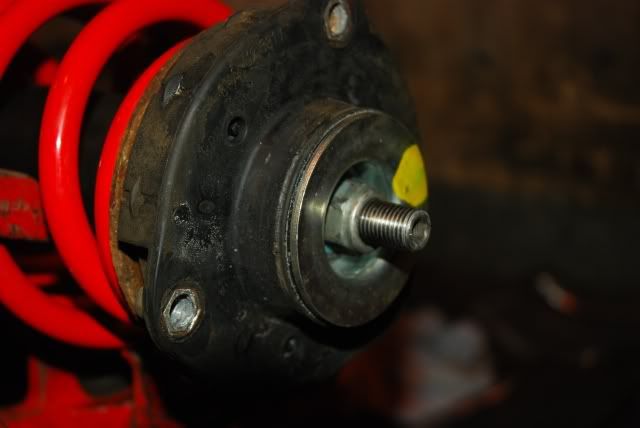
Once its out, put it in the spring clamp and tighten it up, but be careful, these things are dangerous. Now remove the bolt off the top, its got a dogey allen key in the centre,
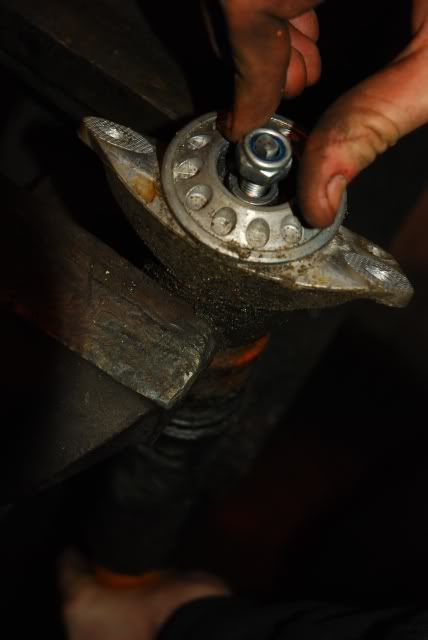
Keep everything as it is because once again it all needs to go back on the new strut. This is the part you need, that black bit int he centre is off my new strut, it should fit snug in there.

Now put it on the new strut and tighten it up but remember that dodgey allen key bit in the centre, use your old nut for the top as it seems better than the ones you get with the vmaxx kit.
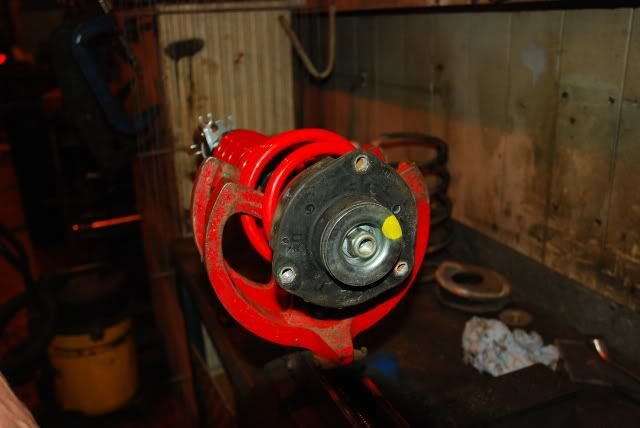
Here it is, all tigtened up, woop, remove it from the vice, be careful.
Put it back on the car and tighten the 3 bolts up in the engine bay to keep it steady (as you can see my old drop link is still on, because i left it till the end).
make sure it is all lined up, give it a bit of lube and try and force it back in, it will be tough so we used an axel stand underneath and lowered the car onto it very slowly which bashing it into place and keeping it right. Tighten up that dodgey multi sline tool and were almost done. Re attach them tubes etc onto the new struts.

New drop links on....and thats one side done, now go do the other side and good luck.
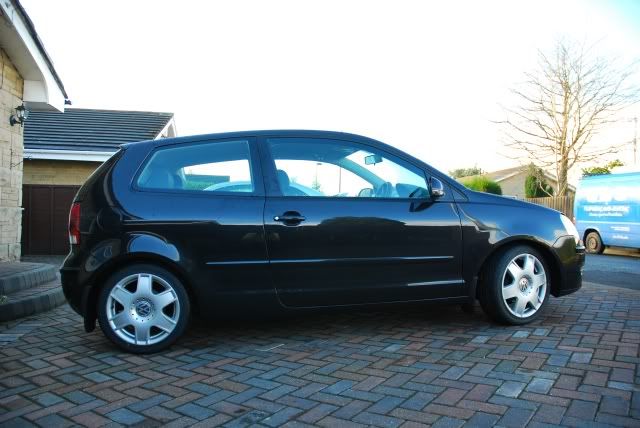
After:
thanks for looking and i hope this has been helful, please let me know if i have got anythign wrong and i will change it. i will update this with some better pics once they have settled and have been adjusted lower. thanks, brad mole


