The Sharan badge is a smaller badge at 95mm and sits nicely in the recess of the previous badge and also removes the need for the rubber ring around the badge. With the rear colour coded it really looks tidy.
All in all i think its a small touch that is really nice.
Well i started by getting the required items -
- VW Sharan Badge around £12 from the dealer
- Filler Primer
- Correctly mixed Paint for my paint code (mine was LP3G) from John Davey Ltd £12
- Laquer
- Paint thinners
- 1200 Grade wet and dry
- Double sided adhesive tape
- Masking tape
Tools used -
- Small flat head screw driver
- Towel of somesort
- Hairdryer
- Glue Gun
- Stanley knife
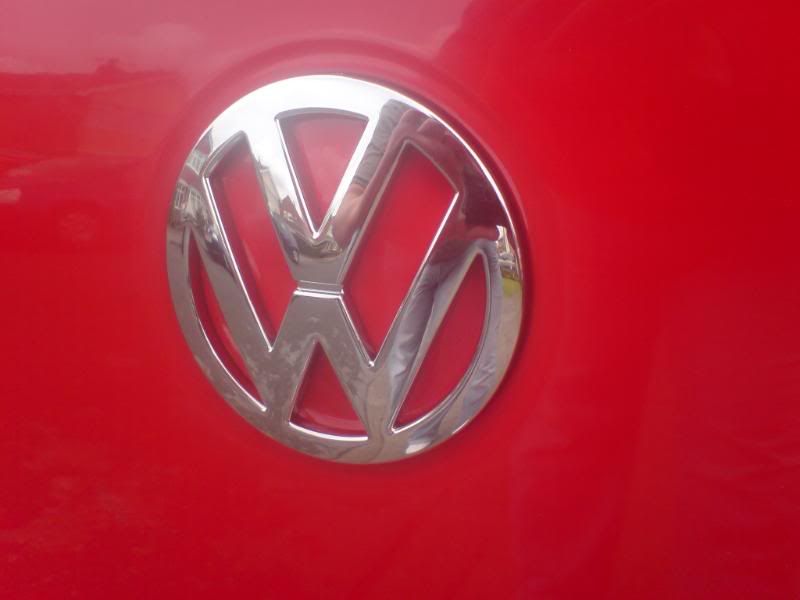
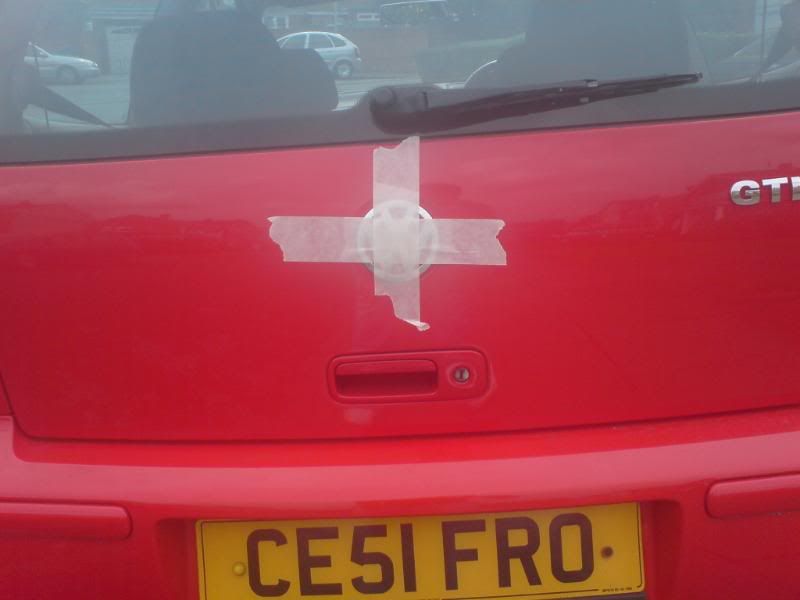
Well firstly i removed the exsisting badge from the rear of the car, with use of a hairdryer and prised the badge off with a flat headed screw driver with a towel wrapped around to avoid scratching the bootlid.
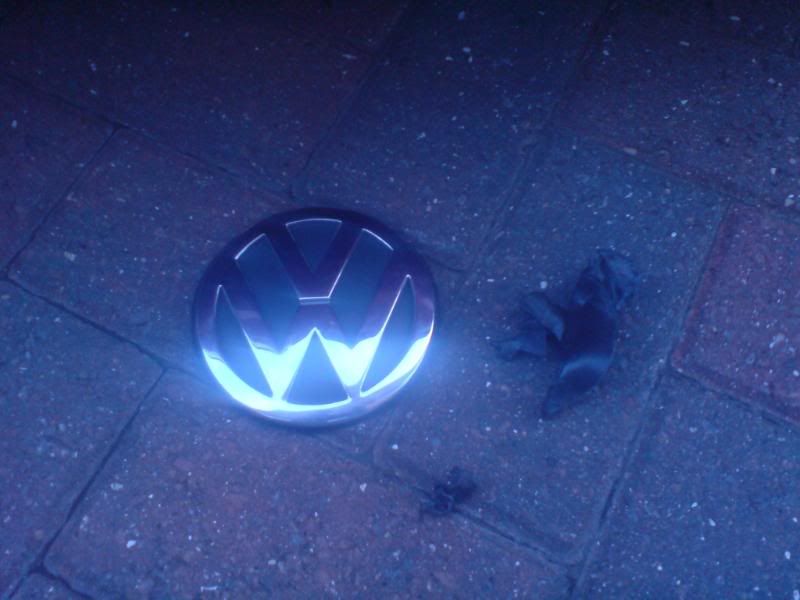
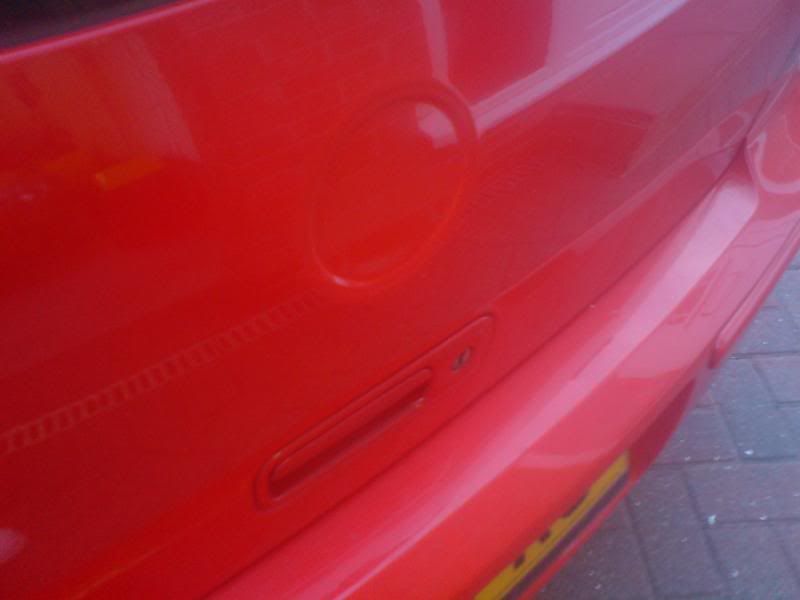
Most of the adhesive came off with the badge as you can see, the remainder just required a quick rub over with paint thinner to remove.
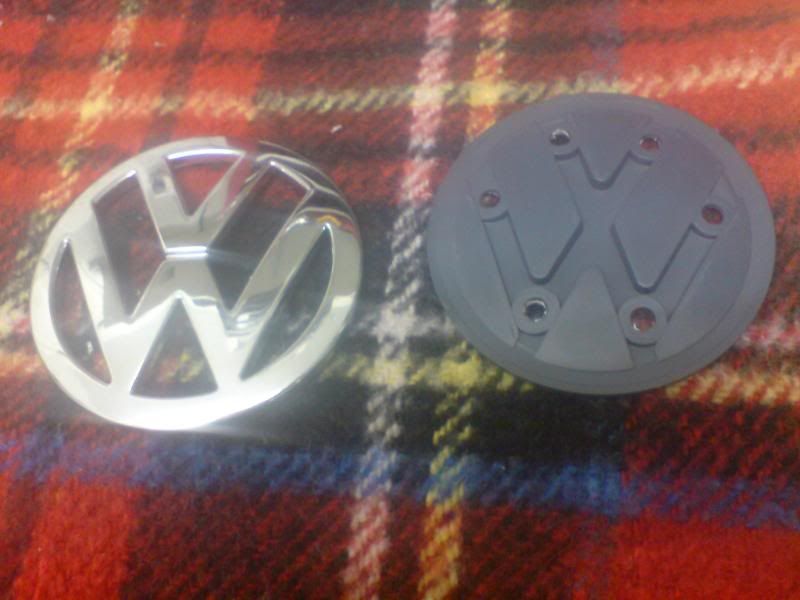
Comparing the badges: -
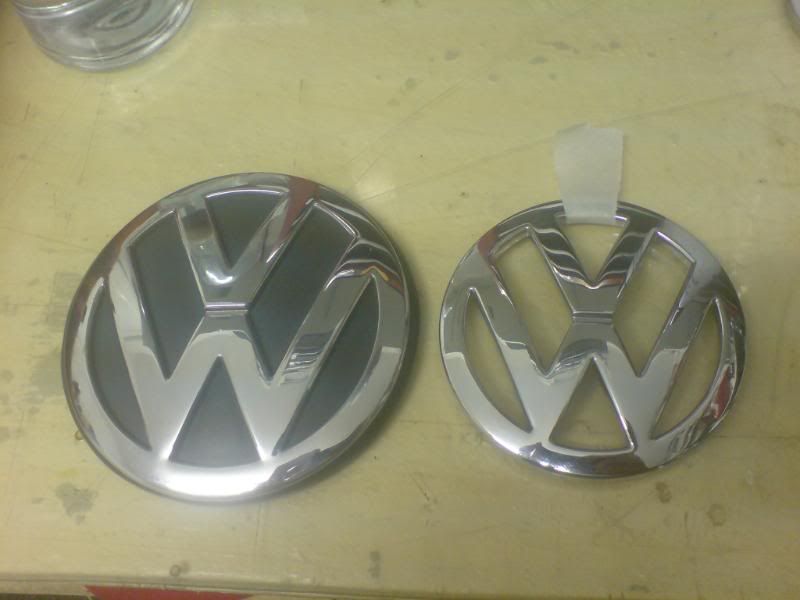
***note i'd already removed the Sharan badge backing in the above picture.
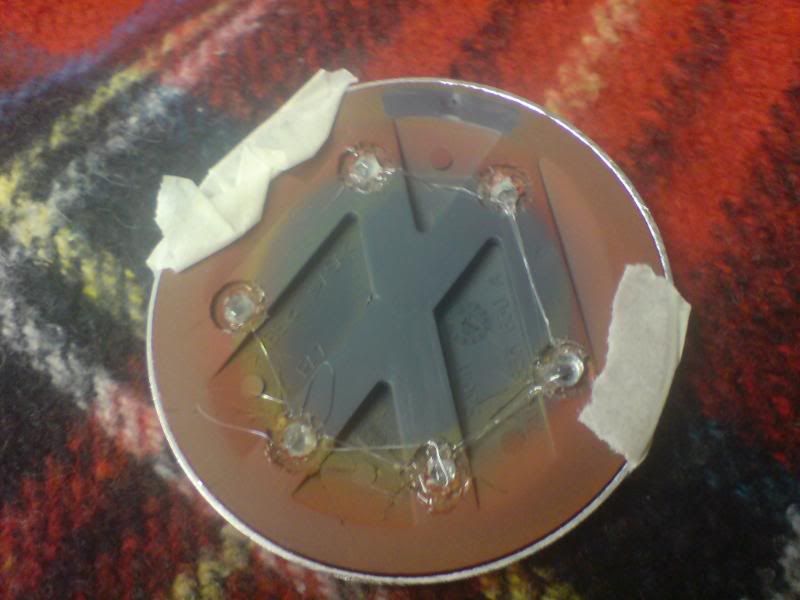
To remove the back of the sharan badge it was simply a case of gently using a stanley knife to cut away the stud fixings at the rear -
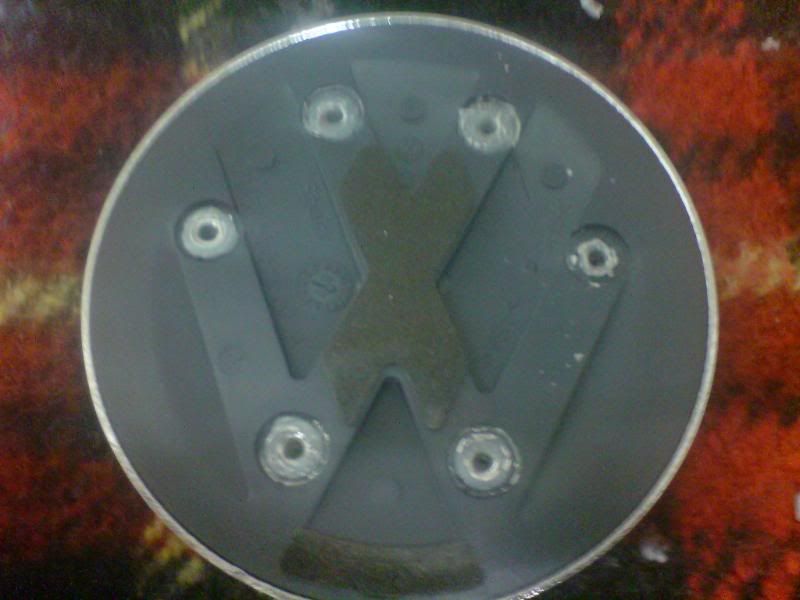
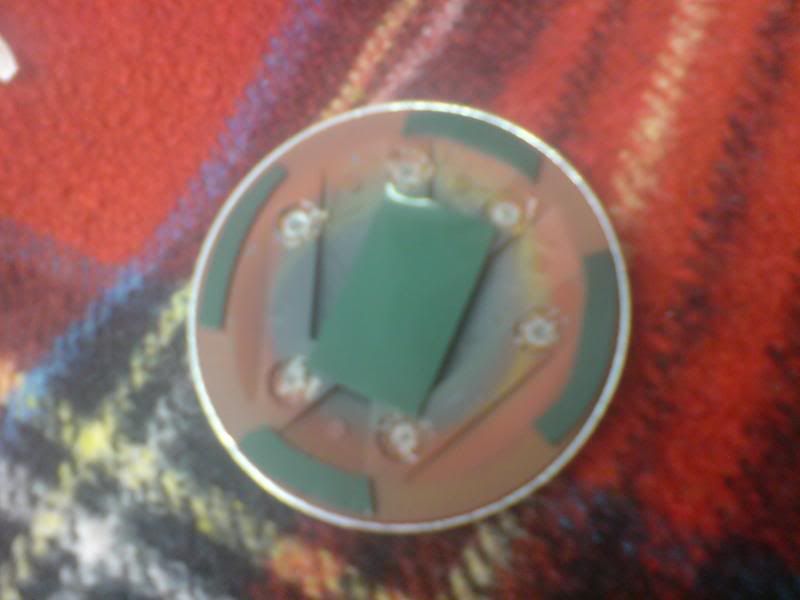
Which finally came apart to -
Once i got to this point, i simply gave it a good old scrub with the 1200 grade wet and dry (you could probably use a more coarse grade firstly, but its all i had at the time and it worked quite well)
Once i managed to smooth the "bobble"! effect from the badge backing i began to spray with my filler primer (again i only used filler primer because it helps more with flattening the surface, you could use normaly primer i am sure)

After a 3 or 4 coats with wet and dry in between each coat, i began with the body coloured paint, of which i gave a good 6 coats. Again i did this to enable me to "colour sand" the surface to take any imperfections out.
Once i was happy with the finish i applied 2 coats of laquer and left the badge over night to harden.
Next morning i re assembled the badge -

Using a glue gun i sealed the chrome badge to the backing. Glue gun was perfect as the glue set hard relatively quickly
Then the double sided tape cam into action, which was brilliant to cut with a stanley blade -
Walla complete in effect, just throw it back onto the car applying good pressure for a few minutes and possibly use some masking tape to tape it up for a while -
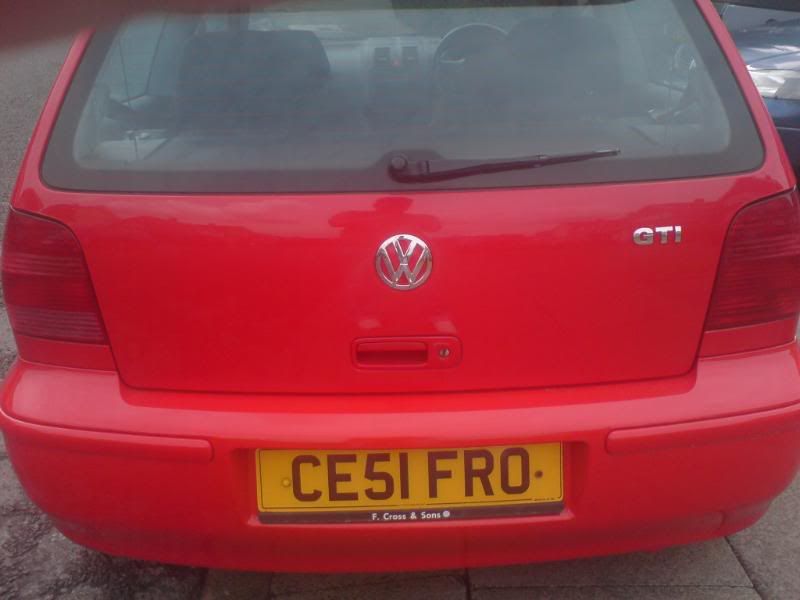
Personally i think it sits well in the recess, may not to be to some peoples taste but i thought i'd throw this up here as am not sure if anyone had tried it yet.