This is just a guide, you will damage your headlights and any warranty youve got and dont blame me for ANY damage please!
The tools i used were a good hairdryer a small screwdriver (4mm wide tip), a butter knife, stanley knife pliers, long nosed pliers, torx screws and some see through or black mastic (with a mastic gun obviously). When i say "glass" i mean see through plastic, easier to type!
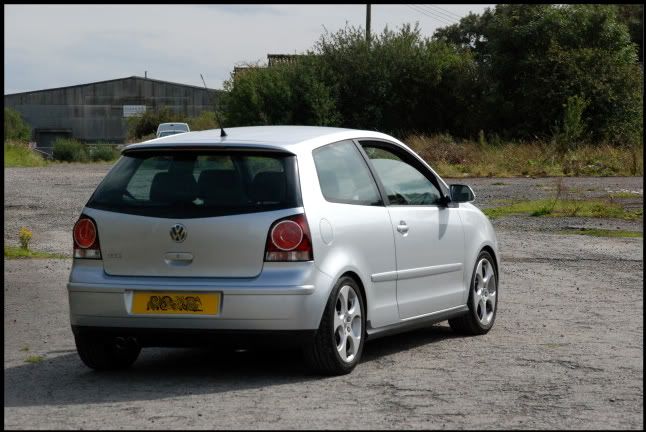
1. take your headlights off your car, youll have to take your front bumper off to remove your headlights. there is a guide on thiese forums somewhere for this, im only doing this guide for now!
2. Take out all your lightbulbs and rubber gromits so that they dont fall out and break while your working.

3.right, now for the fun bit! Fiorstly you wanna pry the black plastic away from the glass, you wanna keep it hot with your hairdryer as it makes it much easier, you really wanna push it right over to nearly 180degrees. After youve gone all the way round, taking out th u shaped pins, then u wanna pry out the glass out of balck plastic still keeping it well heated. youll see how much damage i did in the pic below!


4.when youve got the headlight apart from the glass, you gotta take the chrome bit off the glass and the small metal flap that covers the indicator.

5. Now this is were the painting starts, the first job is to sand the chrome part down, i used 400 grit paper and it did the job maybe 200 grit would be better? and the ntape over the see through lense front and back so that you dont get any paint particles round the backside. I used masking tape but ive heard of people using "Glads peel n seal" or something like that.

6. Put your rattle can in a bowl of tap hot water, not quite boiling. and quickly heat the chrome bit in the oven at 50degrees just to warm it up (it is winter). when you start painting, do a primer coat first, do the tricky bits first and dont get too close, theres probably a fair few good painting guides here on the net if you dont feel confident, im not the best painter more medium i think! dont forget to sand and paint the metal flaps that cover the indicator
Just make sure that you give plenty of drying time, i only did one primer coat and two coats of paint, after each coat i put them in a 50 deg oven for five mins just to get them going and left to cure for a day.


7.now you want to re-attatch the metal flap and the headlight cover. Clean the inside of the headlight cover first, i used a microfibre cloth with no prodcut so not to leave any moisture. i did this step first so i didnt damage the paintwork.

8. Using pliers, long nosed pliers, and hairdryer, bendthe plastic into its original position,. You wont get it perfect, so just get it reasonable. Any holes you made, put a small amount of silicone and smooth it over th hole just to seal it. Now cut out all the old mastic aclean up the edge of the glass so that its a clean fit, no need for perfection!
9. Put the two parts together just t get a feel of the job. Now with the silicone, run a small bead halfway up the gap, some bits will need more than others. when your happy with the amount, turn the kettle on, get some soft crocodile clamps and anything alike and some electrical tape.
Put the two bits together without making too much of a mess, put a load of clamps round the edges and use elctrical tape round most areas to hold it in place, some parts will need a clamp though. but i found the tape held well enough.

Put them in a 80 deg oven for about ten minutes to get any moisture out, when you take one out the oven start putting the bulbs back in and the rubber seals, do not remove tape and leave for a day, thats what i did to be on the safe side, I left em on the living room table overnight to keep em dry and warm.
10. In the morning remove the tape and clamps, you should obviously go out and fit them. make sure you plug them in otherwise youll make the same face i did! make sure they all work and there you go!
takes a long time but its still cheaper than buying some!!!!
feel free to ask any questions and sorry if i bored you!