Step 1.
Remove front bumper, pretty easy, remove indicators, grill, 2x torx screws under the grill, then remove the centre lowere grill, 2 more screws, then the 2 outer grills, 1 screw behind each, and finaly, 2 or 3 screws each side on the wheel liners
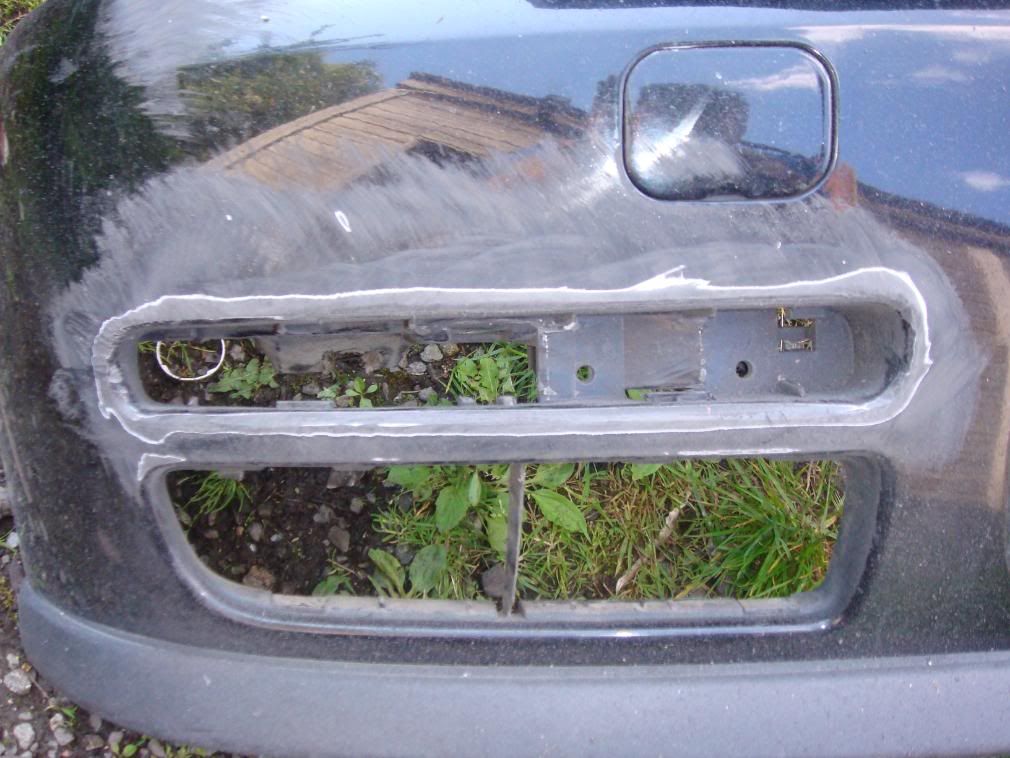
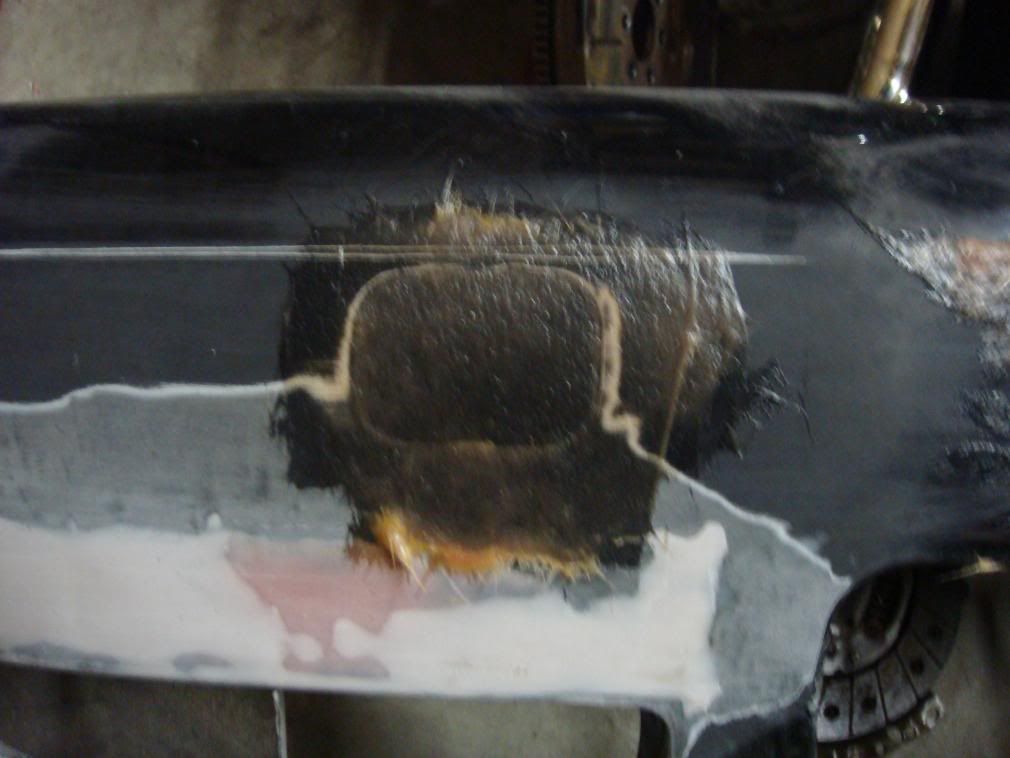
Step 2.
Sand paint around area to be filled, I'm doing it by plastic welding pieces of an old 8v bumper with a soldering iron, cut the pices so there tight in the hole, and recess them back abit so you can fill it, the welding technique requires abit of practice, but pretty simple
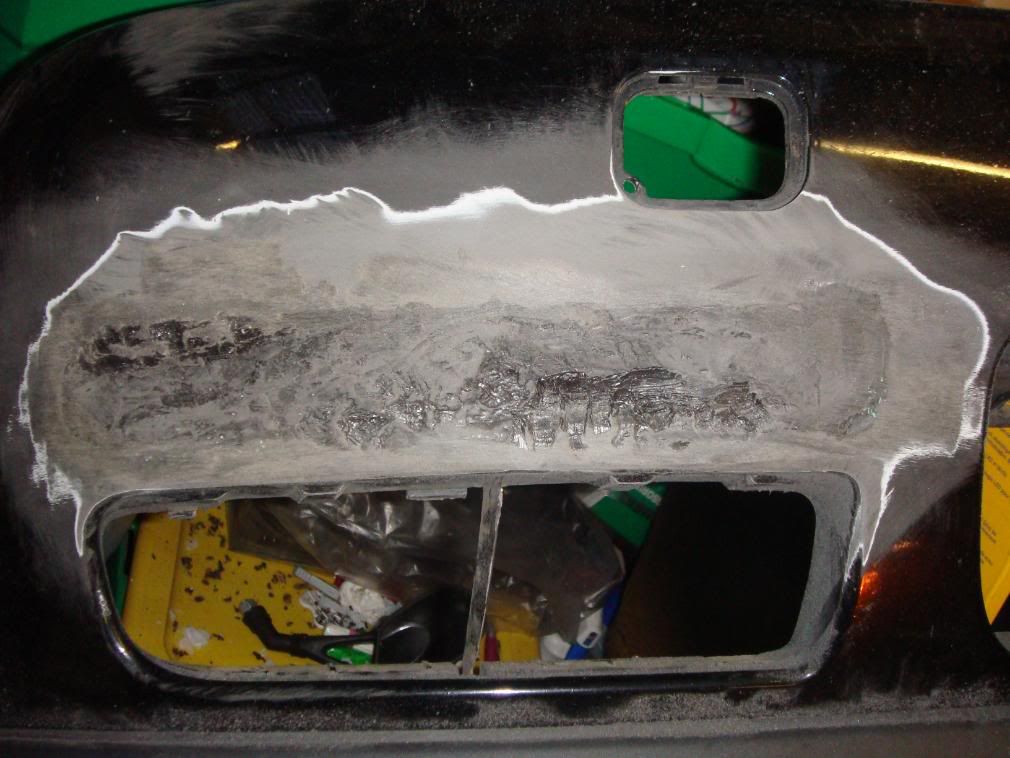
Step 3.
All filled in and part sanded a little
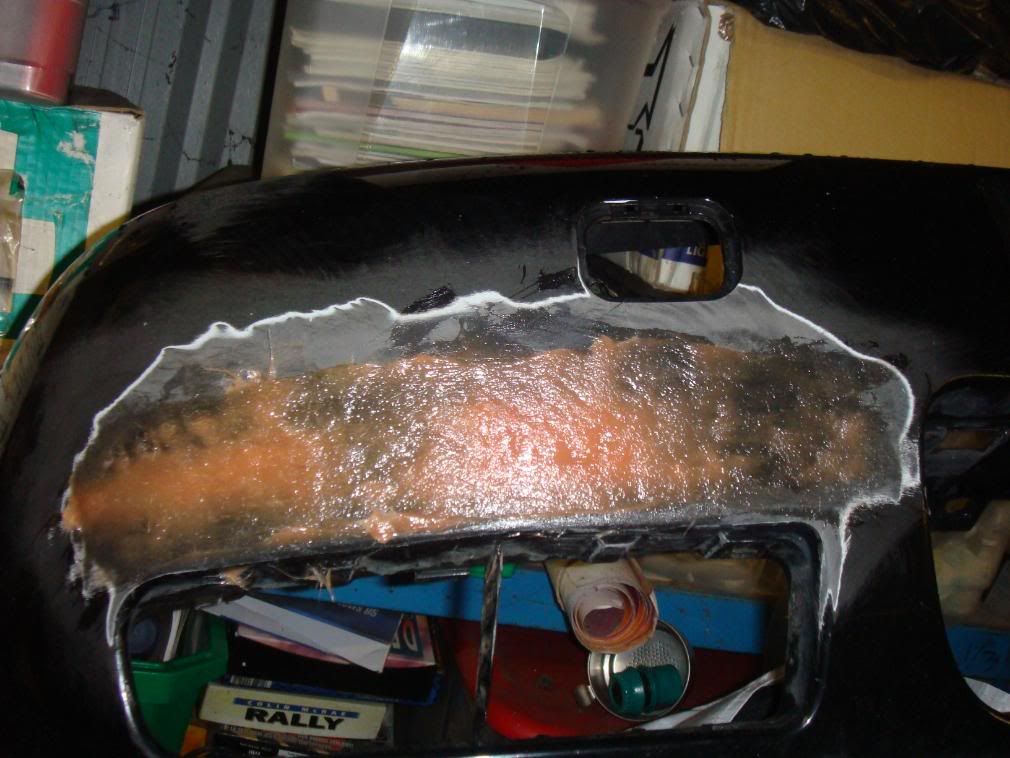
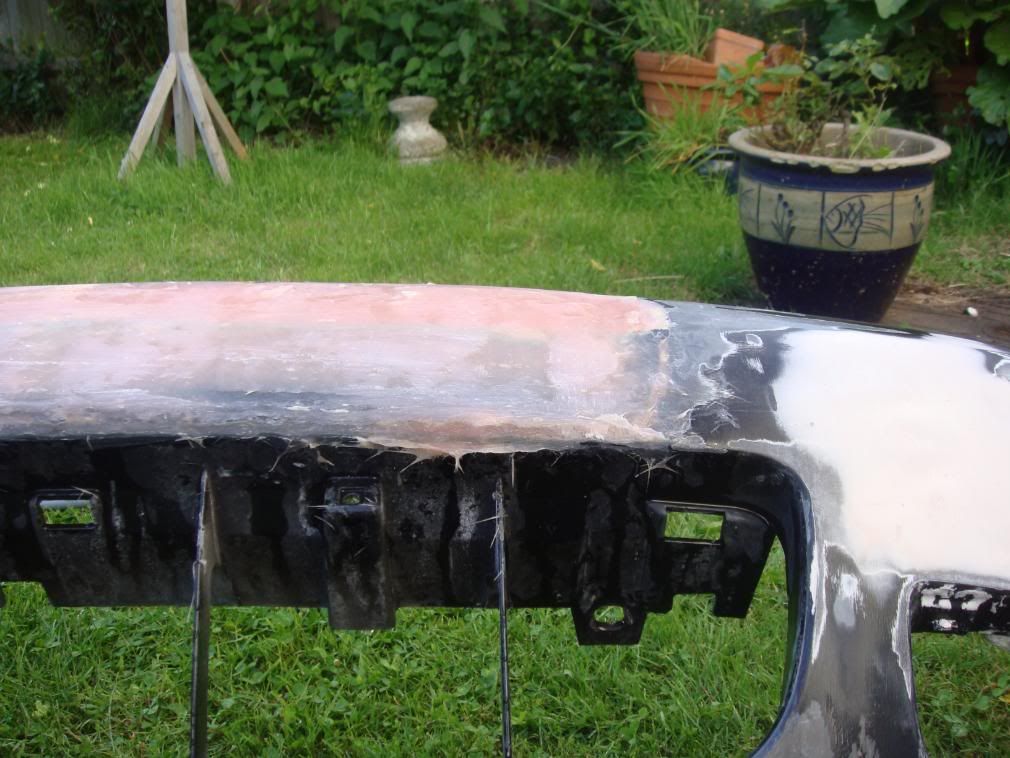
Step 4.
Sanded further and then a light coat off fiberglass filler to fill the big gaps
Step 5.
Apply body filler
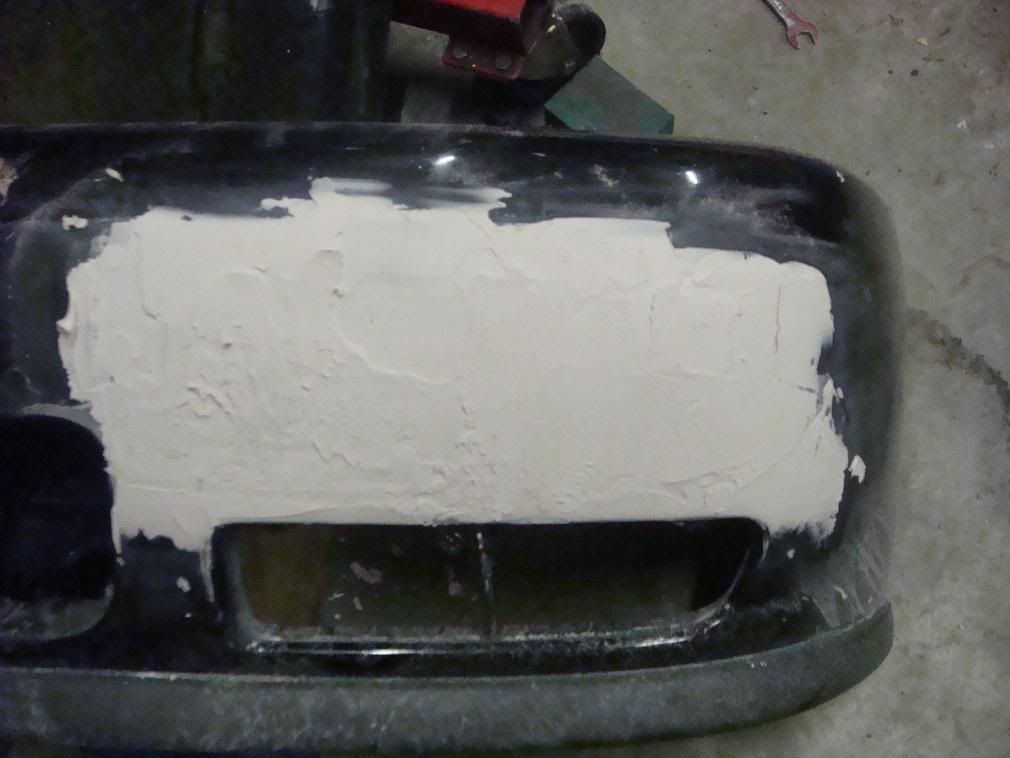
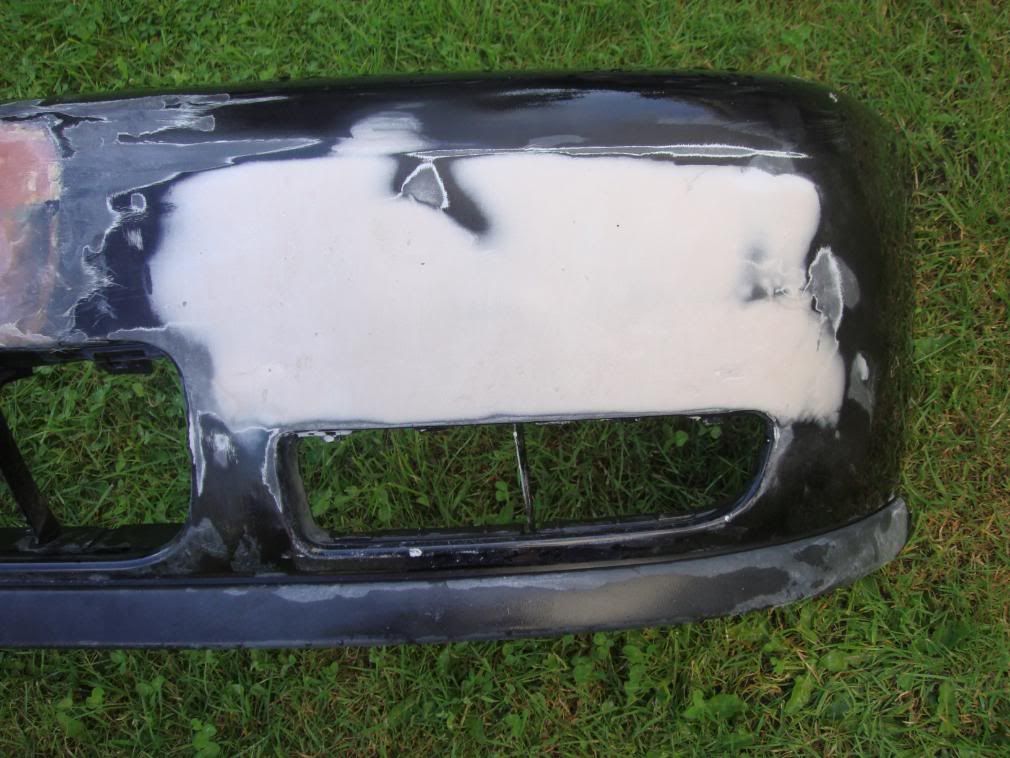
step 6.
Sand until smooth

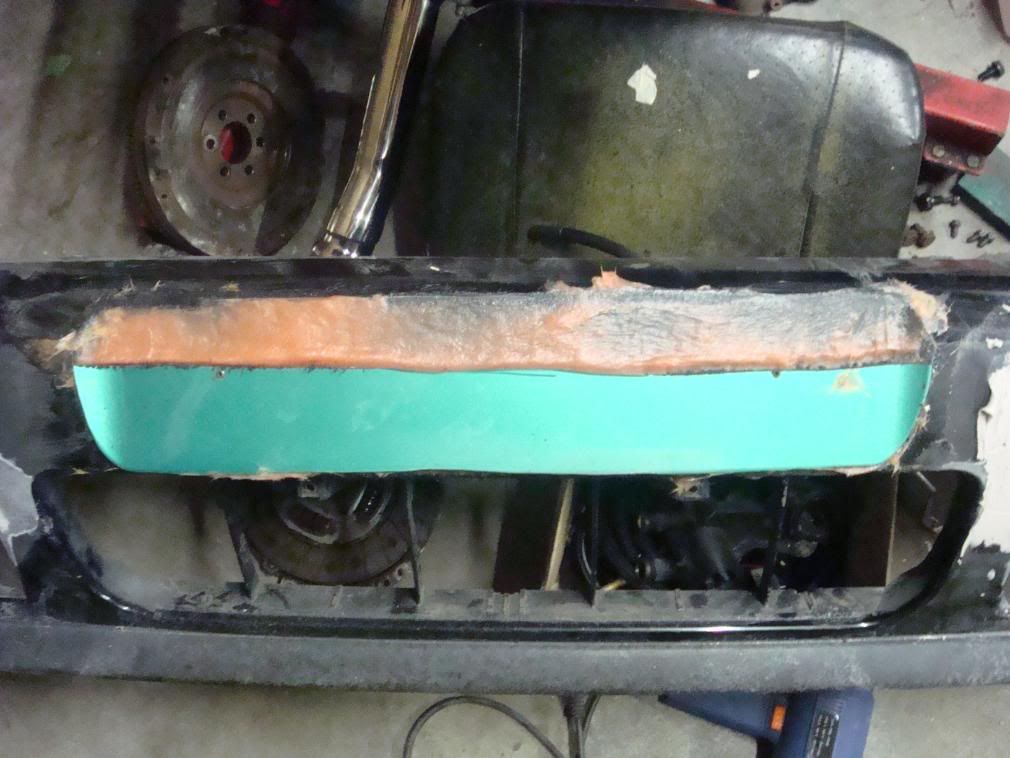
Step 7.
Plastic weld tow eye cover in place and slight skim of fibreglass
Step 8.
Key up recess, then apply thin layer of fibreglass filler, and push and rock plastic to fill number plate recces
Step 9.
Anothe thin coat of fibreglass ontop (after last coat has dried) of numberplate to fill rest
What do people think so far?